Easy Homemade Sloppy Joes 

For most, the first thing that comes to mind when they think sloppy joes is a big can of Manwhich. Erase this thought! Homemade sloppy joes are SO easy to make and SO much better than the canned stuff. And, they really aren’t that much more expensive since you likely already have most of the ingredients in your pantry. 

These home cooked sloppy joe sandwiches were the perfect weeknight meal for us after I had a long day at work because they’re quick to make and now I have lunch for the rest of the week! Plus, who doesn’t love a good ol’ plate of American comfort food once in a while?

So… Here we go!

What You Need:   

  • 1T vegetable oil
  • 1 green bell pepper, chopped
  • 1 red bell pepper, chopped
  • 3 cloves garlic, minced
  • Salt
  • Black pepper
  • 1.5-2lbs lean ground beef (or ground turkey)
  • 1 8oz can tomato sauce
  • 3T tomato paste
  • 1 cup BBQ sauce
  • 2T Worcestershire sauce
  • 1t hot sauce (Cholula, Tabasco)
  • Hamburger buns, toasted
  • Sliced cheddar cheese (optional)

What To Do:

  1. Heat vegetable oil in a large skillet over medium-high heat
  2. Add the garlic, red pepper, and green pepper
  3. Cook until soft and fragrant, season with salt and pepper   
  4. Add the ground beef, stir and continuously break apart until browned and cooked through       
  5. Add tomato sauce, tomato paste, BBQ sauce, Worcestershire sauce, and hot sauce to the meat, stir to mix  
  6. Simmer on low until the mixture thickens, remove from heat   
  7. Serve on a toasted hamburger bun, optional to add a slice of cheese. Oh go on, just add the cheese!   

See? Wasn’t that *almost* as easy as just opening the can? I thought so 🙂

Happy eating!

Lindsay

The “This is the Best Banana Bread I’ve Ever Had” Banana Bread Recipe

I want to preface this post by telling you that my boyfriend and I jokingly think that the reason we work so well is because we like the same kind of pizza (Hawaiian, preferably from Papa John’s with extra sides of garlic sauce), and because I like bananas while they’re still slightly green and spot-free then he takes them over when they start to get brown and spotty.

But, due to frequent long term travel for his job, the majority of the bananas around here don’t get eaten after those first few, precious, bruiseless days. So, what to do with all those useless bananas? Make banana bread of course! And by banana bread I mean chocolate chip bread with a taste of banana. 

In reference to the title of this post, I tend to bring the bread into work (because no female living alone needs loaves of banana bread hanging around). The first time, a guy in my department, who is rather hard to please, could be heard from his cubicle muttering, “Oh my god. This is the best banana bread I’ve ever had!” So, I’ll let him toot my horn for me 😉

Anyways, enough of my banana babble, let’s get baking!

What you need:


  • 1 2/3 cups all-purpose flour
  • 1 teaspoon baking soda
  • 1/4 teaspoon cinnamon
  • 1/2 teaspoon salt
  • 1 cup + 2 tablespoons sugar
  • 2 eggs
  • 1/2 cup vegetable oil
  • 4-5 very ripe bananas (depending on size), mashed
  • 2 tablespoons sour cream (I know, this sounds super weird, but it is really the secret winning ingredient here)
  • 1 teaspoon vanilla extract
  • 2/3 cup chocolate chips (Please, please, please don’t even dare ruining this bread with walnuts. But, I can’t see you, so do as you must I suppose)

What to do: 

  1. Preheat oven to 350 degrees F. Spray a loaf pan with cooking spray.
  2. In a medium size bowl, mix together flour, baking soda, cinnamon and salt. Set aside.   
  3. In a large bowl, whisk together sugar and eggs until they are light and fluffy – about 2 or 3 minutes.
  4. Drizzle in the oil and continue mixing.   
  5. Add mashed bananas, sour cream and vanilla extract, continue mixing.  
  6. Fold the dry ingredients into the sugar/banana mixture and combine thoroughly. Add chocolate chips and mix.
  7. Pour into the greased loaf pan.   
  8. Bake for at least one hour, based on your oven (I usually end up baking for about an hour 15 min). 
  9. Let cool, cut and serve!   

Now, I’m off to eat my third piece (unless my boyfriend finished the loaf in the time it took me to write this post). 

Happy Baking!

Lindsay

Boat Baked Ziti

Ello Bloggies!

This next recipe is really special to me. The first thing the hubby ever made me was baked ziti. We were on his boat and he started off the meal with wheat thins, cheddar and brie cheese and a homemade Mai-Tai. Let me tell you it was definitely a great way to start a relationship! Fast forward 5 1/2 years and although I’ve added some magic to the recipe it still remains one of our weeknight boat or land favorites. Make it for someone special on your first date and see if it still has the same charming effects. Then again, it may have been the mai-tais. But hey, it all worked together perfectly right?!?! Alright, enough with the match-making. Go grab a mai-tai and let’s make some baked ziti!

The Goods

  • 1 lb lean ground beef
  • 1/2 large onion, diced
  • 1 box rigatoni or ziti pasta
  • 1 large jar Vodka pasta sauce (this is me not making my own sauce. Ironically, I did recently make sauce and freeze it but then we ate it. Because that’s what you do with food. You eat it. So store bought it is. Remind yourself, it’s a weeknight, and you worked <fill in the blank> hours today and just the fact that you are making dinner makes you awesome. Pats self on back.)
  • 8 oz sour cream
  • 1 cup shredded mozzarella cheese (a little more if you want to top it with some at the end)
  • 1/2 c Italian breadcrumbs
  • 1 c parmesan (1/2c for sauce, 1/2c for breadcrumb topping)
  • 2 Tbls butter, melted
  • Seasonings: Garlic Powder, dried Oregano, S&P

Ziiiiiiiiiiiti Time

Preheat your oven to 425 degrees F

In a pot, boil heavily salted water (it should taste like the ocean). Add your pasta and boil for about 10 min. When done drain and add back to the pot.

I know, I know. This is rigatoni. Which is not ziti. Which is totally fine because rigatoni works just as well for baked pasta dishes. I don’t know why we just always all it baked ziti but we are all special so go with it.

In a pan, swirl olive oil over Med/Hi heat and cook your onions. You only need a minute or two as they’ll continue to cook with the meat.


Add in your ground beef, 1/2 tsp garlic powder, 1/2 tsp oregano and S&P. Cook until the ground beef is no longer pink in the middle.


Add in your jar of tomato sauce and 1/2 c parmesan. Simmer for about 10 min until all the flavors come together. Note: I did not drain the meat before adding the sauce. The meat I had really didn’t have much fat. If yours has a lot, drain the meat, then add the tomato sauce. You may need to adjust seasonings again once you do that to ensure salt level is still legit.


Now, add the meat/tomato sauce mixture to the pasta and stir to combine.

Add in the sour cream and 1 cup mozzarella cheese and stir one more time.

Spray a baking dish with cooking spray and put your delicious looking pasta mixture into the baking dish.

Next, let’s make the amazing topping. In a small bowl combine the melted butter, rest of the parmesan cheese and breadcrumbs. Mix with a fork for best results.

You may be tempted to try this to see how it tastes. Don’t do it. It’s like unicorns wrapped up in hugs topped with ice cream and sprinkles. It’s amazing. Don’t eat it or you may not have any left for the pasta.

Top your pasta dish with the breadcrumb topping and bake for 25 min or until bubbly and the topping just starts to get brown. Then eat it. Yum!


This is a super easy dish that is full of flavor. We make this sometimes with sausage pieces or turkey ground sausage or even cut leftover meatballs! Just make it, eat it and then go nap. Because, who doesn’t love a good nap.

xoxo Shawna

Slow Cooker Carnitas

Hello all!

Following fellow Gal Lani’s amazing lead with her Honey pork sliders (Honey Vinegar Pork Sliders) I decided to go a Mexican route and whip up some slow cooker carnitas for some friends coming over tonight. This recipe is so versatile that once the meat is made you can turn it into tacos, enchiladas, quesadillas, fajitas, nachos….there are just too many options here. And all of them are making me hungry. So let’s get cooking! 

The Goods

  • 6 lb pork shoulder (We prefer to buy ours at local butcher Siesel’s or their sister store Iowa Meat Farms (Siesel’s & Iowa Meat Farms) although in a pinch Costco has a great selection also) 
  • 1 large onion, sliced 
  • 2 limes
  • 1/4 cup light beer (We used the Rocky’s finest…Coors’ Light)
  • Dry rub: 2 Tbsp each garlic powder, cumin, and chili powder. 1 Tbsp each salt and pepper. 

Pork Time…

The night before you want to make the carnitas mix up the seasoning, slather the pork, wrap it back up and marinate it overnight. 

Dry rub: mix the seasoning listed above in a small bowl. 


Rub the dry rub all over the pork (save a tiny bit in a ziplock bag to put on the onions tomorrow). Wrap up in parchment or butcher paper and place into fridge overnight. We also put the wrapped up pork into a big bowl to catch any drippings.  


Once you’re ready to cook first set your slow cooker to “Low” and lay the sliced onions at the bottom of the cooker. Sprinkle the rest of your dry rub over the onions. 


Next, remove any butcher string from the pork and cut off any excess patches of fat. Cut up the pork into large pieces and place into slow cooker. 

  
Next, slice your limes and squeeze over the meat. 


Lastly, crack open a cold beer and pour about 1/4 cup over meat. Feel free to drink the rest. We are all friends here, it’s fine. 


Put the lid on the slow cooker and cook for 10 hours. 

When done remove the pork and using two forks shred into amazing carnitas awesomeness. 

  
We served our pork pieces of heaven on fresh tortillas, with sour cream, salsa and lime. These make even better leftovers so make sure to buy a big pork shoulder. 

Happy cooking and Cheers! 

xoxo Shawna 


Baked Frank’s Red Hot Drumsticks

Hello blog-land,

Oh man is it getting toasty in Southern California and like most natives I do enjoy not only the hot summer day but also the occasional hot & spicy dish – some of our favs are spicy crunchy sushi, the amazing kimchi based spicy cream that goes with buttery Hawaiian style ahi poke, and of course spicy Mexican food! But today, we are going to do a twist on a traditionally fried dish. We’re making Hot Wings…but baked…and technically drumsticks…..and they are so good! This appetizer (or main) is so easy and really a crowd pleaser. You could always dunk these bad boys in some oil and fry them up but I generally don’t fry during summer…I mean come on…it’s hot enough already. But the world is your Hot Wing oyster….so to speak…so feel free to do what you like.

The Goods

  • 6 drumsticks (bone in, skin on)
  • 4 tablespoons Olive Oil
  • Seasonings: 2 tsp Garlic Powder, 2 tsp Tumeric, 2 tsp Seasoned Salt (we used Goya Adobo but anything will do), and ground pepper
  • 1 tsp Lemon (juice and rind to make sure your lemon is well scrubbed and rinsed)
  • Frank’s Red Hot Sauce (or your fav hot sauce)
  • 2 tablespoons Butter

unnamed (77)

Note: I forgot the tumeric in the picture. Don’t be like me, don’t forget your tumeric.

Let’s get baking!

Pre heat oven to 400 degrees F.

Time for the marinade. Mix olive oil, garlic powder, tumeric, seasoned salt, a couple of twists of ground pepper, lemon and a touch of rind. Let the chicken sit (20 min to about 2 hours makes the best combo).

When the chicken is done marinating lay them on a baking sheet and bake for 30 min. Turn over and bake another 20-30 min until internal temp gets to 165 degrees. If you want to get a bit more color feel free to put them under the “High” broiler – but watch them! They can burn very quickly.

3

Hello Pollo. Feel free to drizzle with a tab of olive oil here to help it get brown and delicious.

Next melt 2 tablespoons of butter (I did this in a tiny glass bowl in the microwave for 20 seconds) and put into a larger bowl. Add in a couple of shakes of garlic powder and S&P as well as 20-30 shakes of Frank’s Red Hot Sauce (The bottle had the shaker top. You can’t really overdue the sauce so get at it).

unnamed (83)

Let the chicken go for a hot sauce swim.

unnamed (84)

Serve up with blue cheese and lemonade spiked with tequila and fresh lime.

unnamed (85)

Enjoy!

xoxo Shawna

Chicken and Broccoli Casserole

Hello Bloggies! 

As it heats up in the South West the dinners start getting later in desperate hopes that the kitchen you’re cooking in starts to cool off a bit. This dish is awesome because you can prepare it in advance and bake it later or make it and bake it right away. Either way it’s so delicious and quite inexpensive. That’s a win-win in my book! 

The Goods 

  • 3 cups water
  • 1 1/2 cups long grain rice
  • 1 bouillon cube (chicken)
  • 1/2 onion, diced
  • 2 large chicken breasts, diced 
  • Seasonings: S&P, garlic powder, paprika
  • 1 bag frozen broccoli 
  • 1 cup + some for topping Shredded cheddar 
  • 2 cans cream of chicken soup
  • Optional: fried onion bits for topping 

Sassy Casserole Time!

First put the water and bouillon cube in a sauce pot and bring to a boil. Add the rice, put a lid on it then let simmer for about 15 minutes until almost done. 


Heat up another sauce pan over med-hi heat with 2 tablespoons water and add in the broccoli. Heat to a boil and put a lid on so it steams. Stir it around a bit and cook until the broccoli are no longer frozen. About 10 min. 


Now in a pan over Med-Hi heat swirl in some olive oil and start sautéing the diced onion. Now add in S&P, 2 tsp paprika and 2 tsp garlic powder. When the onions are translucent add in the chicken and cook until 165 degree internal temp.


When cooked it should look awesome like this! Feel free to add more olive oil if it gets too dry during the cooking process.


Now let’s assemble the goods. In a large bowl combine the rice, broccoli, chicken/onion mixture, 2 cans of cream of chicken soup and 1 cup shredded cheddar. 

Spray a casserole dish of your choosing with cooking spray and load it up with your amazing casserole. 


Since everything is cooked you can taste it at this point. Just try not to eat it all. 🙂

  
Bake for 25 min until the casserole is bubbly and the top starts to brown. 

Add the fried onion topping and shredded cheese (we ran out of cheddar so switched to jack) and bake for 5 more min.


Holy. Bananas. This is a good dish. 

We served it with a side salad and some wine. Not a bad recipe for the middle of the week! Hope you enjoy it!

  
xoxo Shawna  


Chili Beef Zucchini Boats & Fiesta Muffins

Hello friends!

Today San Diego was gorgeous and hot. Perfect day for hitting the beach or playing in the yard but not necessarily for cooking in the kitchen! So tonight’s dinner needed to be light and super flavorful. If the hubs had his choice he’d have steak, rice or buttered pasta all day long. Well, lucky for him I have his health (and my sanity) in mind. So I did what I do best – compromised. I took lean ground beef and made it sassy. I’ve made a version of this recipe so many ways I’ve lost count. You can stuff zucchini, bell peppers, spaghetti squash, tomatoes…basically anything. Today the delish zucchini won the vegetable rock-paper-scissors test. The seasoning is similar to when you make ground beef tacos and we kick up the muffins with mild green chilis and corn to really drive home the fiesta. Well I’m starving so let’s get cooking.

Ingredients

  • 3 med to large zucchini
  • 1 lb lean ground beef
  • 1 can tomato sauce (I originally had a 15 oz can and ended up using about half)
  • 1/2 small yellow onion
  • Seasonings: S&P, garlic powder, chili powder, & cumin
  • 1 box Jiffy corn muffin mix
  • 1/3 c milk
  • 1 egg
  • 1 small can mild green chilis
  • 1 small can kernel corn
  • Shredded cheddar cheese

Fiesta Directions

Since we are taking this delish dinner a “Fiesta” route it’s only appropriate to pour yourself a margarita or some tequila for sipping. Now now, no tequila shots just yet. We have to play with fire so keep it safe until the dinner is done and then go nuts.

unnamed (64)

Preheat your oven to 400 degrees F.

Wash your zucchini and slice in half. Slice a thin layer off the backside so you can lay it down flat on a baking sheet (if your baking sheet isn’t super new, either spray with cooking spray or lay down alum foil). Using a spoon gently scoop out most of the filling and set aside. Add some S&P to each “boat” and place on a baking sheet. Lightly chop up the filling you set aside.

unnamed (65)

unnamed (67)

Next dice your onion. Heat a sauce pan over Med-Hi heat and hit it with a couple of swirls of olive oil.

unnamed (66)

Add your onion and stir a bit. Add S&P, 1 t Garlic Powder, 1 t Chili Powder and 1 t of Cumin. When the onions just start to get translucent add in your ground beef and reserved zucchini insides. 

unnamed (68)

Cook until all the pink is gone (internal temp needs to hit 165 degrees F) and add in 1 cup tomato sauce and stir.

unnamed (69)

Let it cook for a few minutes to just come together. Give her a taste and increase any of the seasonings that you’d like. We tend to have a heavy hand with seasonings and really at this point I usually add a ton of hot sauce but I dialed it down for our blog friends. Feel free to add what you like.

Lastly, turn off the heat and stir in about 1/4 cup of bread crumbs just to keep the beef together. Usually that’s all you need just to keep the beefy deliciousness together to stay in the boats.

unnamed (70)

Now fill each zucchini boat with the ground beef. Bake in oven for 15 min. Remove, sprinkle with shredded cheddar and bake for about 3 min more. Internal temp needs to stay at 165 and the zucchini will be just tender enough to eat but still firm to hold the filling. 

unnamed (74)

While those are baking let’s make the muffins!

unnamed (63)

In a bowl add in the muffin mix, 1/3 c milk, 1 egg, 3 heaping tablespoons of corn, 2 heaping tablespoons of mild green chilis and 2 tablespoons of shredded cheese (we had mozzarella and cheddar and used both). Whisk until combined – it will be lumpy and that’s totally good.

unnamed (71)

Fill cupcake paper lined cupcake pan 2/3 full and bake 15 min. Watch these closely as they’ll go from not done to “browning on top” very quickly. Ours took exactly 15 min.

unnamed (75)

We served our Fiesta zucchini boats and muffins with a bit of tomatillo salsa and sour cream. Oh man. I need to quit writing and get to eating. Enjoy our Fiesta twist on a healthy and fun meal.

unnamed (76)

xoxo
Shawna

One Pot Mexican Quinoa

When it comes to weeknight cooking, three things come to mind: fast, easy, nutritious. I know what you’re thinking – fast and easy is, well, easy, but the nutrition part? Not so much. Wrong. With this one-pot Mexican quinoa dish, you’ll be eating a fibrous, veggie-packed meal in about 30 minutes (Did I mention that 20 of those minutes can be spent sitting on the couch?). Plus, if you’re anything like me, leftovers for lunch are a key component of a fabulous recipe, and this my friends makes AWESOME leftovers. The one-pot thing is just the icing on the cake!


Side note: This meal is gluten free, vegetarian and even vegan! I am none of those things and I still think it’s super delish.

So… Let’s get started!


What you’ll need:

  • Large saucepan w/ lid
  • 2-3 cloves of garlic (or 4… Or 5… I love garlic)
  • 1 diced jalapeno (to reduce the spice level don’t include all the seeds or the whole pepper)
  • 1c quinoa
  • 1c vegetable broth
  • 1 can corn drained (plain, unsalted corn – NOT sweet or creamed corn)
  • 1 can black beans drained and rinsed
  • 1 can fire roasted tomatoes, juice included
  • 1t chili powder
  • 1/2t cumin
  • salt
  • pepper
  • 1 avocado cubed
  • 2T chopped cilantro
  • 1/2 lime juice

What You Need to Do:

Heat a swirl of olive oil on medium. Add garlic and jalapeno, season with salt and pepper. Cook 2-3 minutes until soft and fragrant.


Add quinoa, broth, corn, beans, tomatoes, chili powder, cumin. Season with salt and pepper. Bring to a boil. Lower heat to a simmer and cover.


Let cook 20-25 minutes or until liquid is absorbed.


Turn off heat, add avocado, cilantro and lime juice. Stir to mix.


Serve immediately and enjoy!

If this recipe turns into a favorite, it’s super easy to keep all of the dry ingredients on hand (I like to buy the canned stuff and quinoa on sale or at Costco). Then, all you have to buy is lime, cilantro, avo, and jalapeno when you’re in the mood.

More one-pot wonder meals comin’ at ya soon!

Xoxo,

Lindsay

Hawaiian Pork Katsu

Aloha friends!

The hubster and I just got back from a whirlwind 3 1/2 days on the East Coast attending and being in the wedding of his sister Carrie and her new husband Anthony. They had their ceremony at their family’s church and a dream-come-true reception at The Wadsworth Mansion in CT. They then followed it up with an aloha honeymoon in Hawaii. Needless to say it was a struggle to quickly recover from a red-eye into wedding shenanigans into long flight back home. Caffeine was a must. As I got some super RARE and much needed coffee I passed an L&L Hawaiian BBQ restaurant that not only made me think about the newlywed’s awesome honeymoon but also made me realize that it had been waaaaay too long since I’ve had Katsu. Well, I have a blog now so Katsu it is!

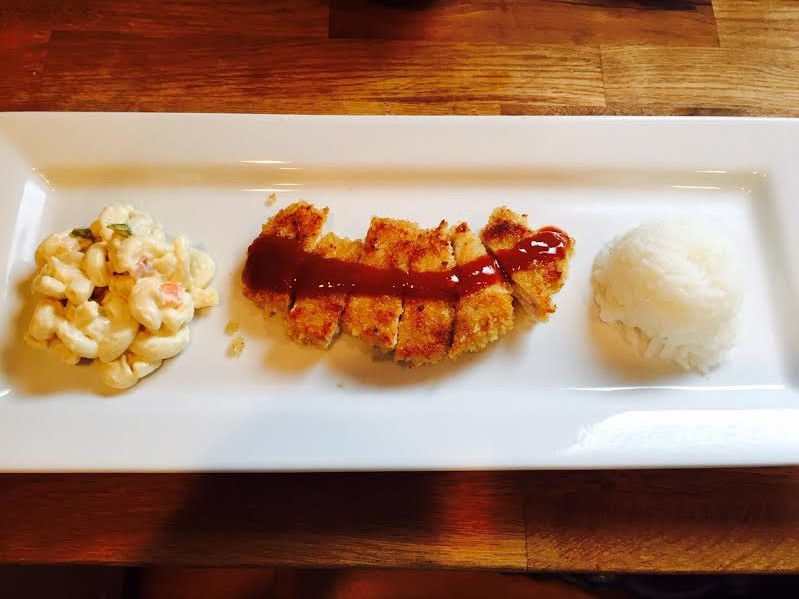
For today we’ll be making pork katsu, sauce and jasmine rice. We did pair it with macaroni salad but I have to tell you a secret: I didn’t make it. Agh! Gasp! I know, I know. I just didn’t have time today. But if you have a killer recipe go for it. If not, stop at a deli counter and scoop up some macaroni salad.

And now for my other secret. I haven’t the slightest clue how to make Katsu sauce. I mean I had some general ideas of the basics but had to search for a recipe. I’ve had several diff kinds of Katsu in my time with one of my favs being from a tiny restaurant on the island of Lana’i that offers up pork katsu drowned under a fried egg served Loco Moco style with straight up mushroom and carmelized onion gravy. Sorry if I’m drooling on this post.

For this one I adapted a recipe I found on William Sonoma’s website. The issue is that I didn’t have two of the ingredients (Mirin or Hot mustard) so I winged it. The result was a less sweet and more vinegary sauce that I totally fell in love with. So, there you have it. It may not be uber authentic but it’s delish. Let’s head to the kitchen…

Pork Katsu & Sauce Shopping List 

  • 8 thinly sliced pork chops (boneless)
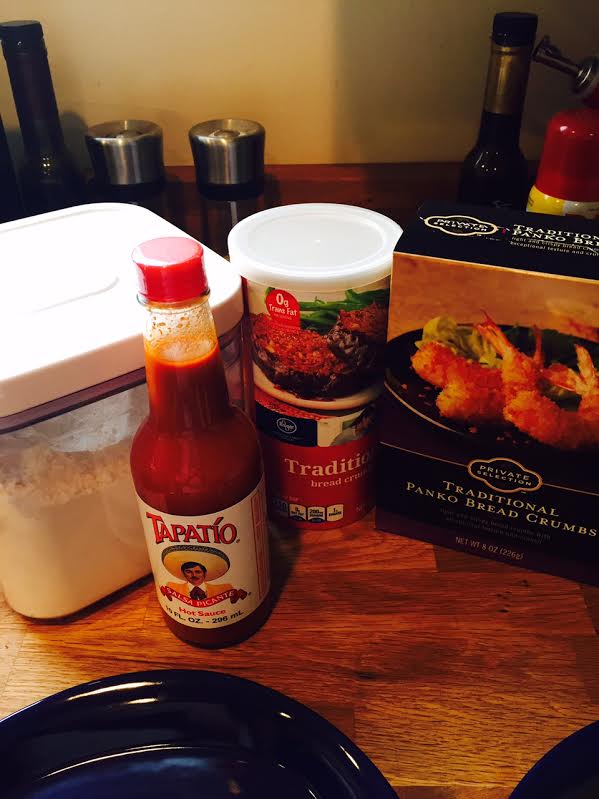
  • Breadcrumbs (I had Italian style on hand)
  • Panko
  • Soy Sauce
  • 2 eggs
  • Flour (all purpose or any other flour would work)
  • Garlic Powder, S&P
  • Olive Oil
  • Jasmine Rice
  • Butter
  • 1 tablespoon Ketchup
  • 2 tablespoons Soy Sauce
  • 1 tablespoon Worcestershire
  • 1 tablespoon Hot Mustard (I used 1/2 tablespoon yellow mustard and 1/2 tablespoon Tapatio or Cholula hot sauce)
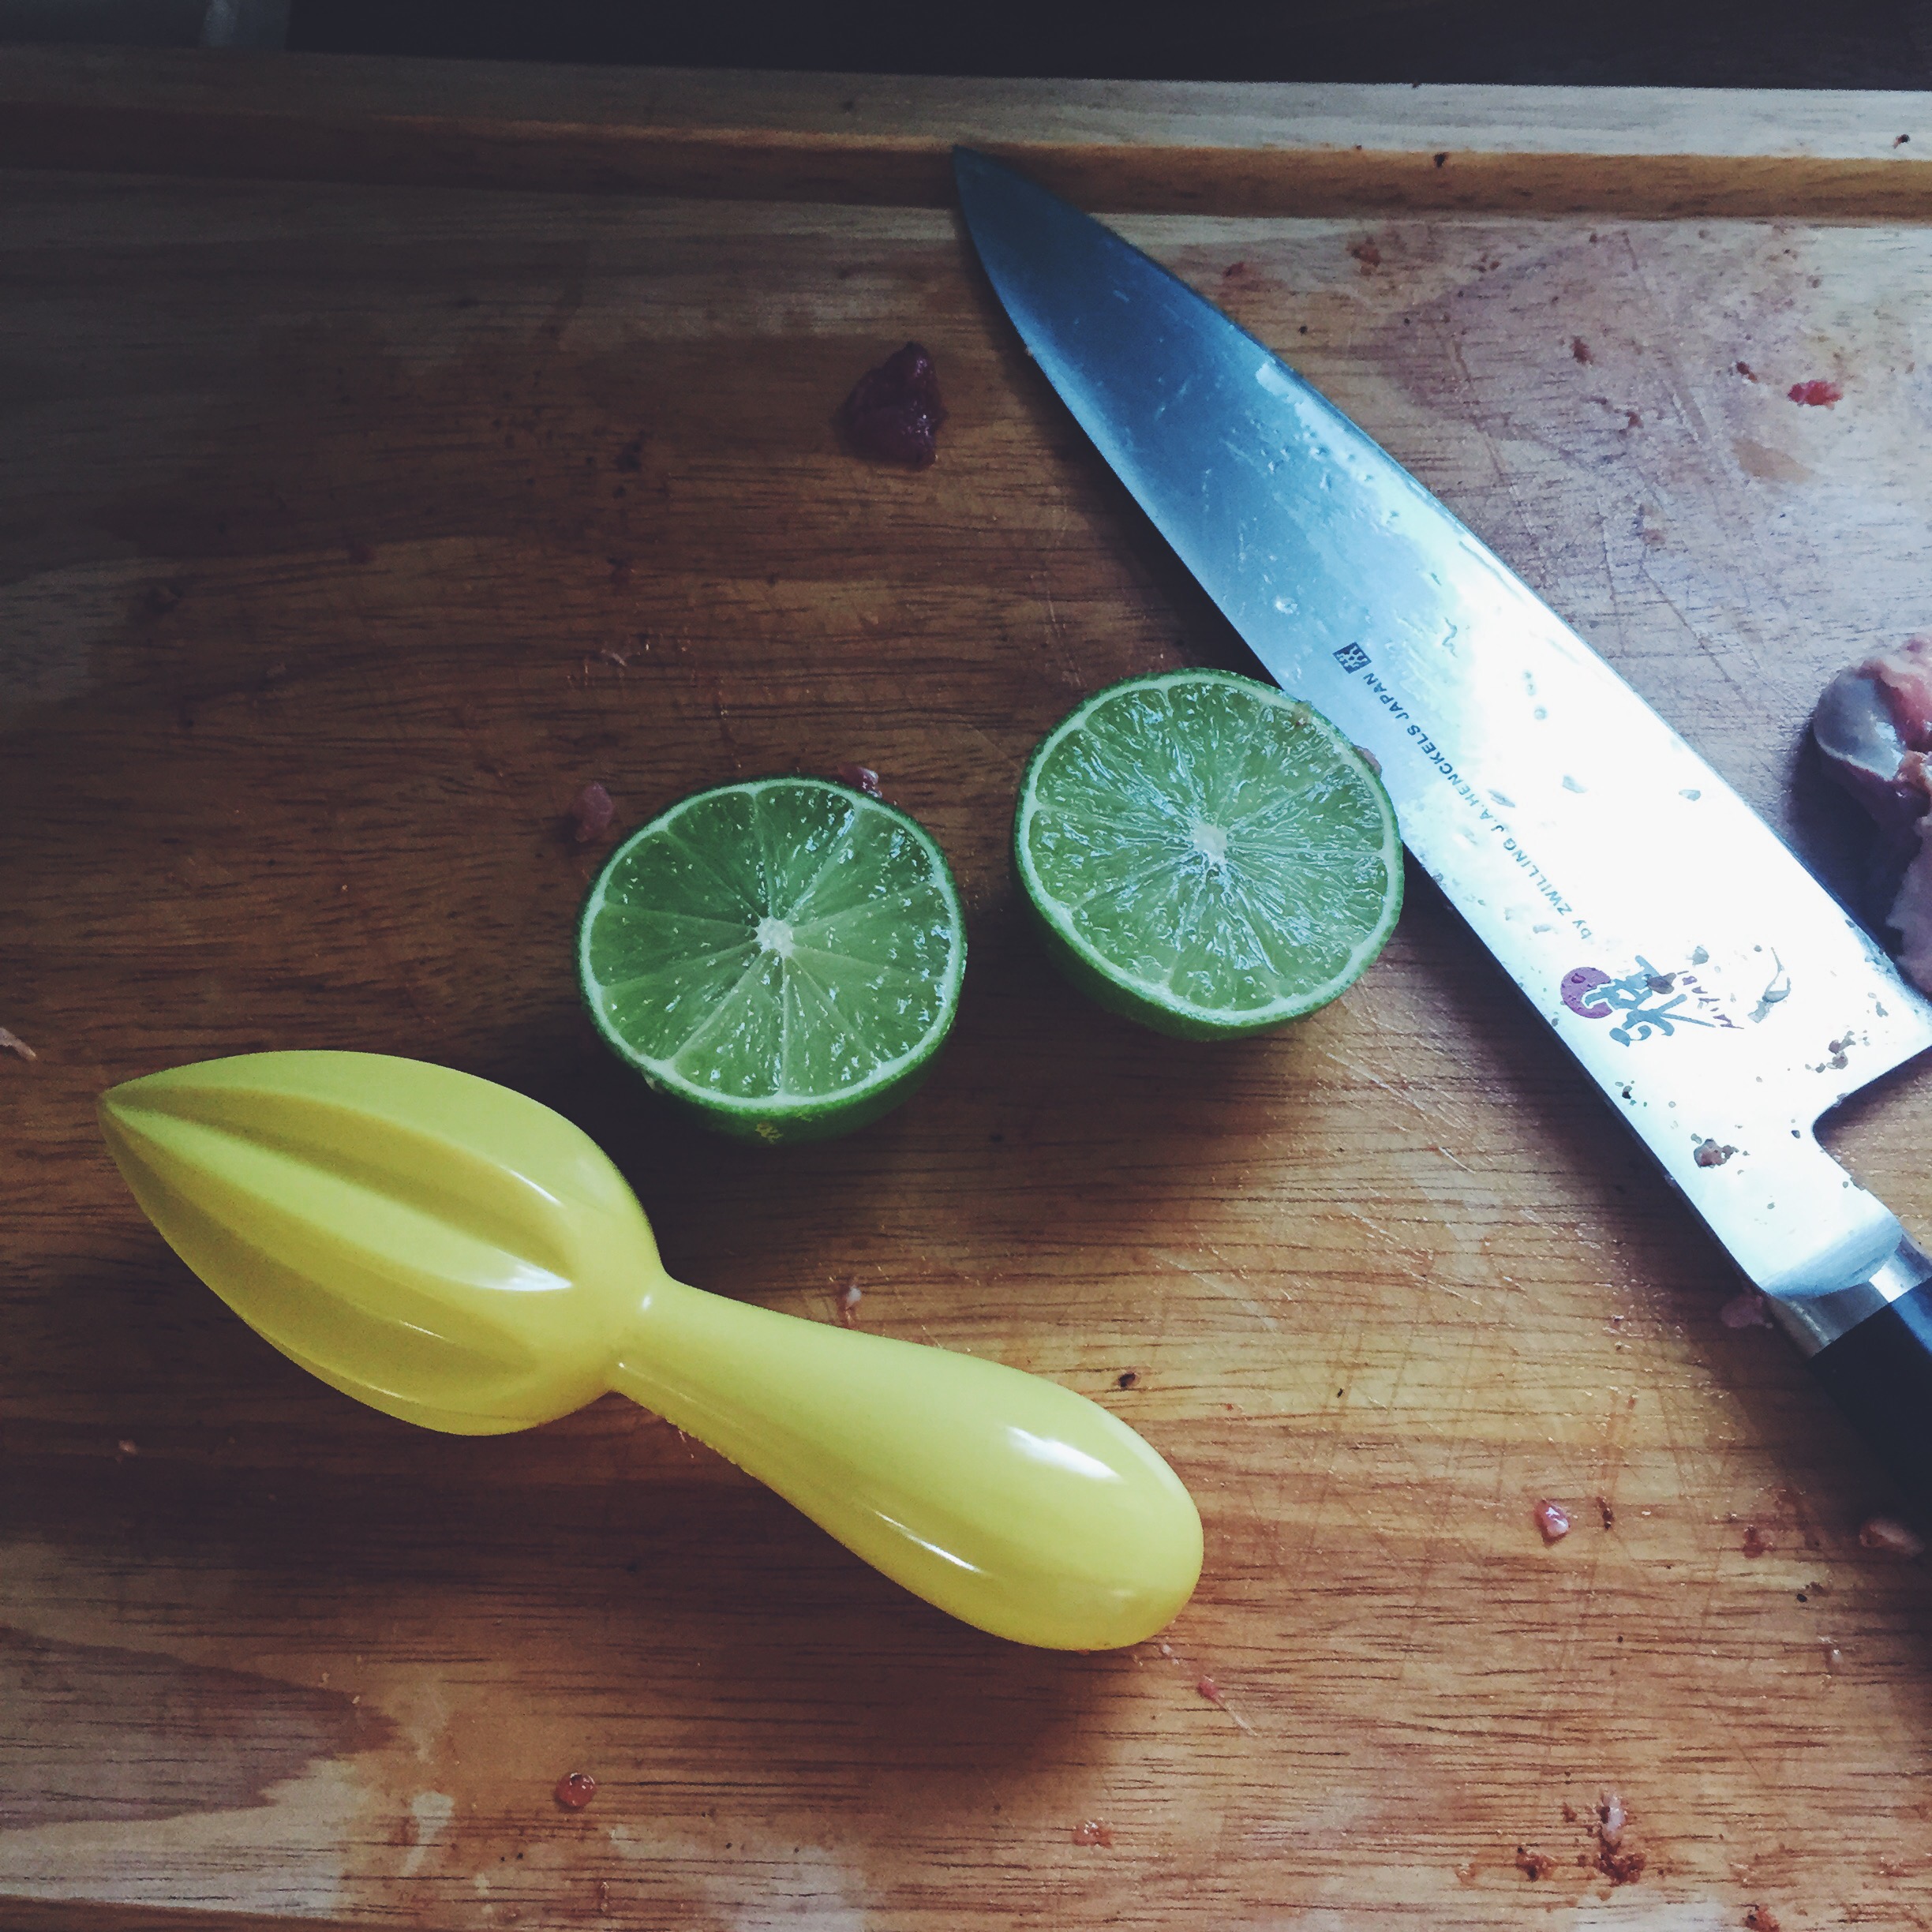
  • 1 tablespoon Mirin (I used apple cider vinegar. I really need to restock my pantry soon.)

Let’s make us some Katsu.

Pre-heat your oven to 400 degrees F.

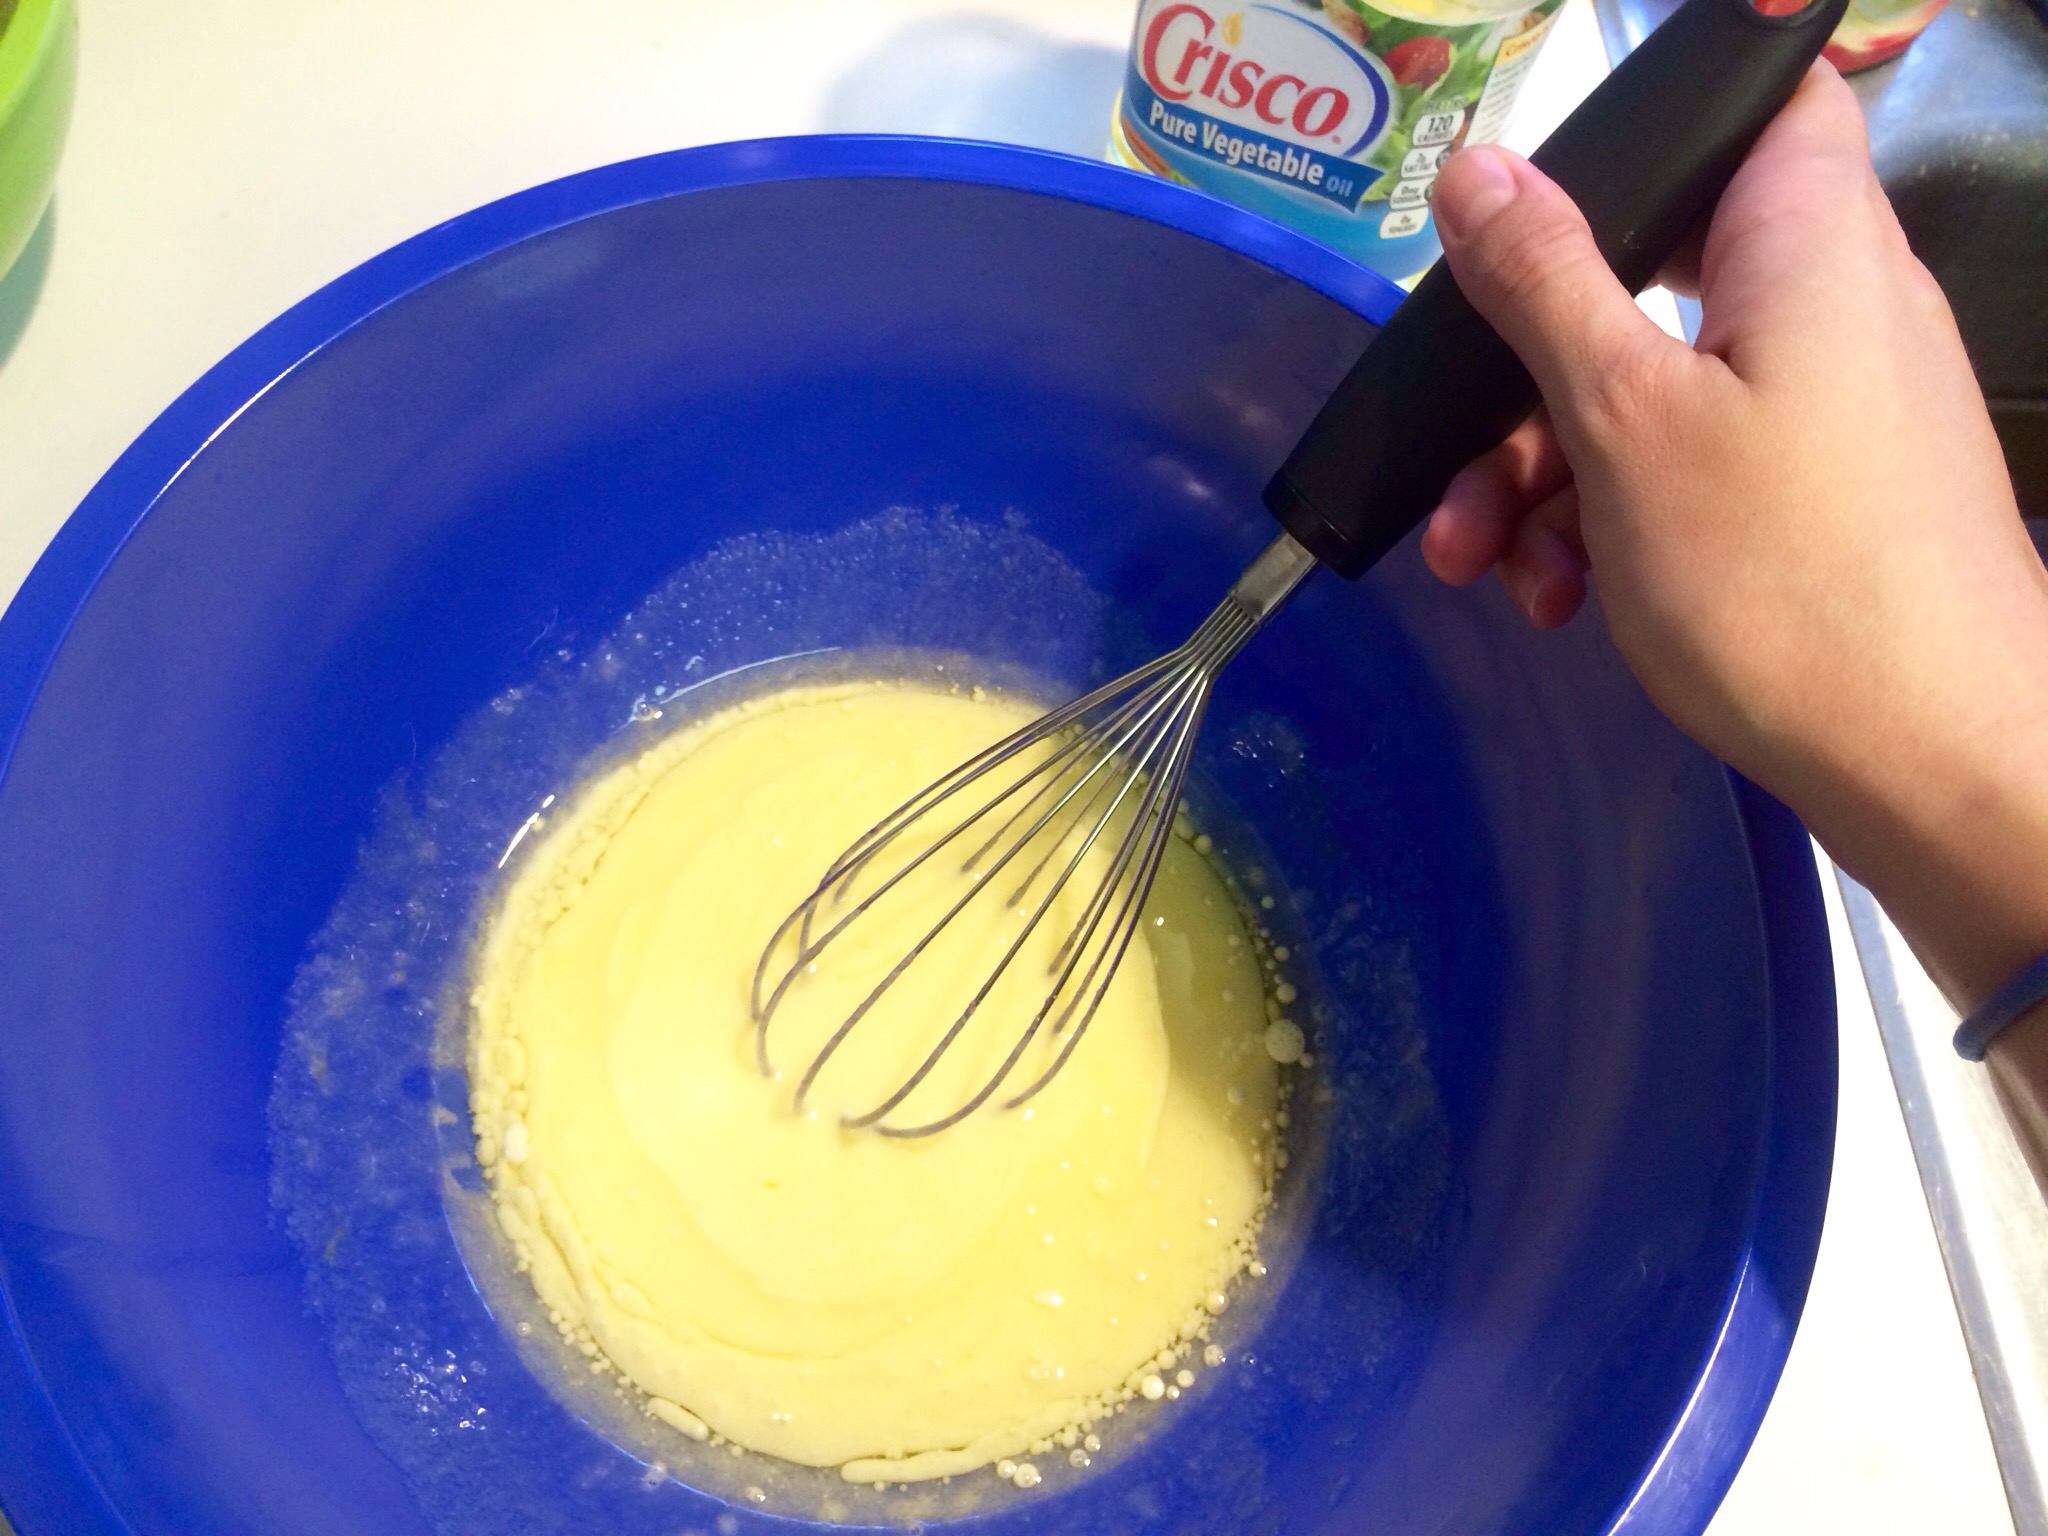
First prepare the dredging station for your pork chops. You’ll need 3 shallow dishes. In the first put 2 eggs, a dash of water and several dashes of soy sauce, several dashes of hot sauce and mix thoroughly (yolks should be totally broken and mixed in).

unnamed (58)

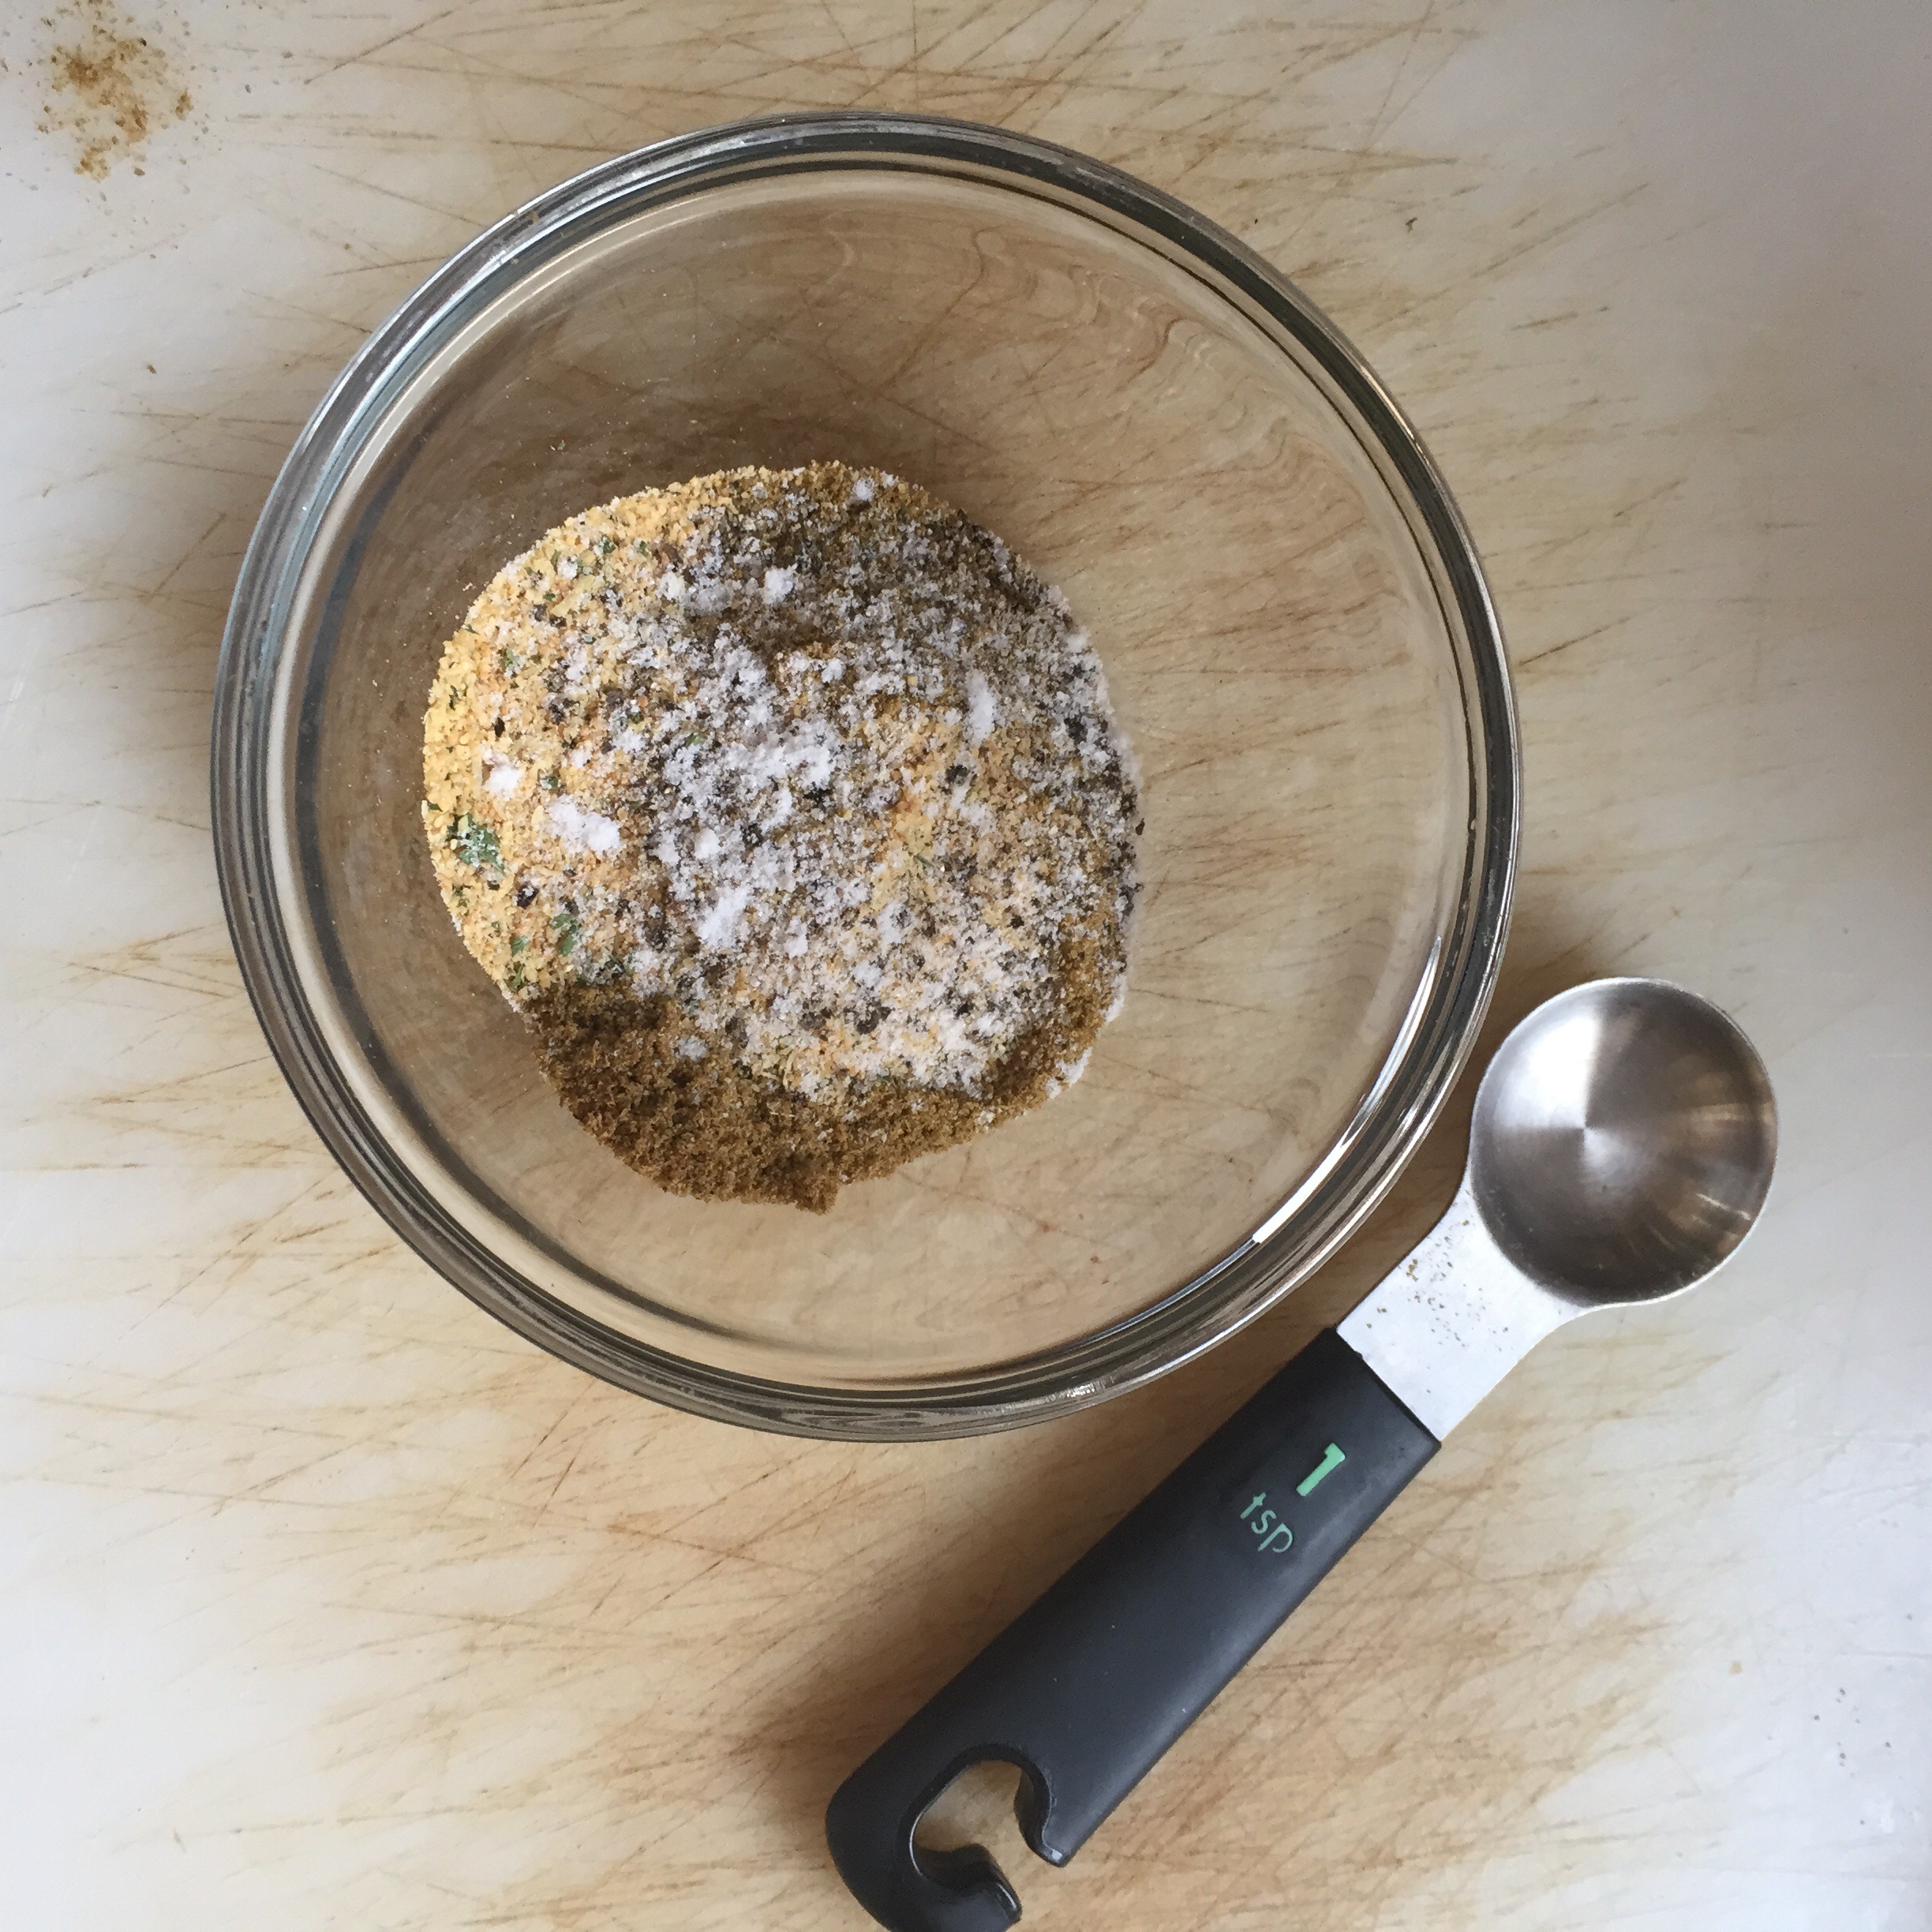
In the second dish put several heapings of flour, sprinkle with garlic powder and S&P.

unnamed (56)

In the third dish put 1 cup panko, 1 cup breadcrumbs and S&P. Start with this, you may need to add more later which is totally fine.

unnamed (59)

Take each pork chop, pat with a paper towel to remove any excess moisture. Now dip it in the flour, then the egg, then the crumbs on both sides. Place onto a plate or cutting board for safe keeping.

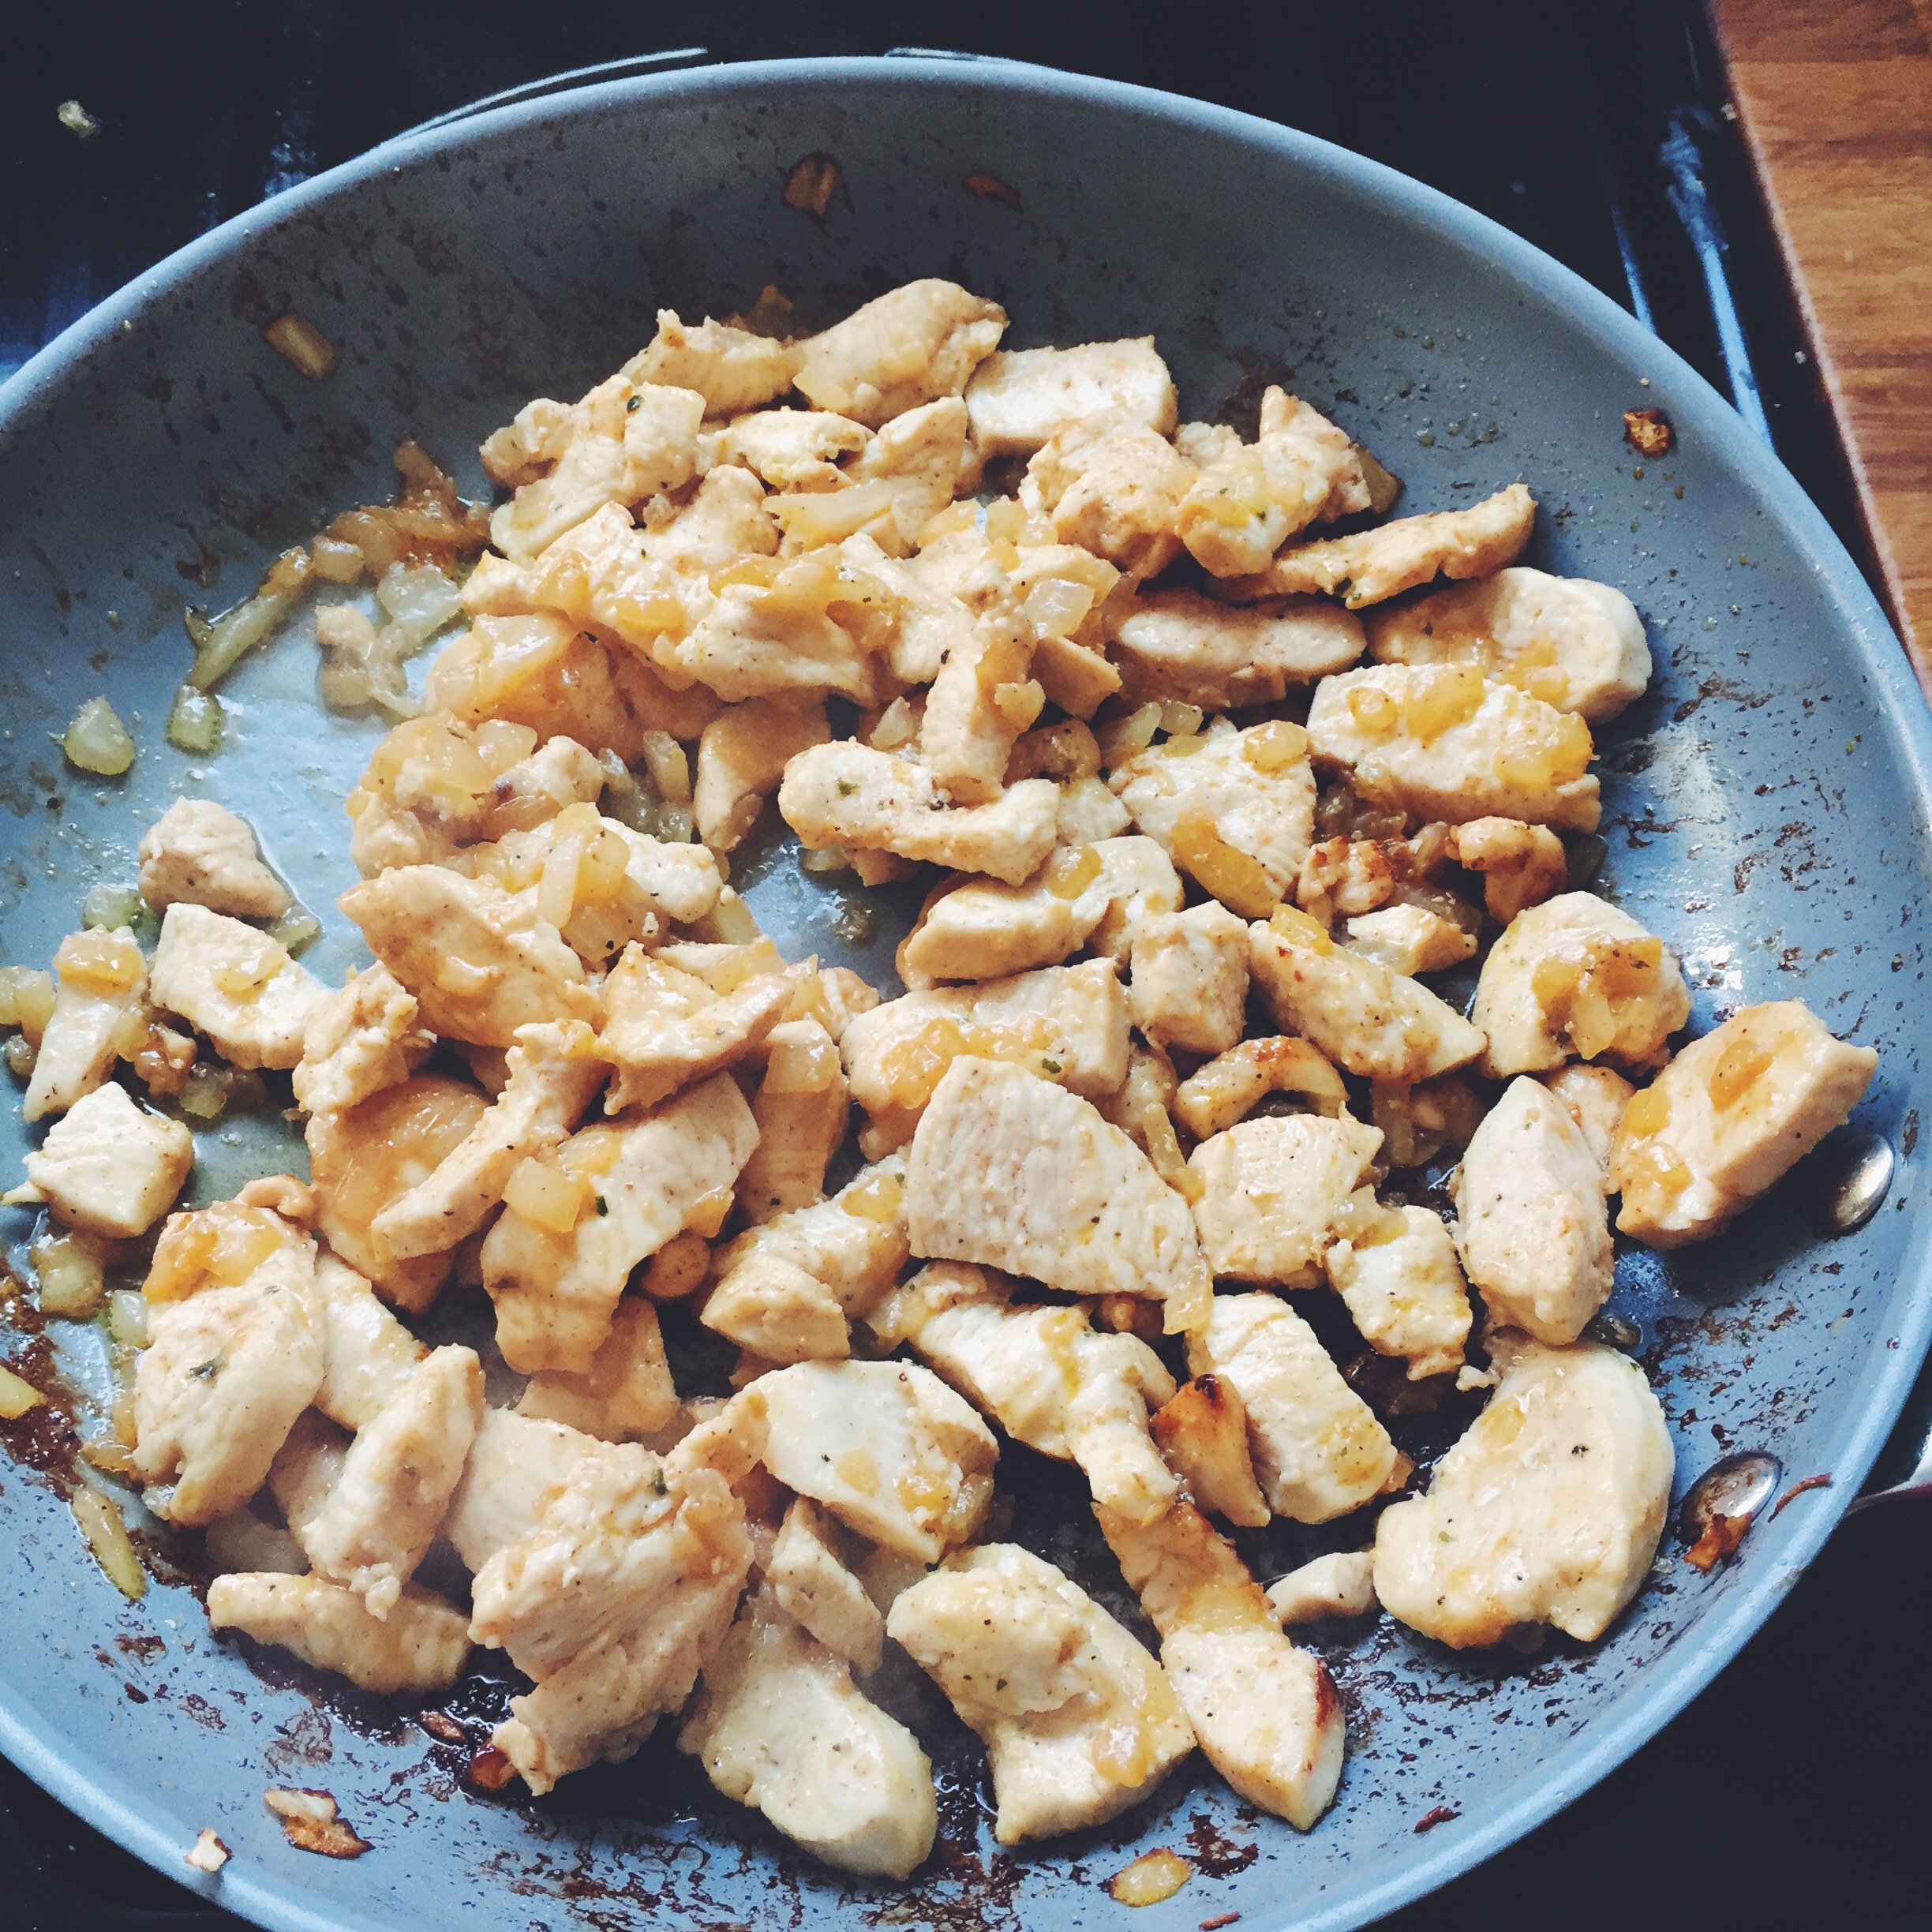
When all the chops have been dressed heat up a nonstick skillet on Med-Hi heat and hit it with olive oil. Wait until it’s pretty hot and brown each side of the pork chop. Make sure the pan has plenty of oil as you do this or else you’ll get blackened bits and not awesome tasty brown bits.

Place the browned chops on a baking sheet and bake until cooked through to a safe internal temperature of 165. This took about 15 min. May take more or less depending on the thickness of the chop.

unnamed (61)

While that’s cooking let’s whip up some rice and sauce.

In a sauce pan mix 2 cups water with 1 cup jasmine rice. Boil and stir until the rice is tender and water is mostly absorbed (took me about 17 min). HIt this with a tablespoon of butter, salt and mix well.

In a bowl combine the Ketchup, soy sauce, Worcestershire, mustard and vinegar and taste. Adjust seasonings accordingly.

unnamed (60)

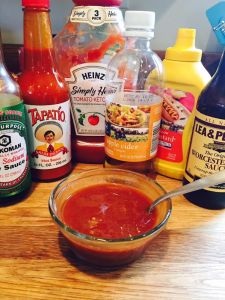
Plate up your pork, rice, and macaroni salad and drizzle with the sauce. And there you have it. Homemade Katsu.

unnamed (62)

Aloha!

xoxo Shawna

Grilled Marinated Chicken and Mexican Street Corn w/ Chipotle Crema…Ole!

Hello interweb amigos!

You want a super tasty and easy dinner that has a latin flair?!?! Well you are in luck. This is one of our weekly go-to meals and can easily be transitioned into a big ol’ meal for a crowd. Serve it with rice and guacamole and you have a South of the Border Feast! Now you can make this all indoors in the oven/stove top or on the grill. It’s very flexible like that.

Delicioso Ingredients

  • 1 lb chicken breasts (we used the thin sliced – if you use whole give them a few whacks (in between parchment or saran wrap) with a meat mallet or back of a skillet to thin them out a bit)
  • 4 tablespoons fresh lemon juice
  • Garlic (2 diced up cloves)
  • Garlic Powder, S&P, Paprika, Olive Oil
  • 2 large ears of corn, husks removed and corn cut in half
  • 1 cup sour cream
  • 1 small can chipotles in adobo
  • lime (juice)
  • Cotija cheese

It’s time to get cooking

First, let’s pre-heat your grill (if using oven, bake your chicken at 350 degrees F until cooked through – internal temp of 165 degrees)

unnamed (41)

The marinade for the chicken is so easy. In a large mixing bowl mix up the following:

  • 8 tablespoons olive oil
  • 4 tablespoons lemon juice
  • 2 diced garlic cloves
  • 1/4 tsp garlic powder
  • 1/2 tsp paprika
  • Lots of S&P

unnamed (42)

Now whisk that dressing until well combined.

unnamed (43)

Add your chicken into the bowl and combine thoroughly. Really get that marinade in there. It should be a happy lemon garlic chicken pool of awesome. Cover the bowl with saran wrap and put it in the fridge. I left mine an hour before cooking but if you are short on time any time will do.

unnamed (44)

Next, let’s make the AMAZING chipotle crema for the street corn. Yes we are making corn that has no butter in it but I swear this is the most amazing corn you will have ever made your family.

unnamed (45)

In a small bowl combine 1 cup sour cream and 1 heaping tablespoon of the sauce from inside of the chipotles in adobo can. The peppers are spicy! If you use just the sauce and not the pepper you still get spice but not “holy cow someone give me water…or bread…or milk…stat!” spicy. If you are feeling courageous take one of the peppers out, dice up and throw it in. Be bold. Be Spicy. (I feel like that’s a marketing tag line for something…..)

Squeeze in some lime (we used a 1/2 lime) and hit it with lots of S&P. Combine and tah dah!

unnamed (47)

Wrap with saran wrap and let it get happy in the fridge. The longer it goes the better the ingredients come together.

unnamed (48)

Now the corn. In a small sauce pan add in your two corn ears, cut in half, and cover with water. Boil just a couple of minutes until the yellow starts to darken.

unnamed (49)

Flip over in the water if needed to get all sides. This is to cook them ever so slightly. Next we will hit it with some fire flavor.

unnamed (50)

But…before we flame our corn, go ahead and grill or bake your chicken. Ours took about 12 minutes on the grill. Or enough for the Dude in the Galley to finish 1 Coor’s Light. 🙂

unnamed (51)

Back to the corn! Over a flame (stove top or direct flame on a grill) flame char your corn. Make sure to use tongs and a pot holder to protect yourself. Let the corn just start to blister in some places. Pay attention because this goes very fast once it starts to blister. Trust me on this one, the flavor this makes is incredible.

unnamed (52)

Add corn skewers, rub the corn with some lime, drizzle the crema over the corn and top with cotija cheese. Seriously, if you’ve never had corn like this you may never want to eat it any other way. It’s AMAZING.

unnamed (53)

Plate up this super flavorful South of the Border inspired meal and let your friends and family thank you. You can also serve this with rice and guacamole to really make it a big treat. Hope you love this as much as we do. Enjoy!

unnamed (54)

xoxo Shawna