Boneless Short Rib (Slow Cooker)

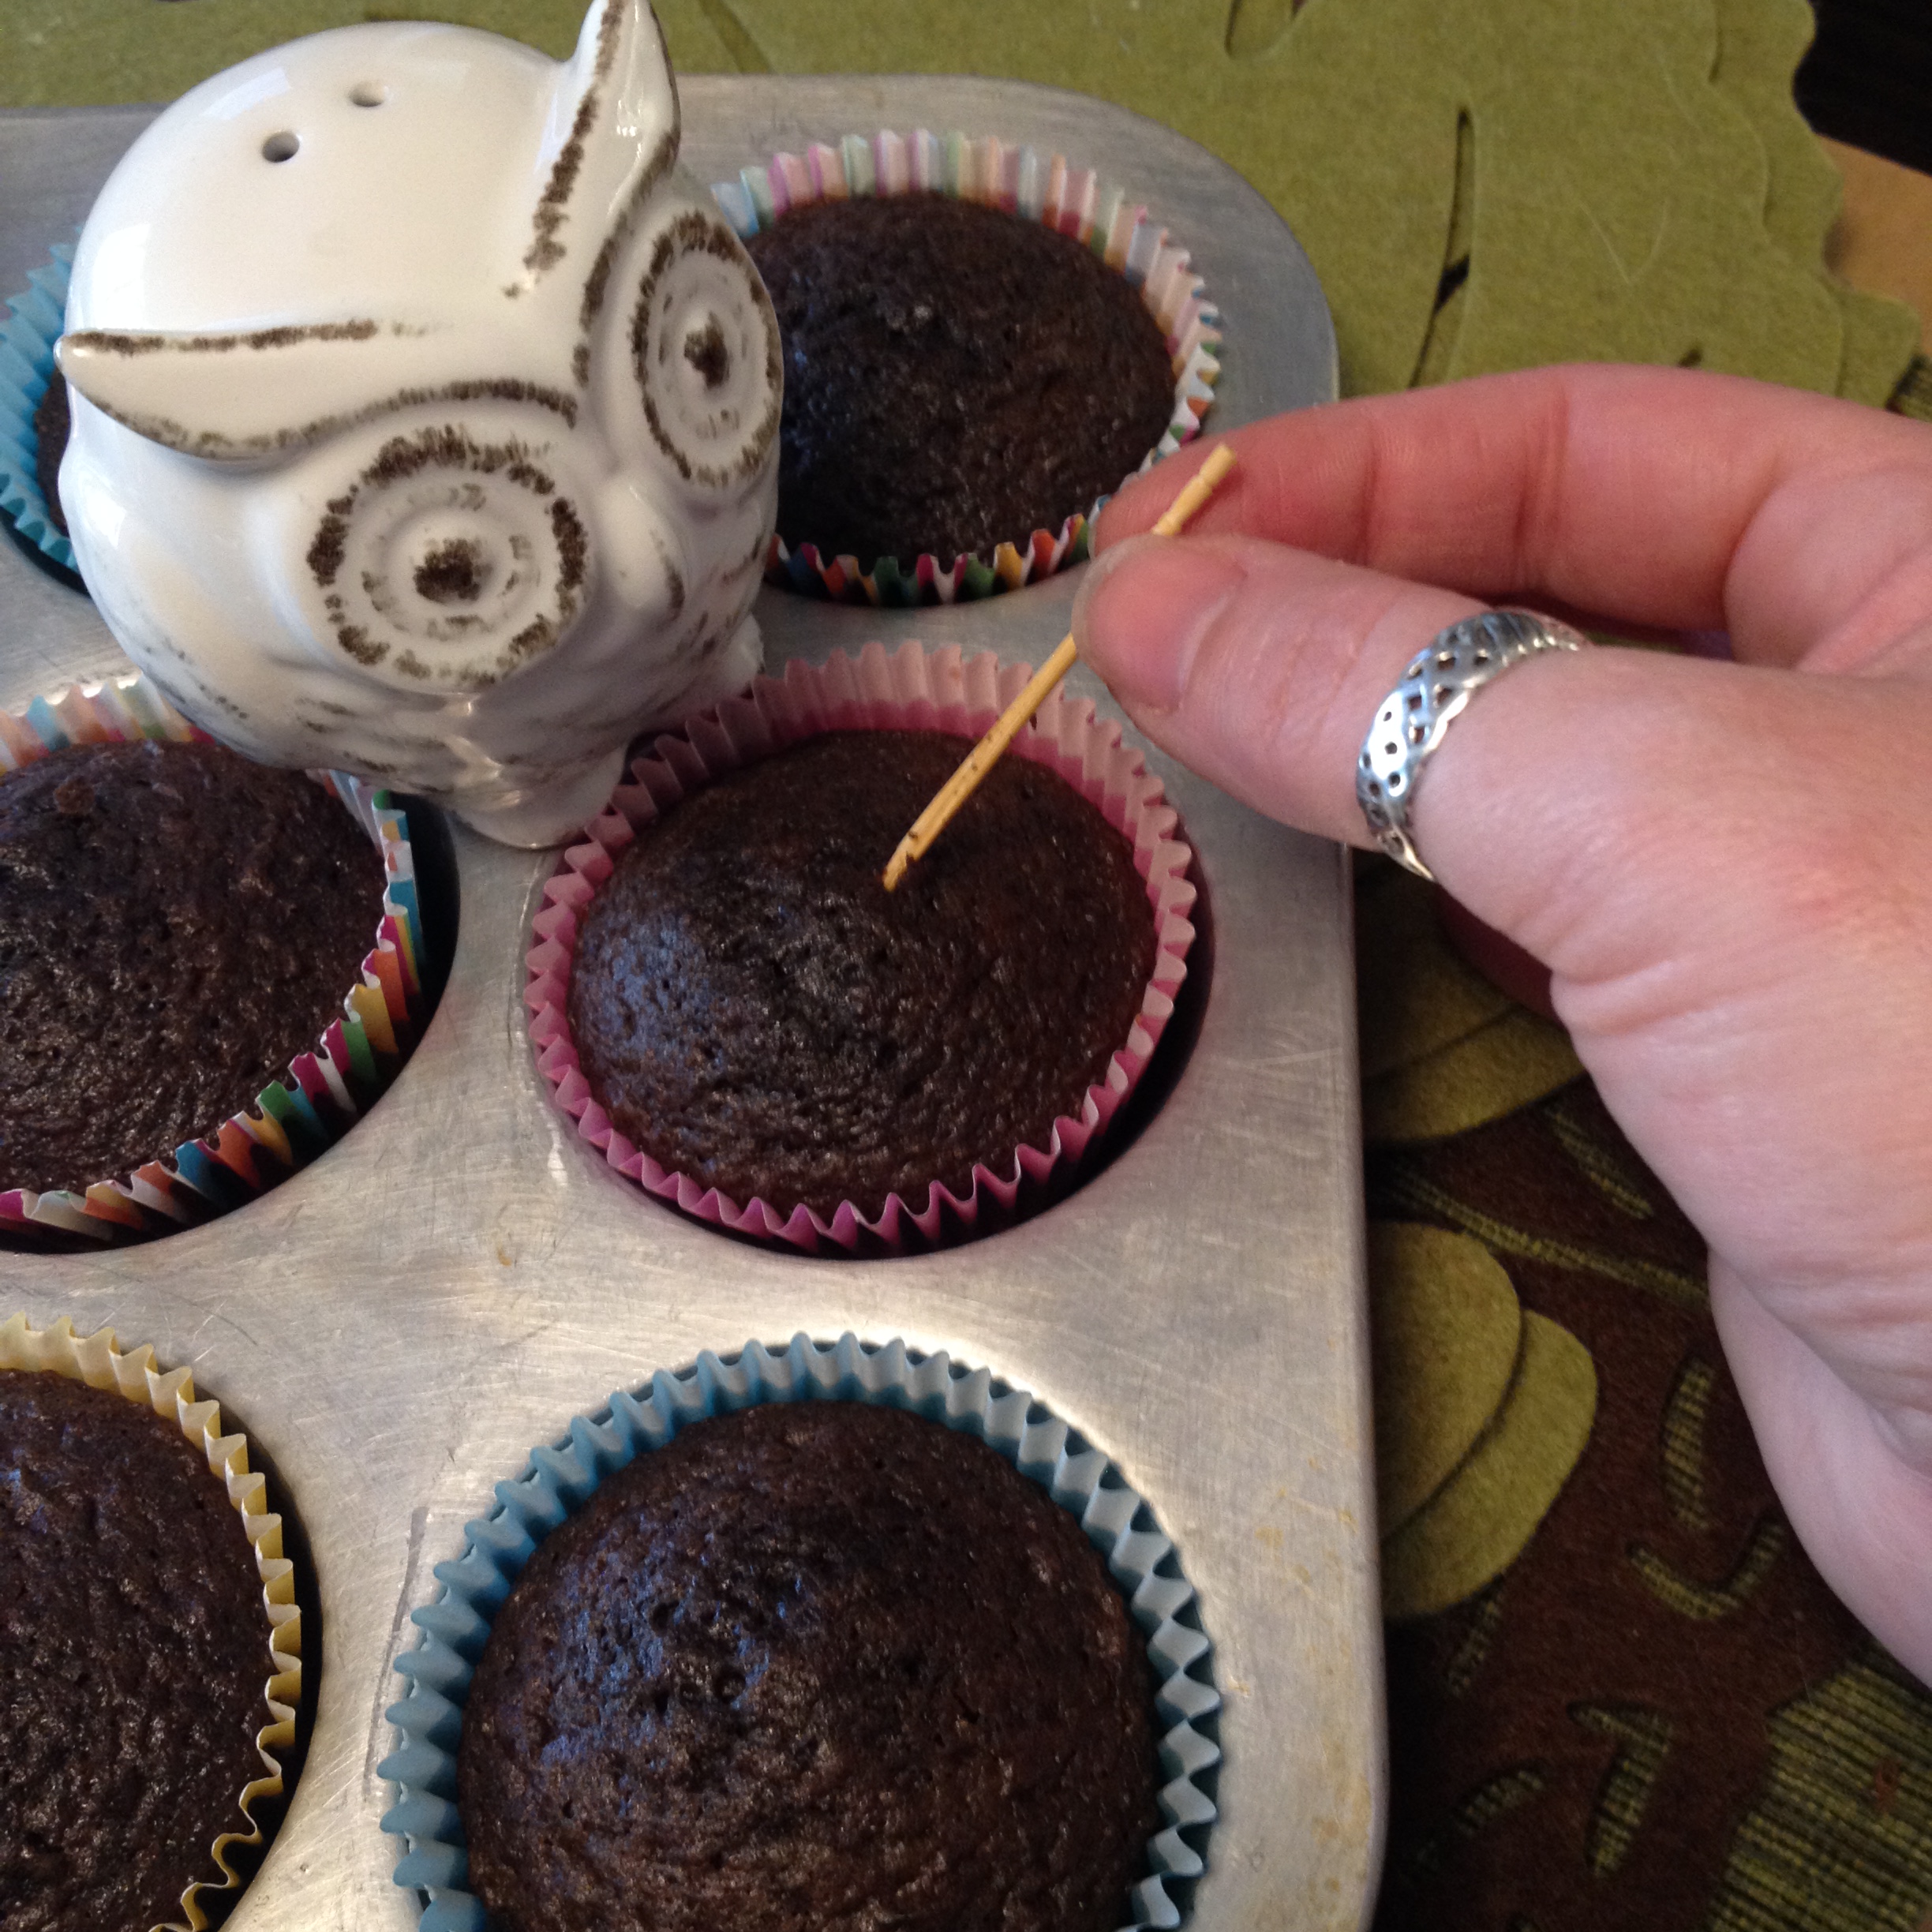
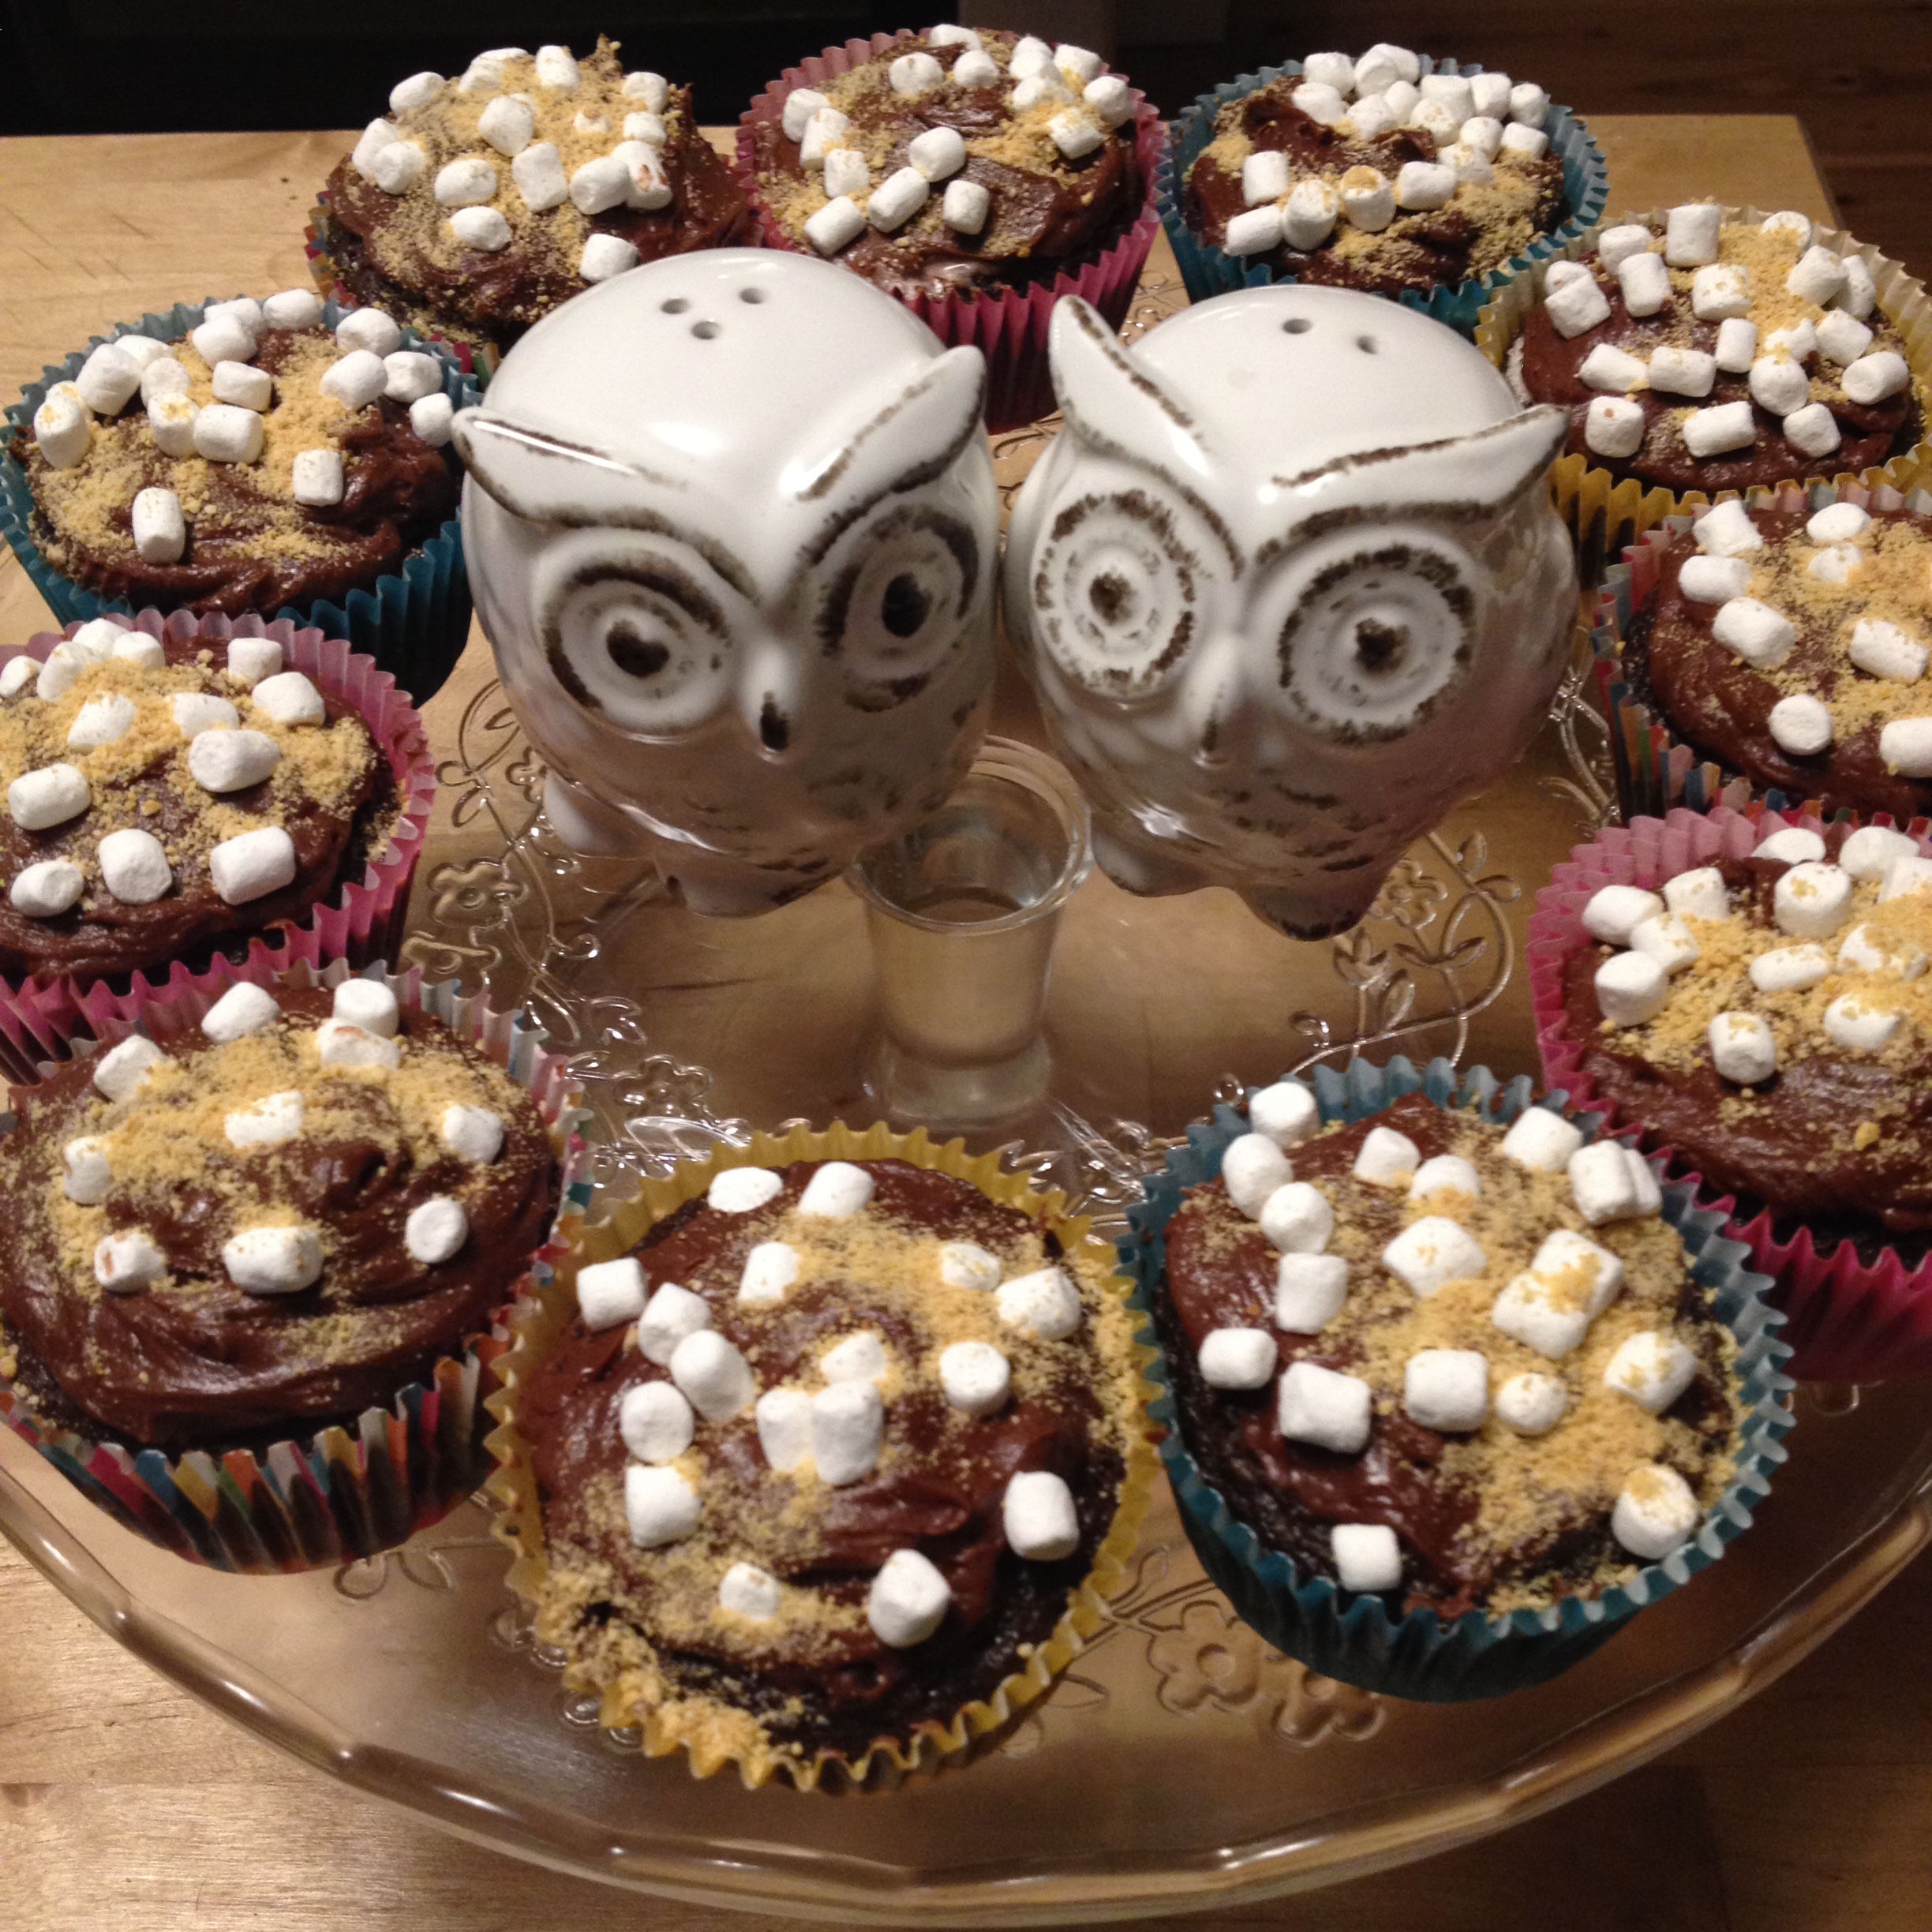
Happy Birthday America! 

Our friends got together yesterday to eat fried foods, red, white and blue themed fruit plates and fun summer cocktails yesterday in Pacific Beach. We also had pie which meant we were lucky enough to have pie for breakfast. No judging America. It was amazing. 

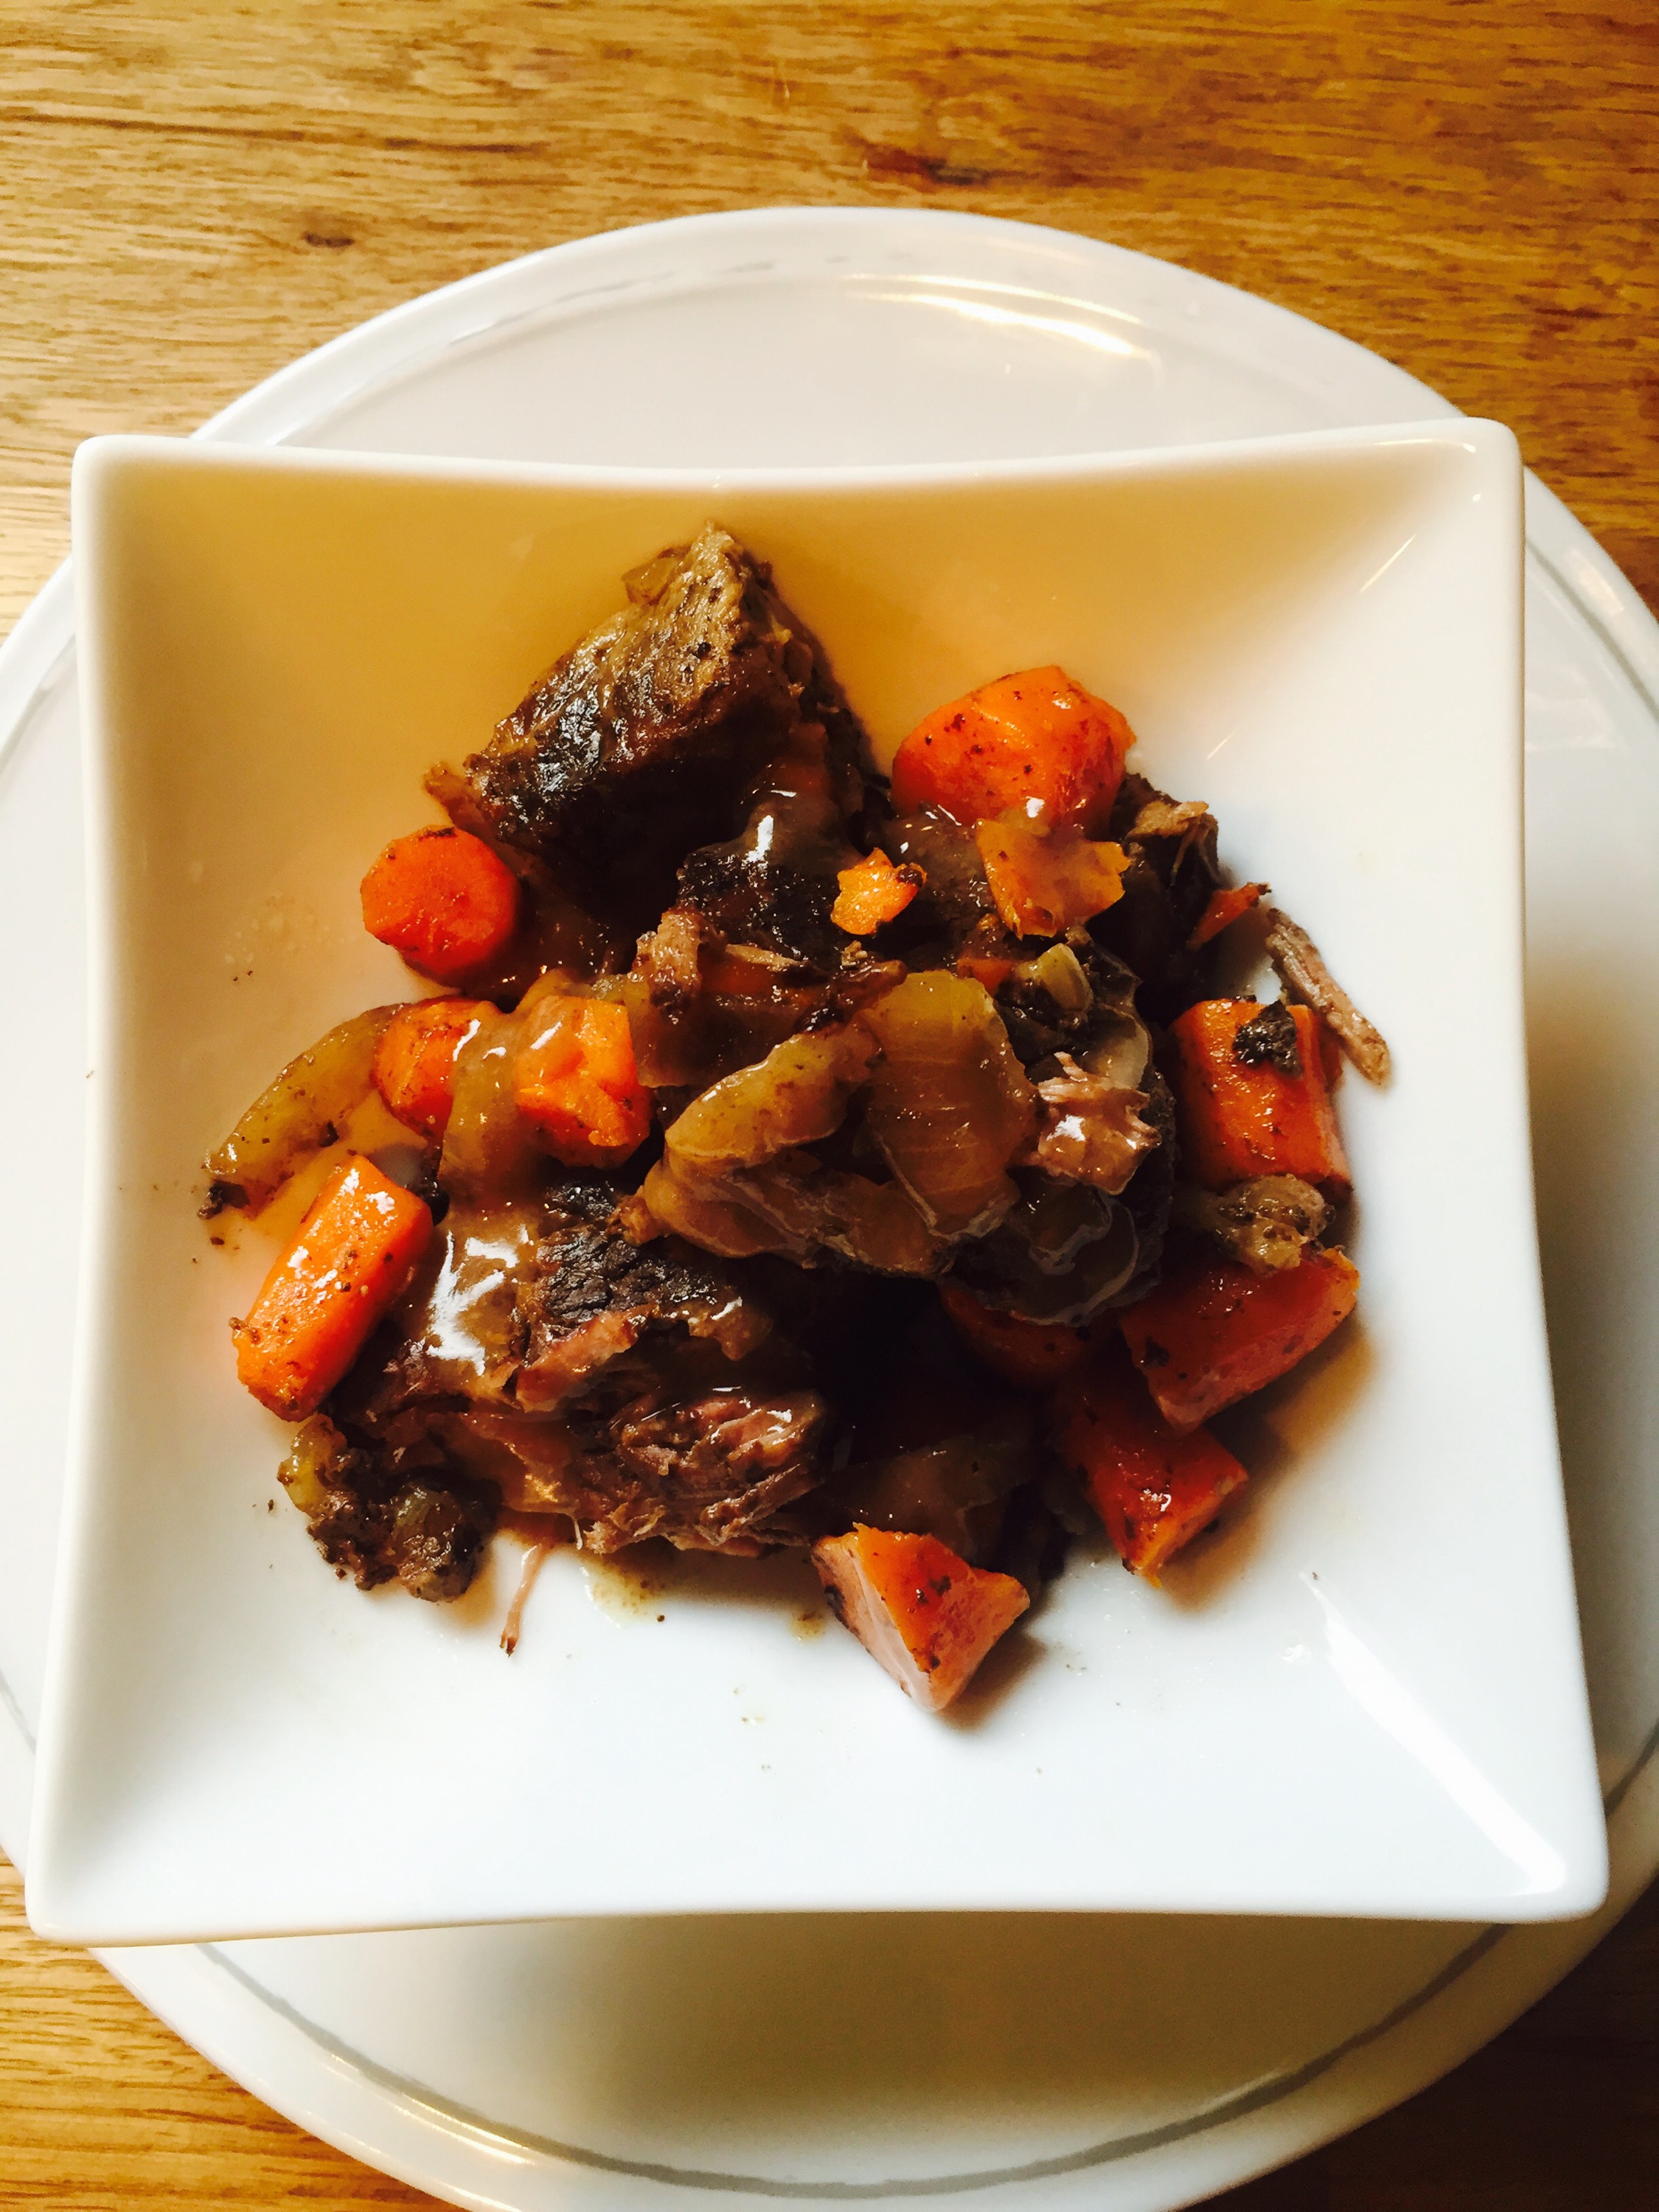
On this last day of our three day holiday we’re gonna go out with a bang – slow cooked boneless beef ribs. The versions we make cooks low and slow all day then we take the juices, remove the fat and turn it into a gravy. We then serve it with buttered egg noodles with a touch of sour cream. We are so grateful for this country and all the delicious food we have available to us so let’s honor that and make a knock it out of the park dinner. Let’s get cookin’! 

The Goods

  • 3-4 lbs boneless short ribs (Today we got ours from Costco)
  • 2 lbs carrots, peeled and diced 
  • 1 large white onion, sliced 
  • 1 1/2 c beef broth (3/4 c for slow cooker, rest for gravy after if needed) 
  • Seasoning: S&P, Garlic Powder
  • Worchestshire 
  • 2 tablespoons butter
  • 2 tablespoons flour 
  • Side: egg noodles, butter, sour cream 

Beef Cooking Time

Plug in your slow cooker and turn to Low. 

  
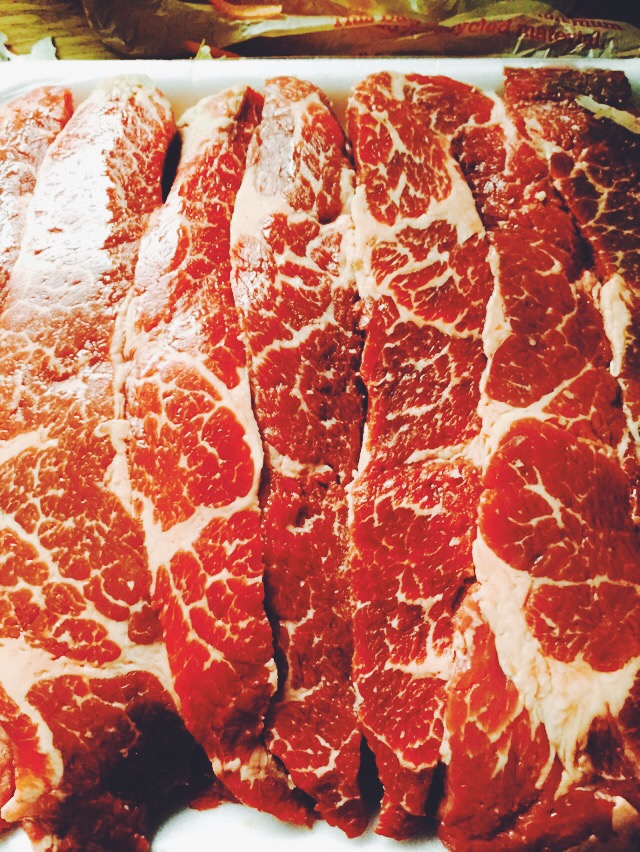
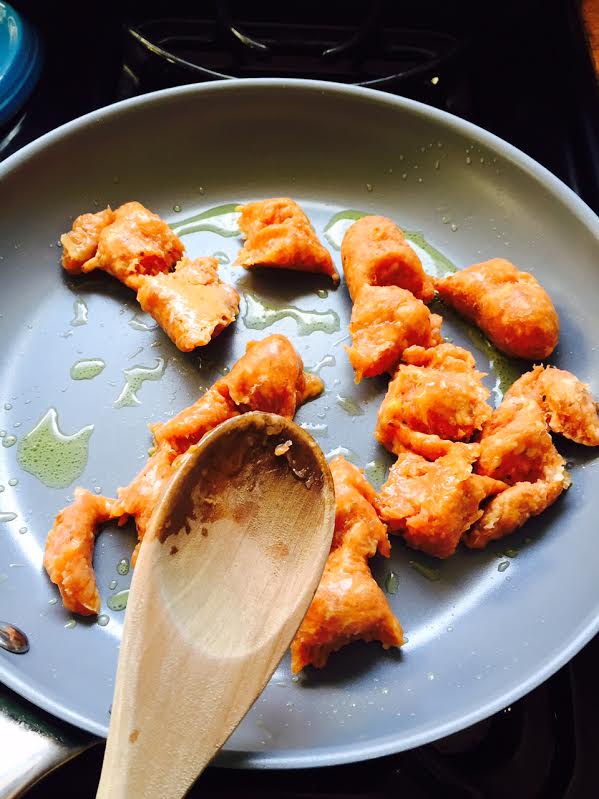
Cut your ribs into chunks (each long piece we cut into thirds) and put into a large bowl. Add a good amount of S&P, about 2 teaspoons garlic powder, 6 dashes of Worchestshire and one swirl of olive oil. Mix to combine and well coat each piece. Let this hang out in the fridge for up to an hour or as little as 10 min. 

  
Peel and dice your carrots and add to the slow cooker. 

  
Slice your onions and add to slow cooker.

  
Combine with the carrots and add S&P.

Add your beef on top. 

  
Add in 3/4 c beef stock.

Put on the lid and forget about it for 10 hours.

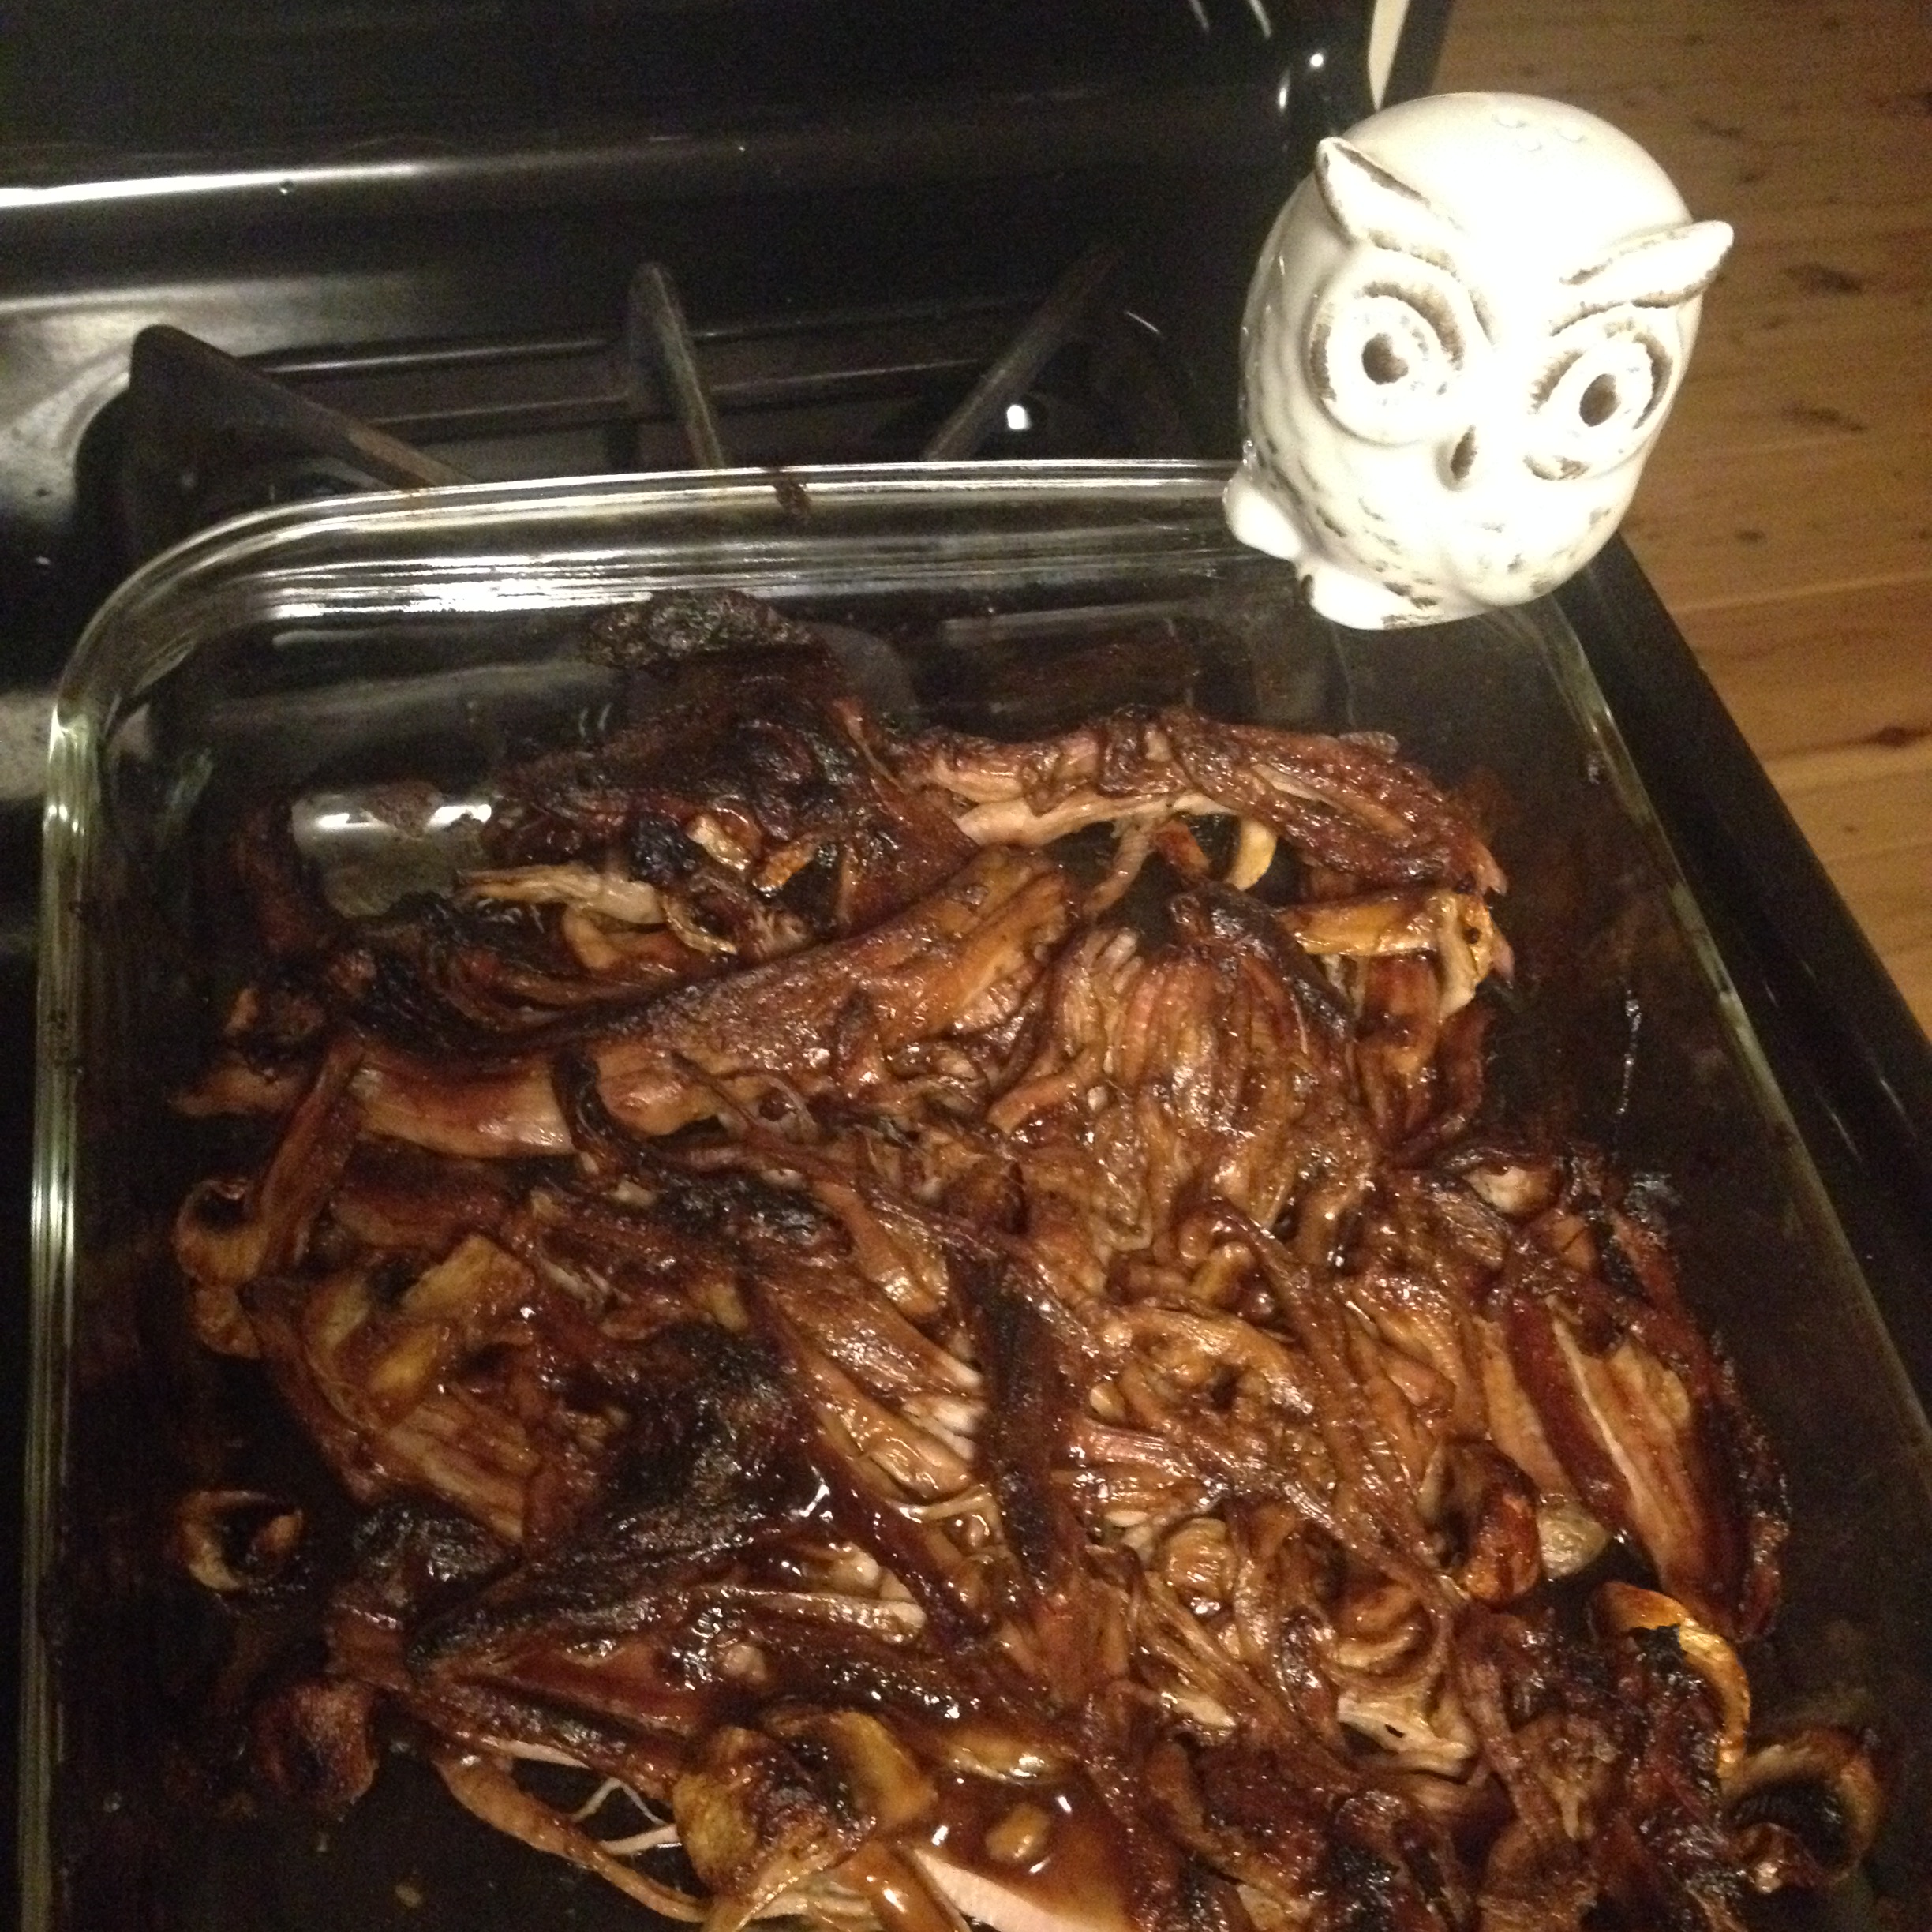
When all cooked remove the meat.

  
Strain the juice into a fat seperator and return the meat to the slow cooker and put on “warm”.

  
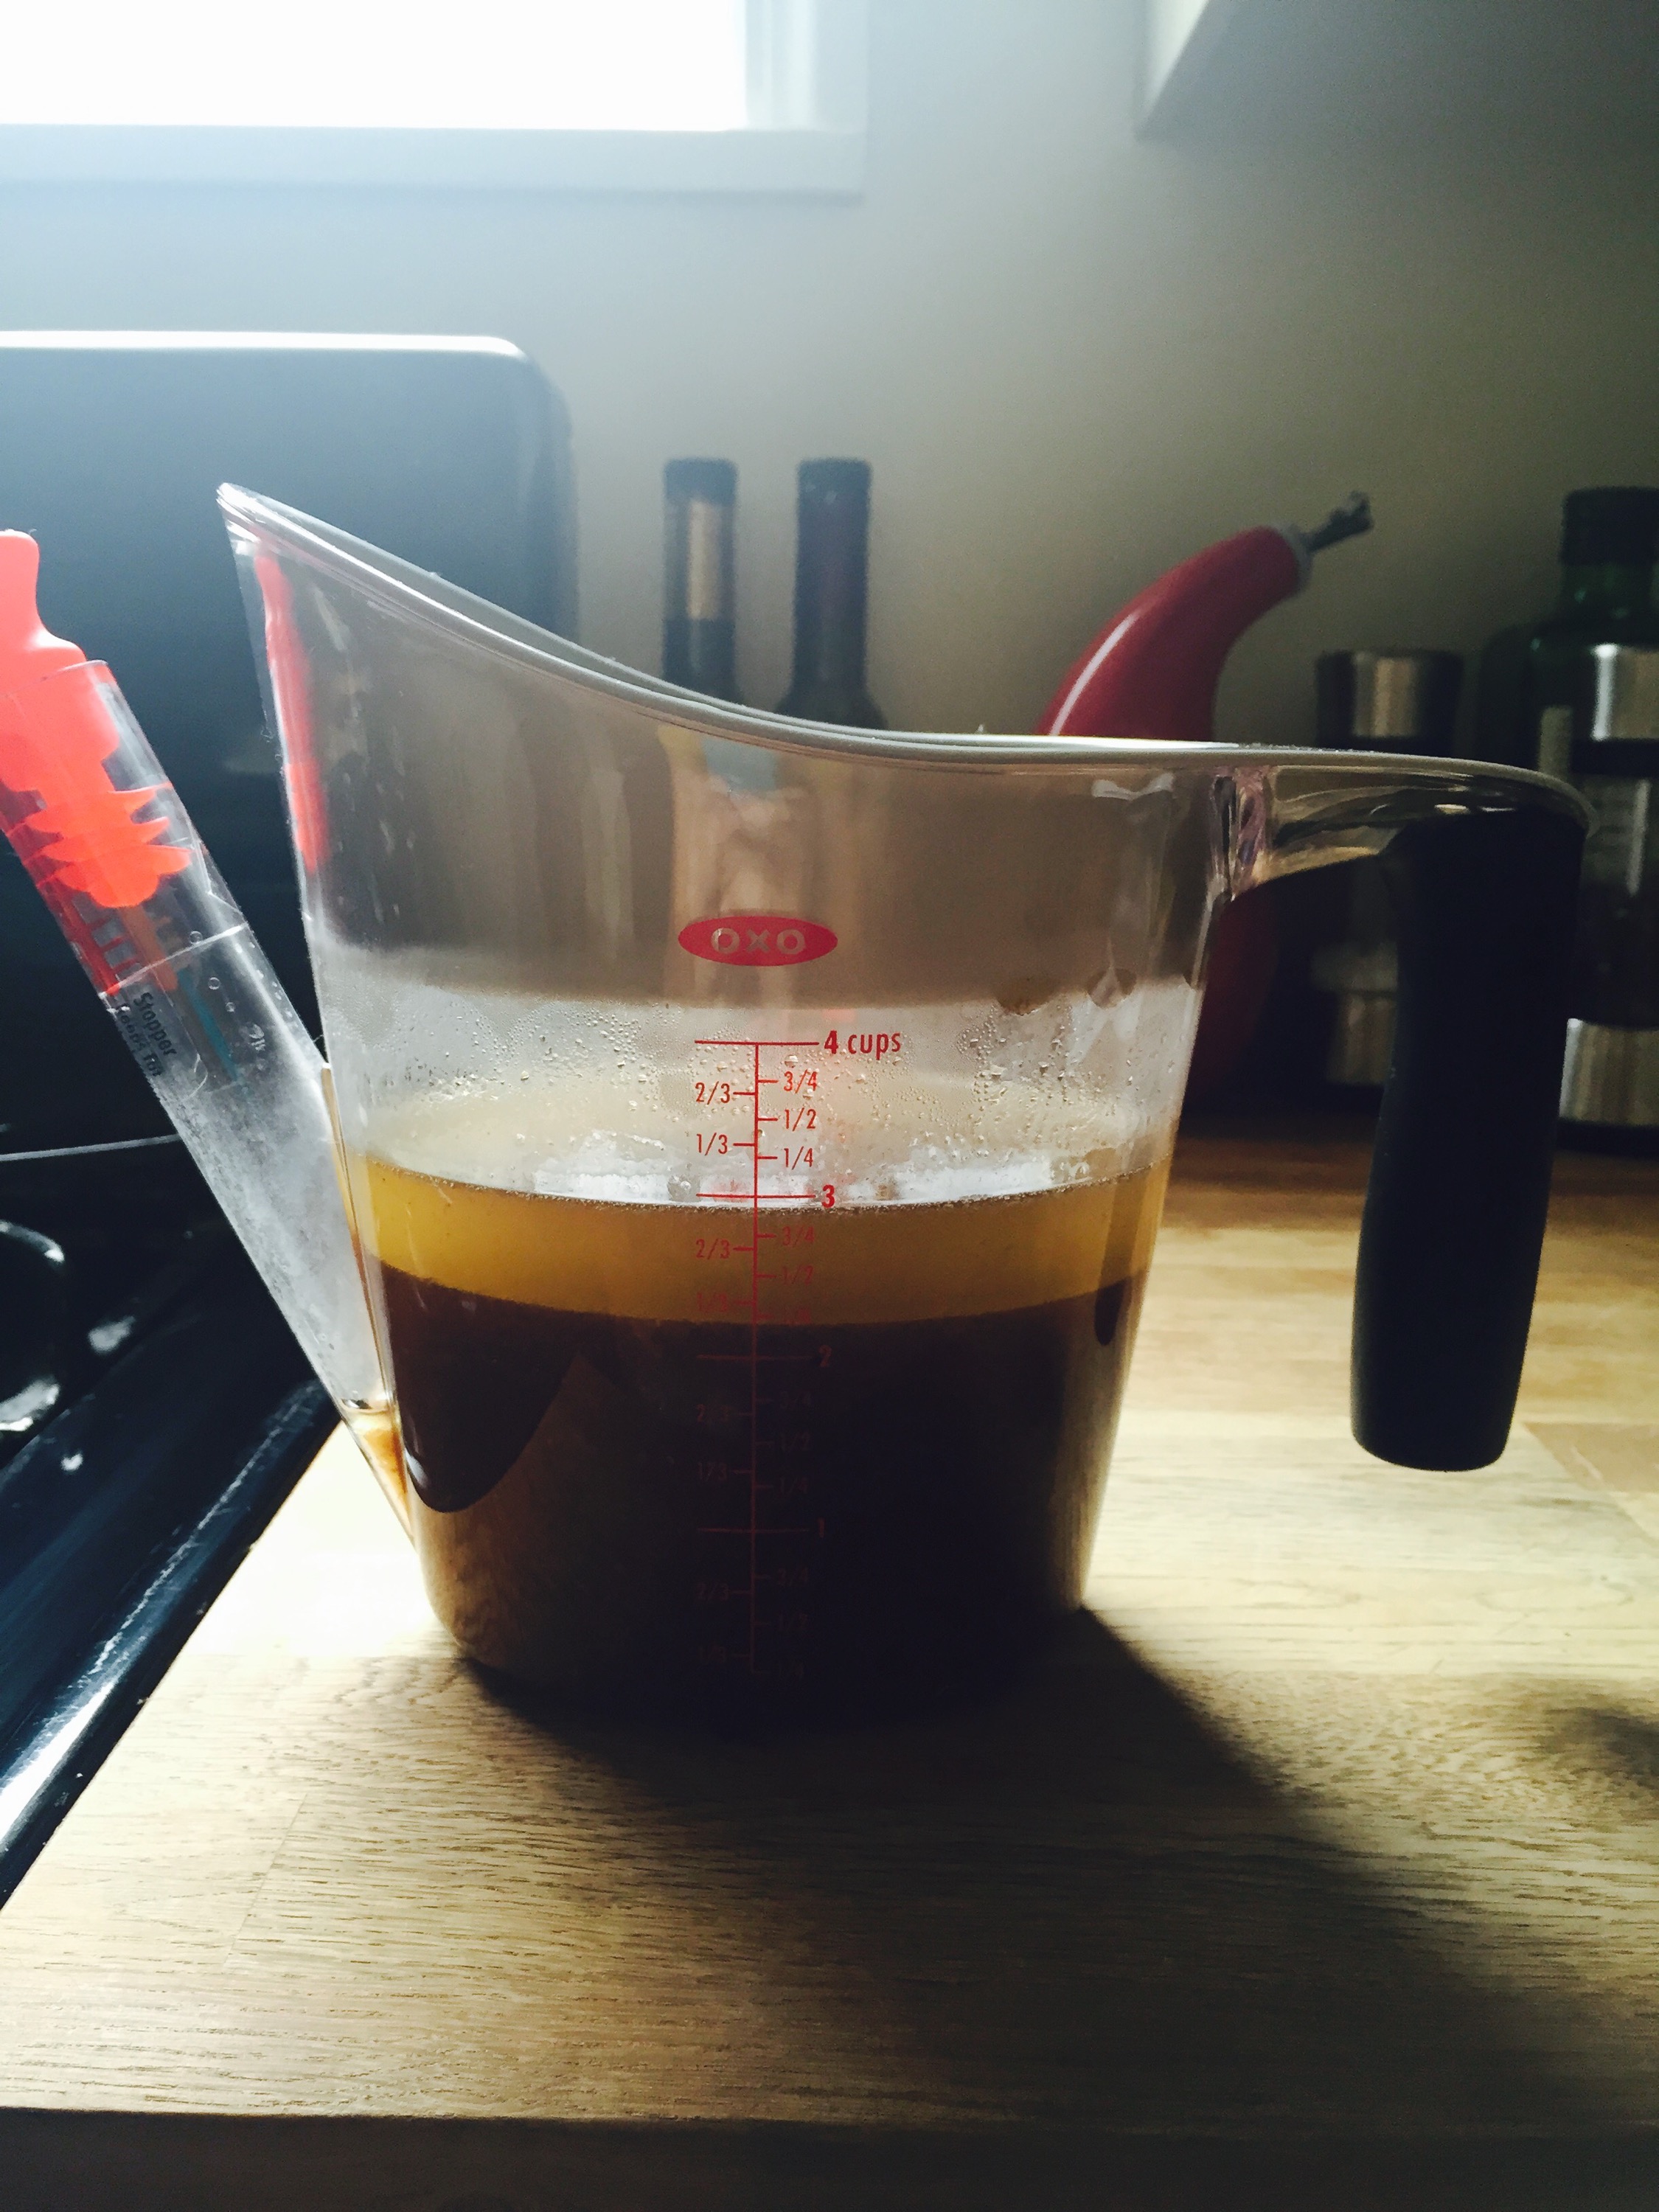
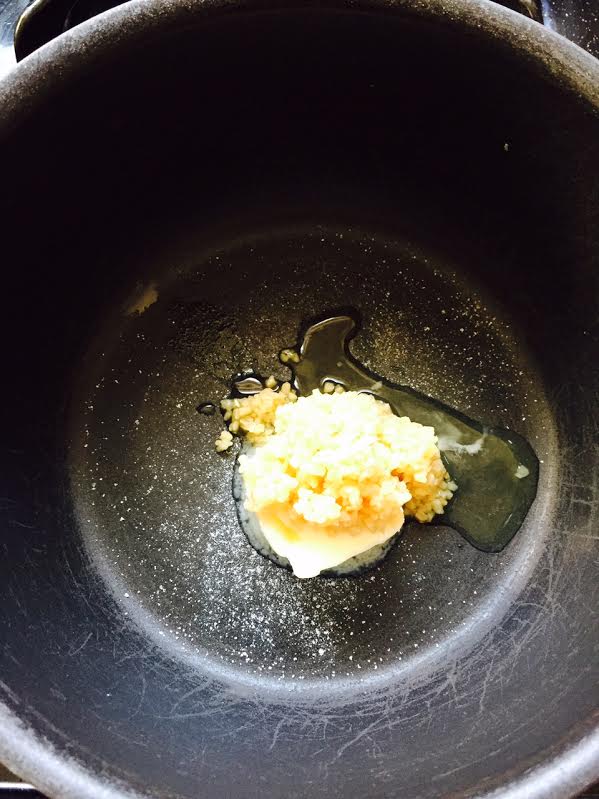
In a sauce pan over Med-Hi heat add in the butter and when melted whisk in the flour. We’re making a roux kids! Cook for a bit to get that flour taste out (yuck). 

  
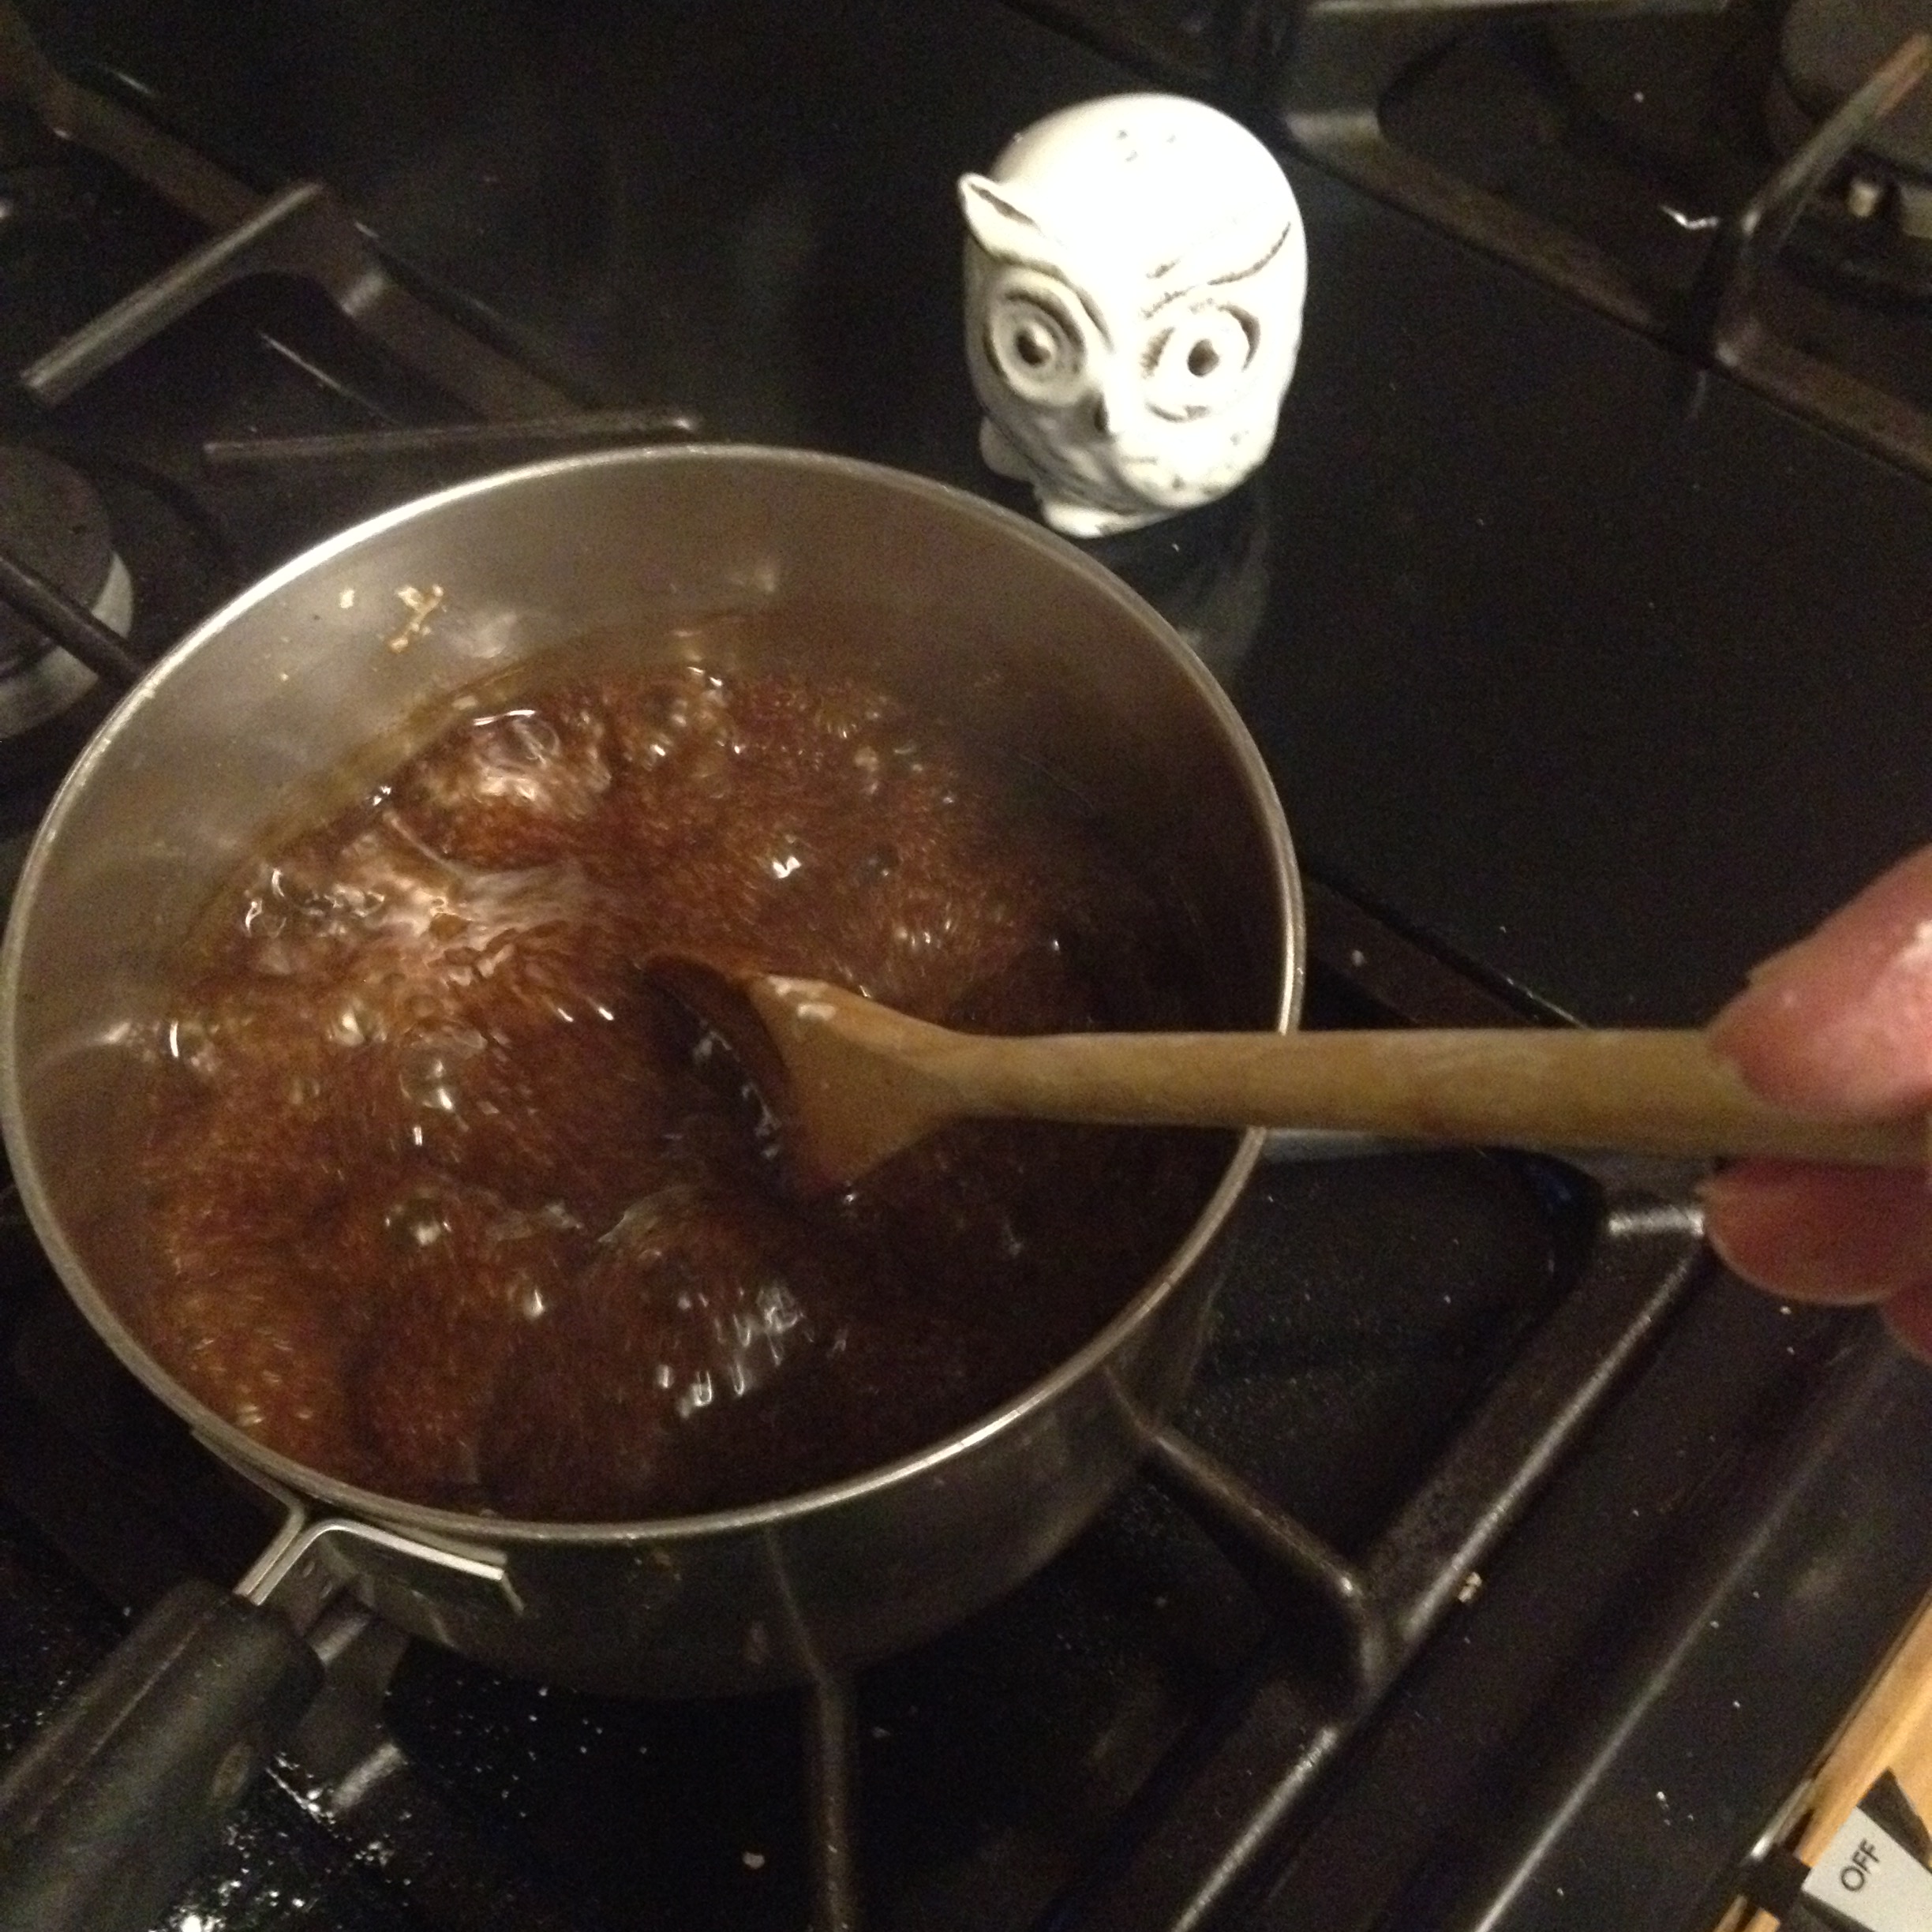
When it’s golden brown and bubbly add in your strained/fat separated delicious beef juices. Keep whisking!  You’ll see it start to thicken and bubble. At that point feel free to reduce the heat and give her a stir once in a while. If needed add some of the left over beef stock to increase the volume if you’d like more gravy.

  
Add a couple dashes of Worchestshire sauce for added salt. 

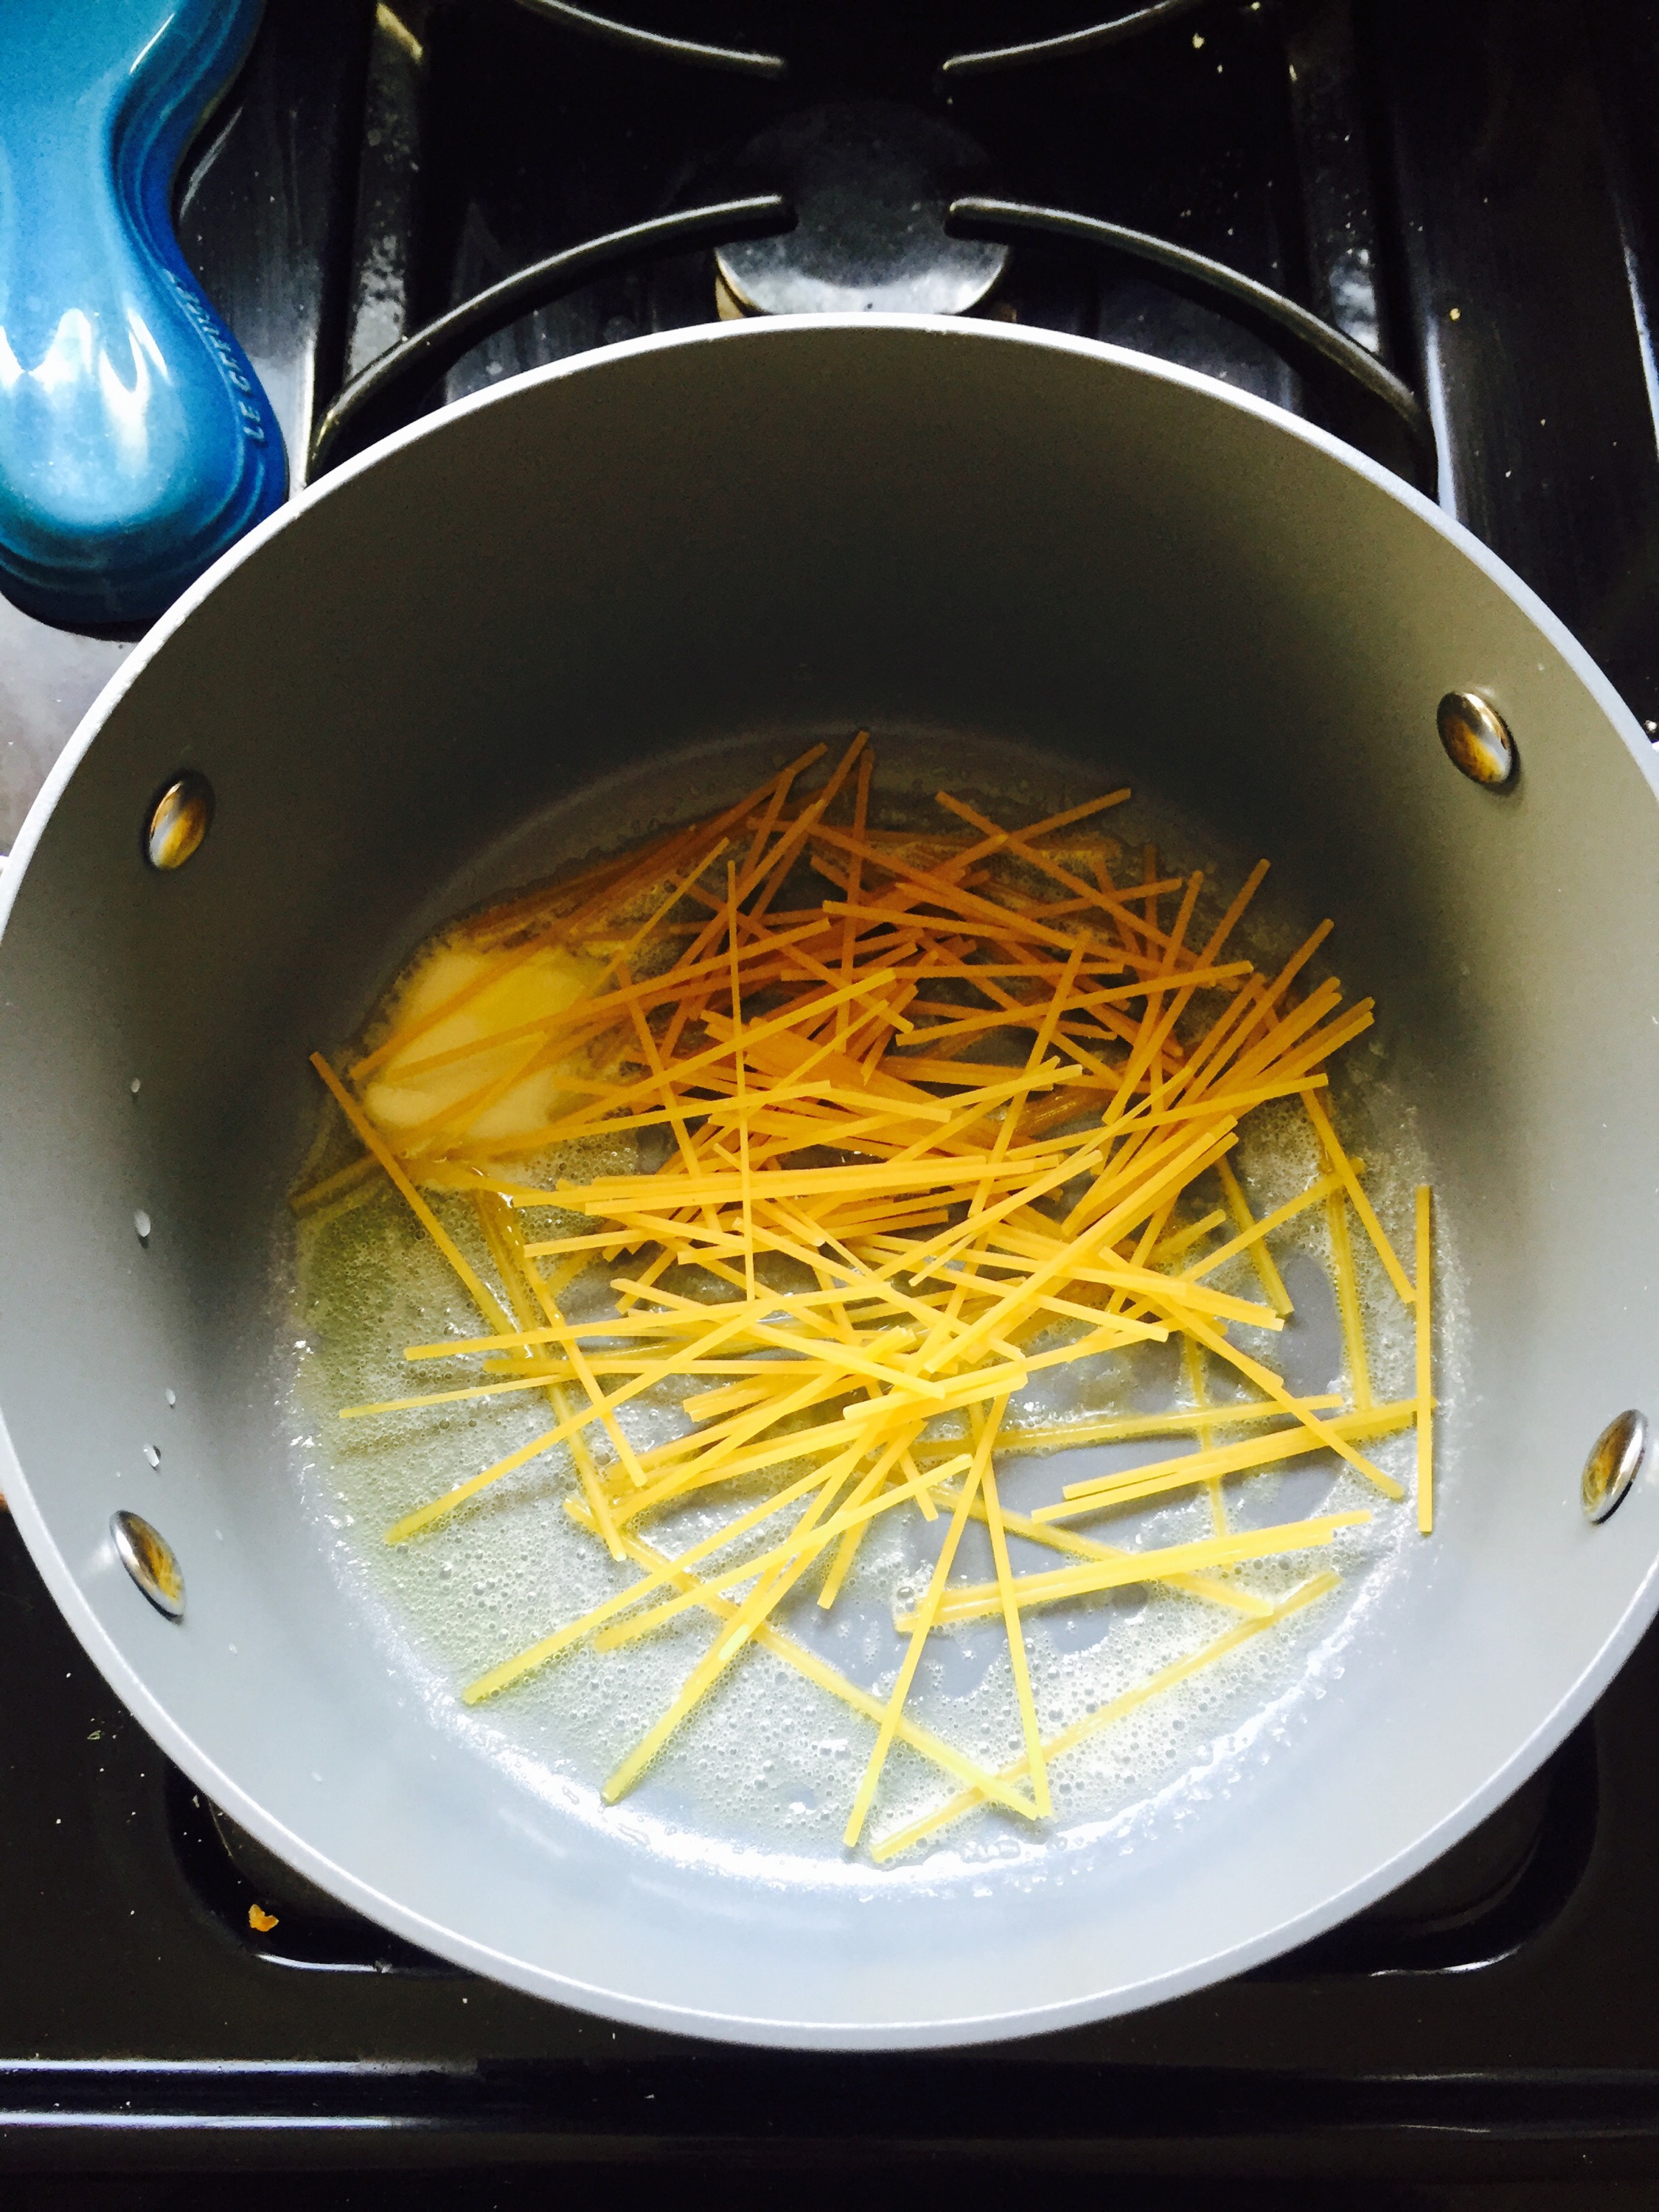
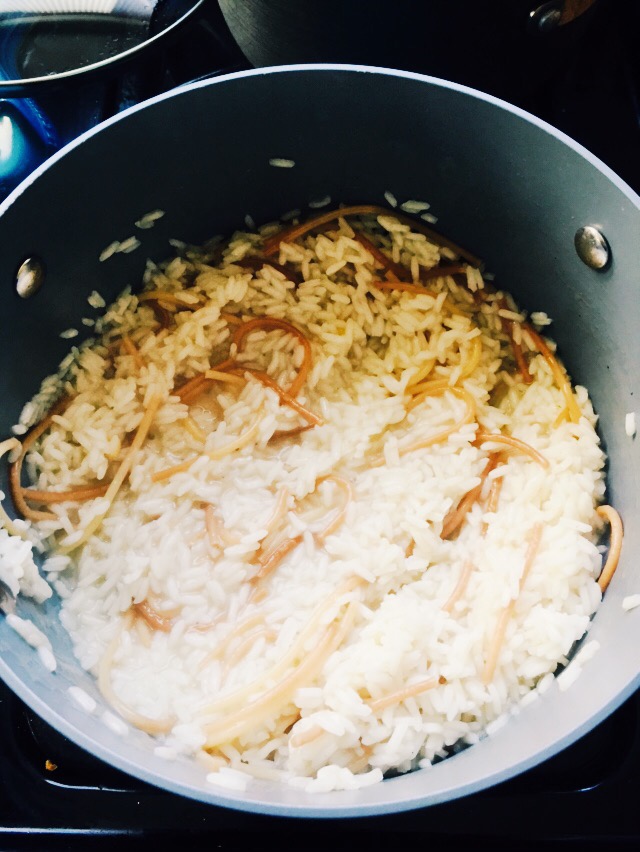
Boil up some water and cook the egg noodles. 

Drain, add back to the pot. Add in a couple of pads of butter and 1/2 c sour cream.

Serve while all of it is hot. 

  
Enjoy everyone! 

xoxo Shawna 

Sassy Pepper Jack Chicken & Captain’s Rice Pilaf 

Oh man! San Diego has had this very odd week of hot-humid-monsoonal weather that is just not treating my my hair well. And even though we end up a poufy haired sweaty mess that’s no excuse not to eat well. Tonight I’m doing something easy that’s paired with the hubby’s favorite rice – Rice Pilaf! Or at least my version of it. It’s a snap and is so cost effective. One bag of rice and one box of spaghetti go really far! So pour a big cold glass of water….or other beverage and let’s whip up a quick chicken and rice dish. 

The Goods

  • 1 lb chicken tenders or thin breasts (if you have regular chicken breasts you can place them between wax or Saran Wrap and give it a good whack with a cast iron skillet or the flat size of a meat tenderizer to flatten)
  • 1 c Flour
  • 1 c breadcrumbs 
  • 1 egg
  • Cholula or other hot sauce 
  • pepper jack cheese, shredded 
  • 2 c water 
  • 1 c long grain rice
  • 1 tablespoon butter 
  • 1 chicken bouillon cube 
  • 10 or so spaghetti noodles (dried) 
  • Garlic powder, paprika, S&P

Let’s make din-din…

Lay out three smaller dishes. In one place your flour and season with garlic powder, paprika and S&P.

  
In the second dish crack one egg, add about a tablespoon of water and wisk with a fork. Season with about 6 dashes of cholula and S&P.

  
In the last dish place your breadcrumbs.

  
Take one chicken piece and first dip it into the flour, shake off excess, dip next into the egg mixture and lastly into breadcrumbs. Make sure both sides are coated well.

Place onto a baking sheet and sprinkle each with paprika.

  
Next, you’ll want to start the rice (skip down a step) and when it gets boiling throw the chicken in the oven. 
Bake for 15 min (about the same time the rice needs). Just when they hit 165 degrees F remove the pan and sprinkle with pepper jack cheese. Return to oven and cook 2 min more. 

  
Now the rice! 

In a sauce pot add your butter and just a splash of olive oil. Break up your spaghetti into smaller pieces and brown up in the butter/oil.

  
Once it starts to turn brown drop in your bouillon cube, your water and rice and cover. Simmer until rice is just cooked. 

  
Check it towards the end. If the rice is too chewy then add a splash of warm water and recover to continue the cooking. 

  
Serve your sassy chicken and homemade rice pilaf with applesauce for dipping (another Captain favorite) and enjoy! 

  
xoxo Shawna 

Sausage & Veggie White Pizza

Hello from Sunny San Diego.

If you haven’t been able to tell from the last couple of posts it’s flipping hot down here! We live about 5 min from the coast and have multiple ceilings fans which have been running non stop for the past several days. No, we don’t have A/C. You don’t really need it until you get East of I-15 but boy am I starting to reconsider the option. Maybe I can find a nice A/C company who would be willing to barter their services in exchange for food. One can dream. But right now there is no time for cooling off – it’s pizza time!

We love pizza in this house and today we are making a fancy pizza for the middle of the week. This pizza has a buttery garlic crust, homemade white sauce, hearty sausage and sauteed veggies. Yumo!

Alright, enough with the chit chat. It’s pizza time…

The Goods

  • 3 links of your fav sausage (I got mine straight from the butcher and today it was mild sausage – no fennel)
  • 1 small onion (any color will do), thinly sliced
  • 1 yellow bell pepper, cored and thinly sliced
  • 1 Boboli thin crust premade pizza dough
  • 4 tablespoons butter (2 for pizza crust, 2 for white sauce)
  • 4 tablespoons garlic (2 for pizza crust, 2 for white sauce)
  • 2 tablespoons white flour
  • 1 cup milk (we used reduced fat)
  • S&P
  • Garlic Powder
  • Shredded Mozzarella
  • Hot Pepper Flakes

2

Pre heat your oven to 450 degrees F.

First, carefully slice down the middle of each sausage and remove it from the casing.

5

In a pan add a little bit of olive oil and cook up your sausage. Use a wooden spoon to break up the sausage into medium size chunks. We are going for rustic here. You aren’t on a cooking show trying to win money with your knife skills. You don’t have to impress anyone – we are all friends here. Chunky it is.

unnamed (78)

Cook until all the pink is gone (and internal temp is 165). Remove from pan and drain on paper towels to remove excess fat.

unnamed (80)

In the same pan (hello delicious sausage flavored oil) add in sliced onion and bell pepper. Reduce heat to Medium and cook, stirring often, for 20 min. Make sure to add some more olive oil if you see it starting to dry out. Reduce the heat if it’s cooking too fast. (Super cool trick: if it’s REALLY going too fast, add 1/2 cup water and put a lid on it and it’ll help steam the veggies and prevent them from browning further.)

unnamed (81)

You want the most delicious sauteed veggies. Here is the thing – I really REALLY do not like raw onions. I know, that’s almost crazy since I am not only 1/4 Mexican but also slightly obsessed with all kinds of salsa. But honestly, if they aren’t finely chopped in a salsa I can’t stomach it. I also do not like burned onions. I like perfectly just wilted, just browned veggies. Yum.

unnamed (82)

For another night – use this same technique but add in cumin, chili powder or Goya Adobo for the most AMAZING Fajita veggies.

Let’s make the white sauce. In a sauce pan add in 2 tablespoons butter and 2 tablespoons of garlic over med-hi heat.

unnamed (86)

Once melted add in the flour and whisk whisk whisk!

unnamed (87)

You want to “cook out” the flour flavor but do not burn the mixture. If you do, you basically have to start over and if you were like me you juuuuuust had enough flour for this dish so no burning.

unnamed (88)

Once you let the brown gooey mixture cook for about 60 seconds add in 1 cup milk and stir. Let it come up to a bubble and now hit it with salt. Technically this is a white sauce so if you have white pepper that would be awesome. I omitted pepper this go around.

unnamed (89)

Hint! This is step 1 of homemade Mac & Cheese. Add in shredded sharp cheddar and jack and fold into al dente pasta and BOOM. Mac & Cheese You’re welcome.

You’ll see the sauce thicken. At that point remove from the stove and set aside. Now let’s assemble the pizza.

Melt the remaining butter in a small dish and using a brush or spoon spread the butter over the pizza crust. Now sprinkle garlic powder all over.

unnamed (90)

Next spread the white sauce all over, then sausage and veggies then finally mozzarella and hot pepper flakes (if you want).

unnamed (92)

unnamed (93)

Yup, that’s pepperoni you see on this pizza and no, I did not list that in the ingredients. Dude in the Galley Brian walked in while I was cooking and looked at me like I had 3 heads for not having pepperoni out for assembly. So we added some. He ended up loving it and that’s all that matters. That and my wine was refilled immediately after. You see, marriage is all about give and take.

Bake for about 10 min until your desired level of cheese brownness.

unnamed (94)

This makes a great week night treat – or fancy it up with an arugula salad with balsamic/olive oil dressing and have some friends over. However you slice it you’re guaranteed to love it.

Enjoy!

xoxo Shawna

Honey Vinegar Crock Pot Pulled Pork Sandwiches

I bet some of you are planning on making your Pop’s a tasty lunch or dinner for Fathers Day coming up tomorrow. Well I have a great recipe that is easy and beyond delicious! The tangy balsamic vinegar goes perfectly with the sticky sweetness of the honey. And the combination glazed over slow cooked pork melts in your mouth. It will be a sure hit for that meat loving man in your life. I’m salivating with the memory of eating this meal – so this is also one for the ladies too!

Start with a nice looking two pounder pork tenderloin. Rub salt, pepper and fresh garlic over raw tenderloin. Pour half cup water into the Crock Pot and then place spiced tenderloin inside. Cook for 7 hours on low heat. I just left it on while I was at work for the day. David reported back that it was torturous smelling the meaty aromas all day long. He survived in the end, though.

Bob and Agent Cooper were ready with the magical potion ingredients and incantations.

Bob and Agent Cooper were ready with the magical potion ingredients and incantations.

Next you’ll need to make the glaze which is the best part!

IMG_0952[1]

You’ll notice I have a bag of brown sugar there which was the original plan but I substituted some raw honey instead. I received the jar of honey from a very sweet patient at my work. It came from their ranch and was just right for this recipe.

Stir together the balsamic vinegar, soy sauce, garlic powder, honey and pepper over medium heat until it starts to lightly boil. Add the corn starch and water mixture into the pan which will quickly thicken the glaze. Stir for another minute until it becomes a smooth and bubbly consistency then take off the heat so it doesn’t burn onto the bottom of the pan.

Don't get too close to flame Bob! You little pyromaniac!

Don’t get too close to flame Bob! You little pyromaniac!

Use a brush to apply some of the yummy glaze onto your cooked tenderloin. Cover again and cook for another hour in the Crock Pot.

IMG_0954[1]

After you’ve suffered for another hour from the delightful smells wafting from your Crock Pot you can take the glazed tenderloin out and place in baking pan. I used one of my Pyrex dishes. The pork will be falling apart at this point which is good as we want a shredded and pulled apart consistency before broiling. You can use two forks to help along the shredding. Use the brush again to generously glaze the pulled apart pork. Place under the broiler. Use high heat because at this point you’re not gonna want to wait much longer to eat!

IMG_0956[1]

Throughout the broiling process brush more of the left over glaze every few minutes. Eventually the pork will caramelize under the broiler’s heat. The darkened, crispy edges are what make this meal such a treat in my opinion. I added some chopped mushrooms on top of the meat and added some glaze over them. The earthy flavor of mushrooms go well with most meat dishes.

Bob is such a carnivore and wanted to do a 'Canon Ball' into the sizzling meat. Oh Bob!

Bob is such a carnivore and wanted to do a ‘Canon Ball’ into the sizzling meat. Oh Bob!

This meat could be the main course on it’s own with some veggies or salad but I decided to use it for a gourmet sandwich. David was more than fine with this plan as he loves bread almost as much as he loves meat. I used some ciabatta rolls and toasted them during the final couple minutes of the caramelizing process.

IMG_0957[1]

We had sides of salad and potato chips. A bit of healthy and a bit of not so healthy but all of it went perfectly with our heavenly sandwich.

IMG_0958[1]

This was a minimal ingredient salad with romaine heart lettuce and sliced Persian cucumbers (they are my fave!). Lightly Salted Lays Potato chips are much better than regular Lays if you don’t like too much salt. Yum!

This fed David and I for two whole meals plus some snacking in between. I dare you to open the fridge door with a Tupperware full of these leftovers and deny the urge to pinch a bite before dinner time. You can use leftovers for sandwiches Round 2 or inside a quesadilla, chimichanga (which is what we did) or in a bean stew. I’m not sure how long the meat will stay good in your fridge since we didn’t keep it sitting there for long. It’s just too good to not want seconds the very next night!

Crock Pot Cooked Pork Ingredients
2 pounds Pork tenderloin
½ teaspoon Salt
¼ teaspoon Pepper
2 cloves Garlic; crushed
½ cup Water
Honey Vinegar Glaze Ingredients
½ cup Raw Honey
1 tablespoon Cornstarch
(fully dissolve Cornstarch with ¼ water and stir until it looks like glass of low fat milk)
¼ cup Balsamic Vinegar
2 tablespoons Soy sauce
¼ teaspoon Pepper
1 teaspoon Garlic Powder

Hope you all enjoy this recipe. And to all you Fathers out there – have a happy and safe one!

Love and Honey,

Lani

S’more Cupcakes

Greetings Blog-Universe! I felt it was about time I join this maiden voyage with my compatriots Shawna and Lindsay. They have already posted some recipes that are beyond tasty and I speak from first hand knowledge on a couple of them. Can’t wait to try each recipe out in my own Country Kitchen. Recently my husband and I – along with our dog Sky and our maniac-with-claws known as Ronin – moved up the mountain to a little town called Julian. As this is Apple Country you can bet on some upcoming recipes incorporating the delicious fruit.

One of the true loves in my life is the heavenly goodness of S’mores. As many of you will agree, one abiding and treasured memories of my childhood was visiting the countryside, pitching a tent with a group of family and friends, gathering around the camp fire and roasting marshmallows to sandwich between graham crackers with a layer of chocolate. As much as I love camping and camp fires, the biggest and most seductive allure is knowing they will most likely lead to S’mores.

I’ve heard from a lot of people about the special and original ways they like their S’mores and I’m always impressed with their ingenuity and creativity when it comes to making the perfect melted marshmallow treat. Well one creation I have no doubt many of you have seen while trolling Pintrest boards is the S’more in cupcake form.

Here is my version of this brilliant invention:

But first I’d like to introduce my trusty Kitchen Aid. I call her Ripley. She’s never let me down with all my baking endeavors.

IMG_0907

I took the short cut of using a boxed cake instead of from scratch…but hey…when has Betty Crocker ever let us down. Can I get an amen?!

IMG_0909

I’d also like to introduce you to my two kitchen ‘familiars’ – Bob and Agent Cooper. They assist with the brewing of our culinary magic.

IMG_0910

Step One: Prepare the chocolate cake batter by following Betty’s instructions which she so helpfully writes on the back of her boxes. The lady has some awesome penmanship, lemme tell ya.

IMG_0912

Bob knew what was coming next so he wisely took cover.

I like to put my prepared cake batter into a zip-lock bag and pipe it into my cupcake tins instead of spooning the batter directly from the bowl. Not that I have anything against spooning, mind you.

Placing the zip-lock bag into a small bowl makes it easier to pour the batter inside without making an epic mess.

IMG_0914

IMG_0916

Agent Cooper offered to take the first watch. He barely escaped gangrene and amputation after being inside the fridge for so long. His dedication knows no bounds.

The Marshmallow filling was up next.

IMG_0913

Nice hat, Agent Cooper!

Beat together the Jet Puffed Marshmallow Cream, Powdered Sugar, vanilla and butter until smooth. This I also poured into a zip-lock back and set aside in the fridge.

IMG_0917

I told Bob we didn’t need the WHOLE jar of Jet-Puffed but his intimidation tactics are unrivaled.

Our S’more Cupcakes wouldn’t be complete without the Graham Cracker Crumb Crust! Using a spoon or spatula, just fold Cracker Crumbs with butter, vanilla and brown sugar. The consistency will still be crumbly but will mold together when pressed by the spoon.

IMG_0918

Drop a spoonful of crust mixture into cupcake liners and then gently press until flattened crust is formed.

IMG_0921

Retrieve bag of chilled cake batter from fridge and cut a small hole at the corner of the zip-lock bag. Fill batter up to about two thirds. You can fill them higher if you like rounded cupcakes but the recipe will just yield less cakes. We don’t judge those who believe that size DOES matter. Heh

IMG_0922

These babies are ready to find a warm and cozy spot inside the oven now.

14 minutes later and VOILA! Magic!

IMG_0925

I allowed the boys to join me again after Agent Cooper had to restrain Bob from using the batter filled cake pan for his own personal owl jacuzzi. I shouldn’t even mention how he threatened Agent Cooper with the idea of an owl oven bake. That Bob can be a real demon sometimes.

IMG_0924

They know this is my weapon of choice for the next step.

IMG_0928

Looks good Agent Cooper!

I used a knife to make room for the creamy, marshmallow goodness.

IMG_0935

Fill each gap up to the top avoiding overfilling them as you’ll want the chocolate frosting to cover the filling. Unless you decide to get crazy and swirl the frosting and filling together. There’s a place on this Earth for all kinds of weirdos. Again, we don’t judge here at galsinthegalley.

IMG_0936

Bob didn’t seem to mind I used frosting from a jar instead of homemade. He did hold the butter knife ransom until I promised him a beak full of frosting though.

IMG_0933

The cupcake toppings were the perfect finishing touch.

IMG_0944

They look pretty darn tasty!

IMG_0938

Job well done boys!

Ingredients

Cupcakes

1 package ( 1 pound 2.25 ounces) Super Moist cake mix

1 1/3 cups water

3 eggs

1 tub (12 ounces) chocolate whipped frosting or 1 tub (16 ounces) chocolate ready-to-spread frosting

Cracker Crumb Crust

1 1/2 cup Graham Cracker Crumbs

1/4 cup butter

1 Tbsp. Brown Sugar

1/2 tsp. Vanilla

Marshmallow Filling

1 Jar Jet-Puffed Marshmallow Creme

1/4 cup softened butter

1/2 cup powdered sugar

1/2 tsp. Vanilla

Toppings

Light sprinkle of Graham Cracker Crumbs

Jet Puffed Mallow Bits (I found these tasty bits at Target)

Enjoy!

xxxLanixxx