I bet some of you are planning on making your Pop’s a tasty lunch or dinner for Fathers Day coming up tomorrow. Well I have a great recipe that is easy and beyond delicious! The tangy balsamic vinegar goes perfectly with the sticky sweetness of the honey. And the combination glazed over slow cooked pork melts in your mouth. It will be a sure hit for that meat loving man in your life. I’m salivating with the memory of eating this meal – so this is also one for the ladies too!
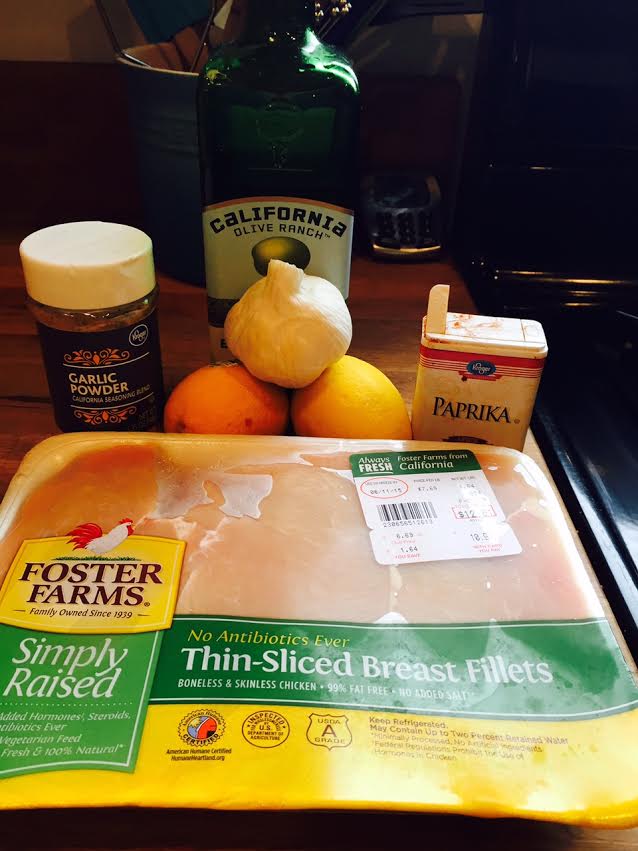
Start with a nice looking two pounder pork tenderloin. Rub salt, pepper and fresh garlic over raw tenderloin. Pour half cup water into the Crock Pot and then place spiced tenderloin inside. Cook for 7 hours on low heat. I just left it on while I was at work for the day. David reported back that it was torturous smelling the meaty aromas all day long. He survived in the end, though.

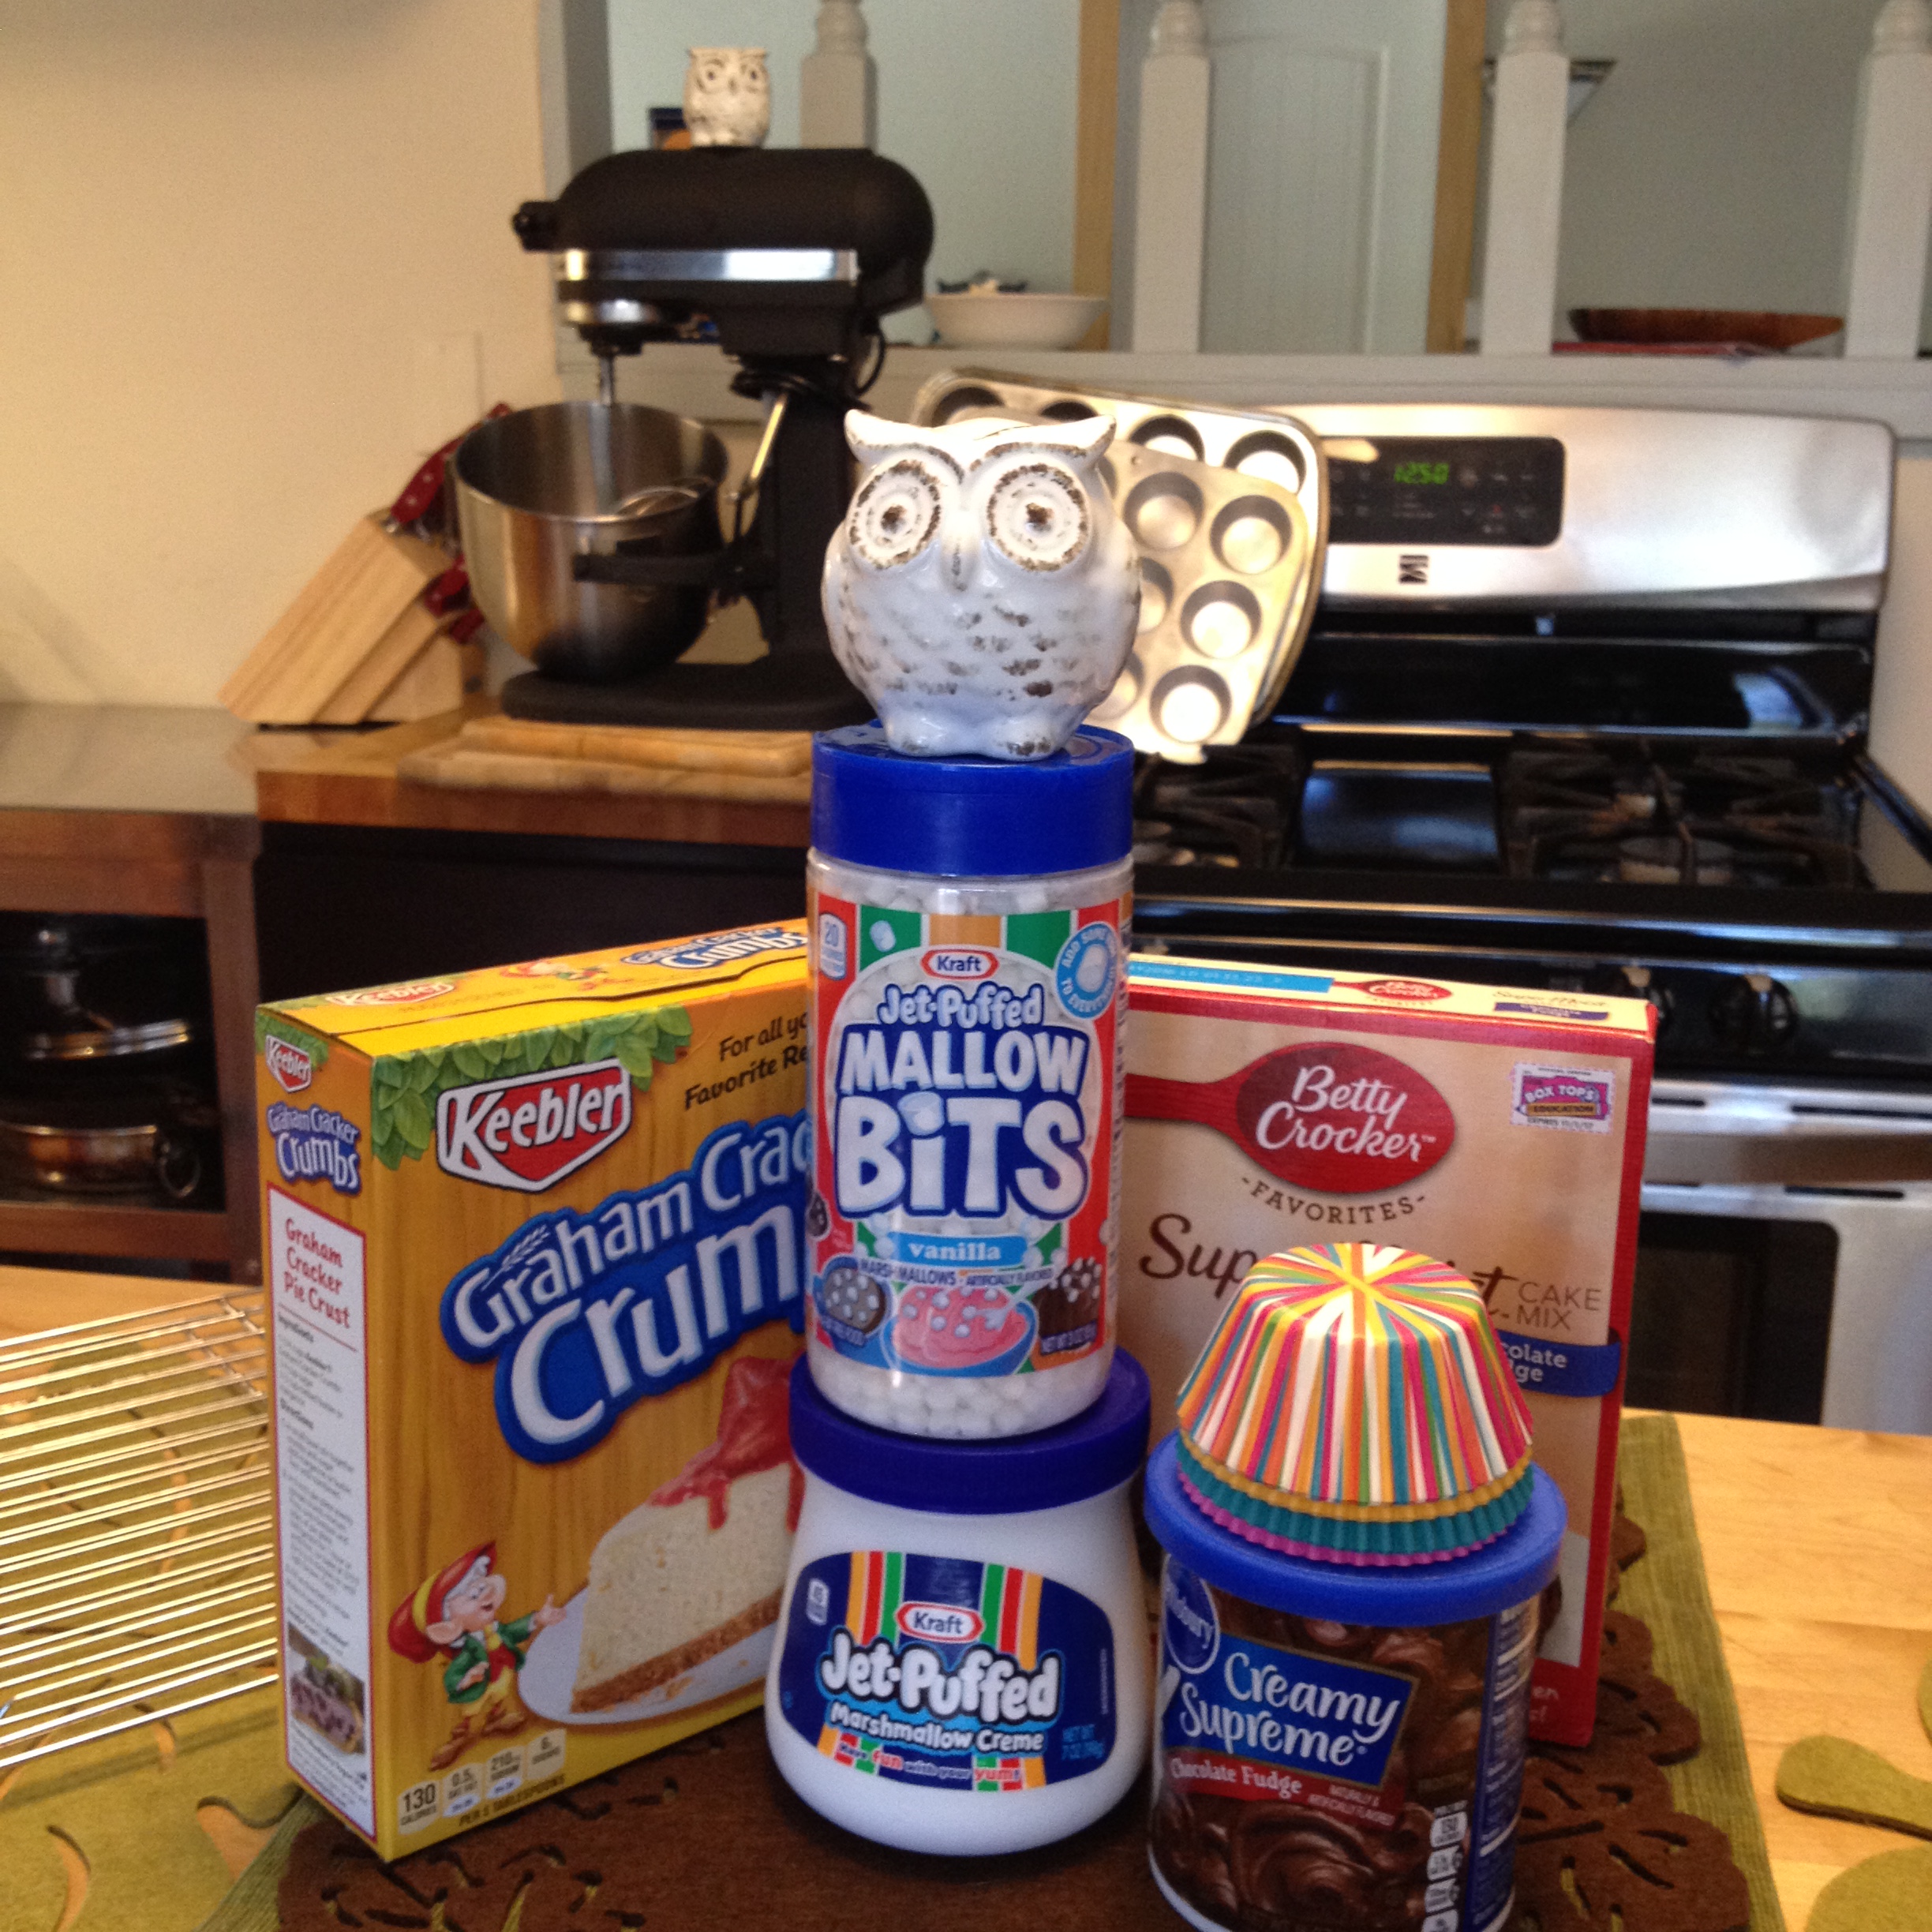
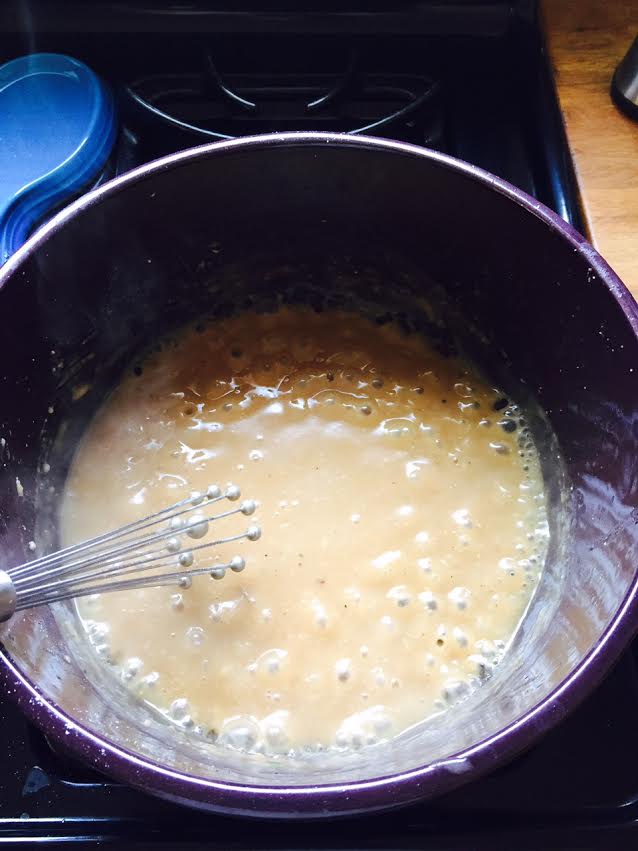
Bob and Agent Cooper were ready with the magical potion ingredients and incantations.
![IMG_0952[1]](https://galsinthegalley.com/wp-content/uploads/2015/06/img_09521.jpg)
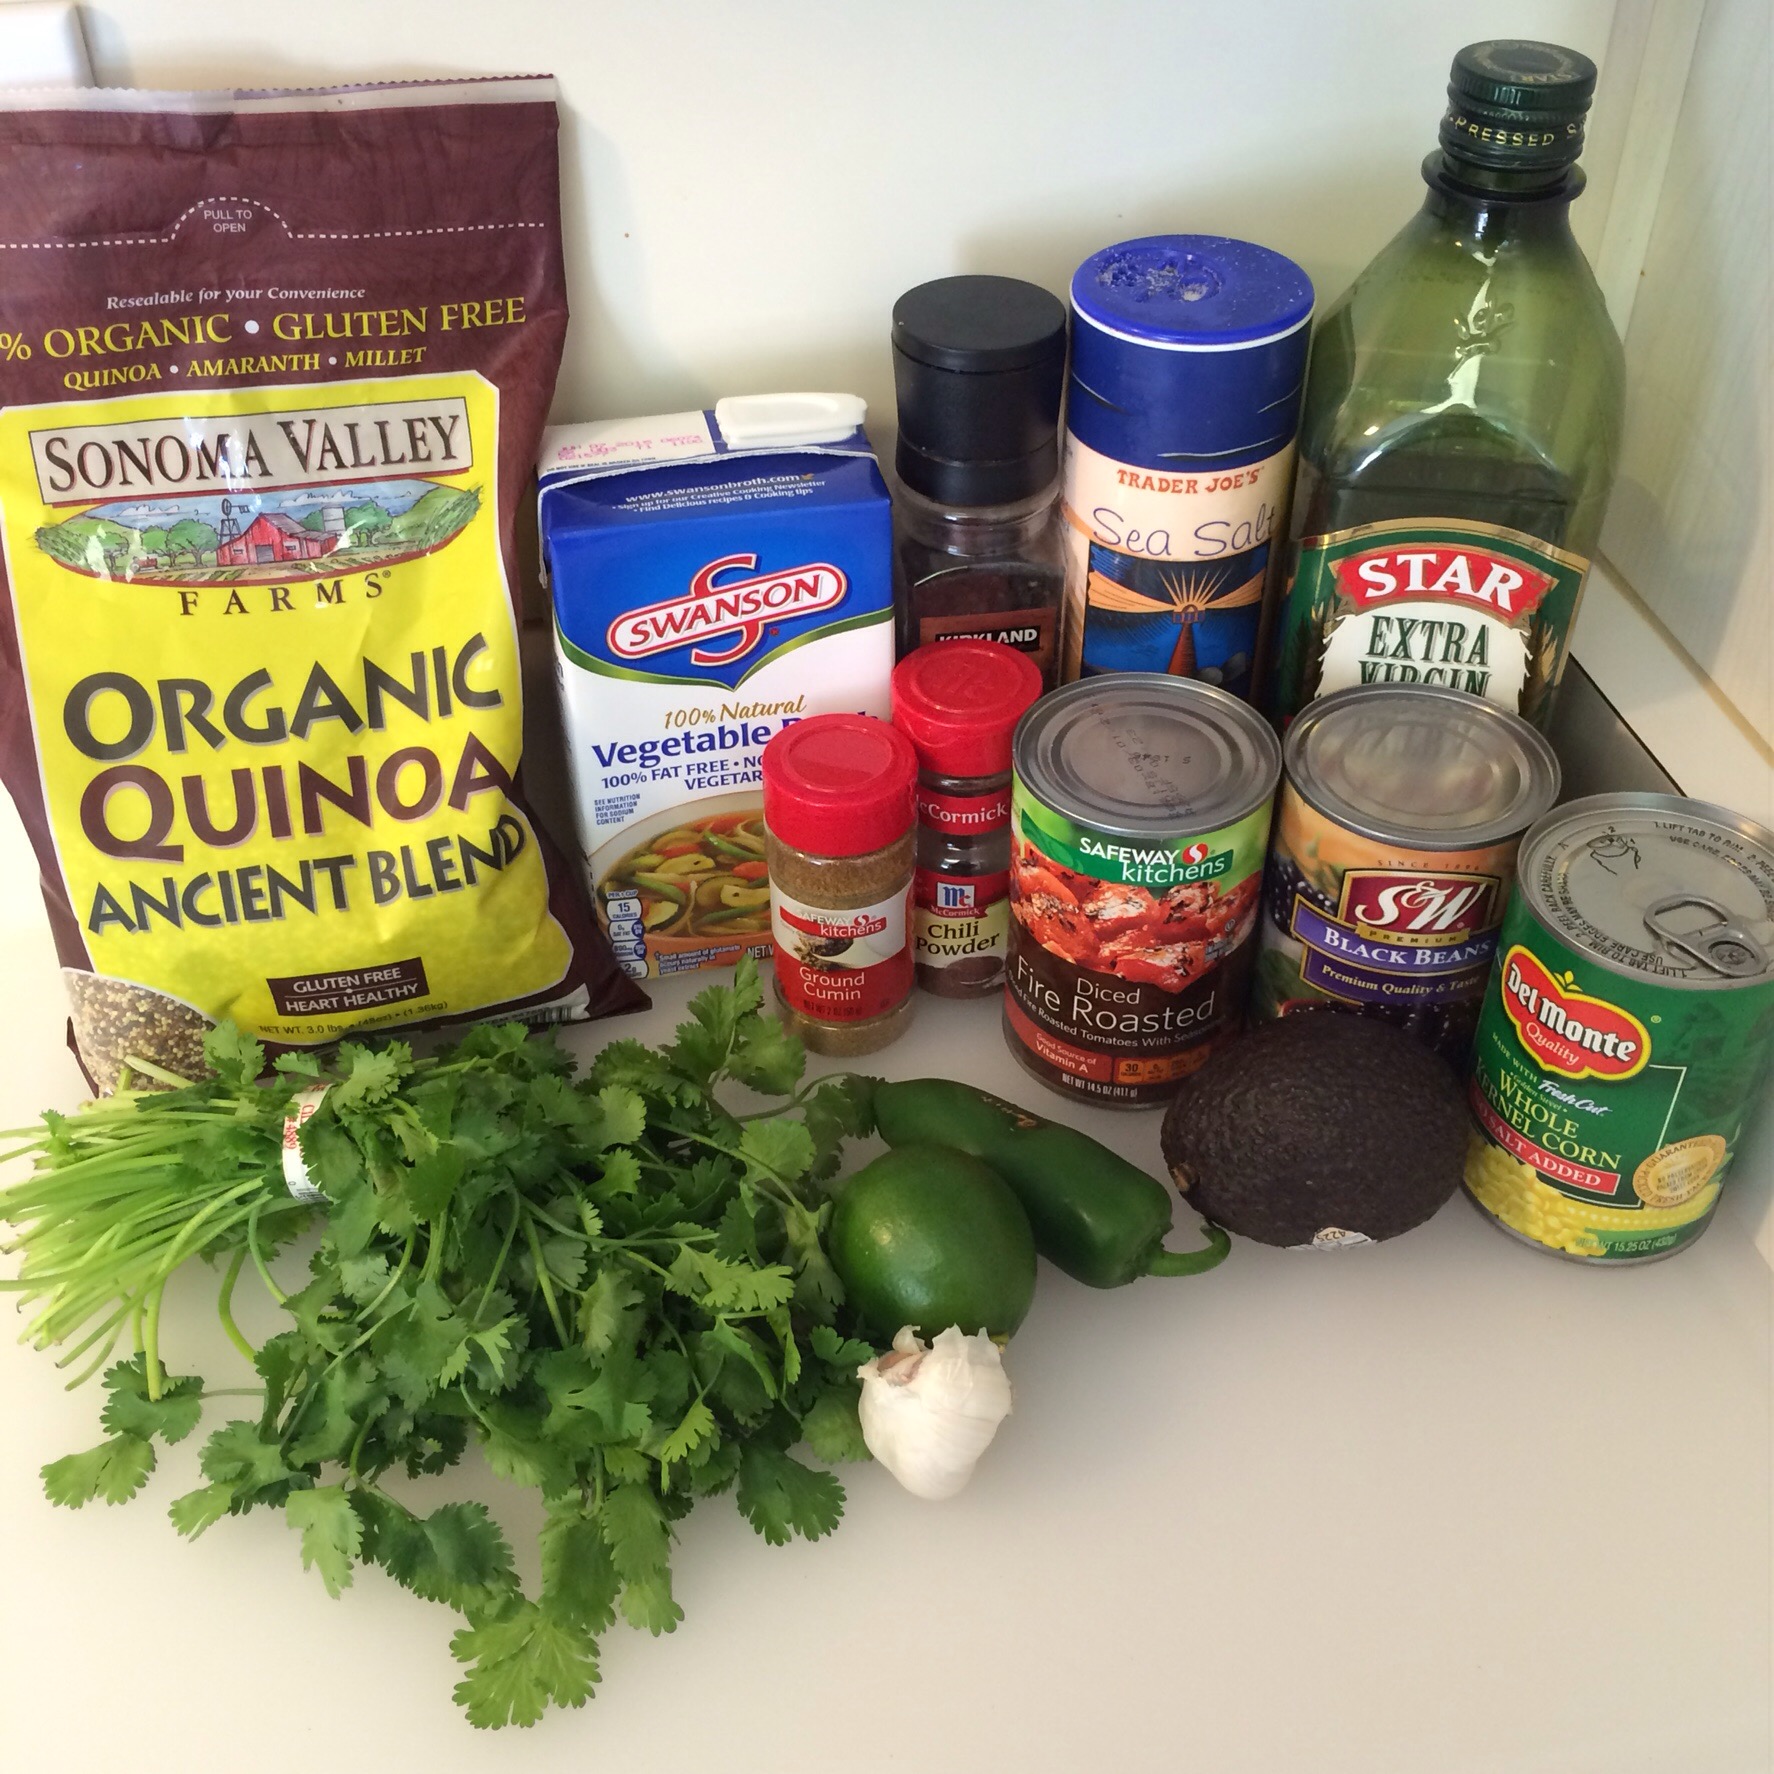
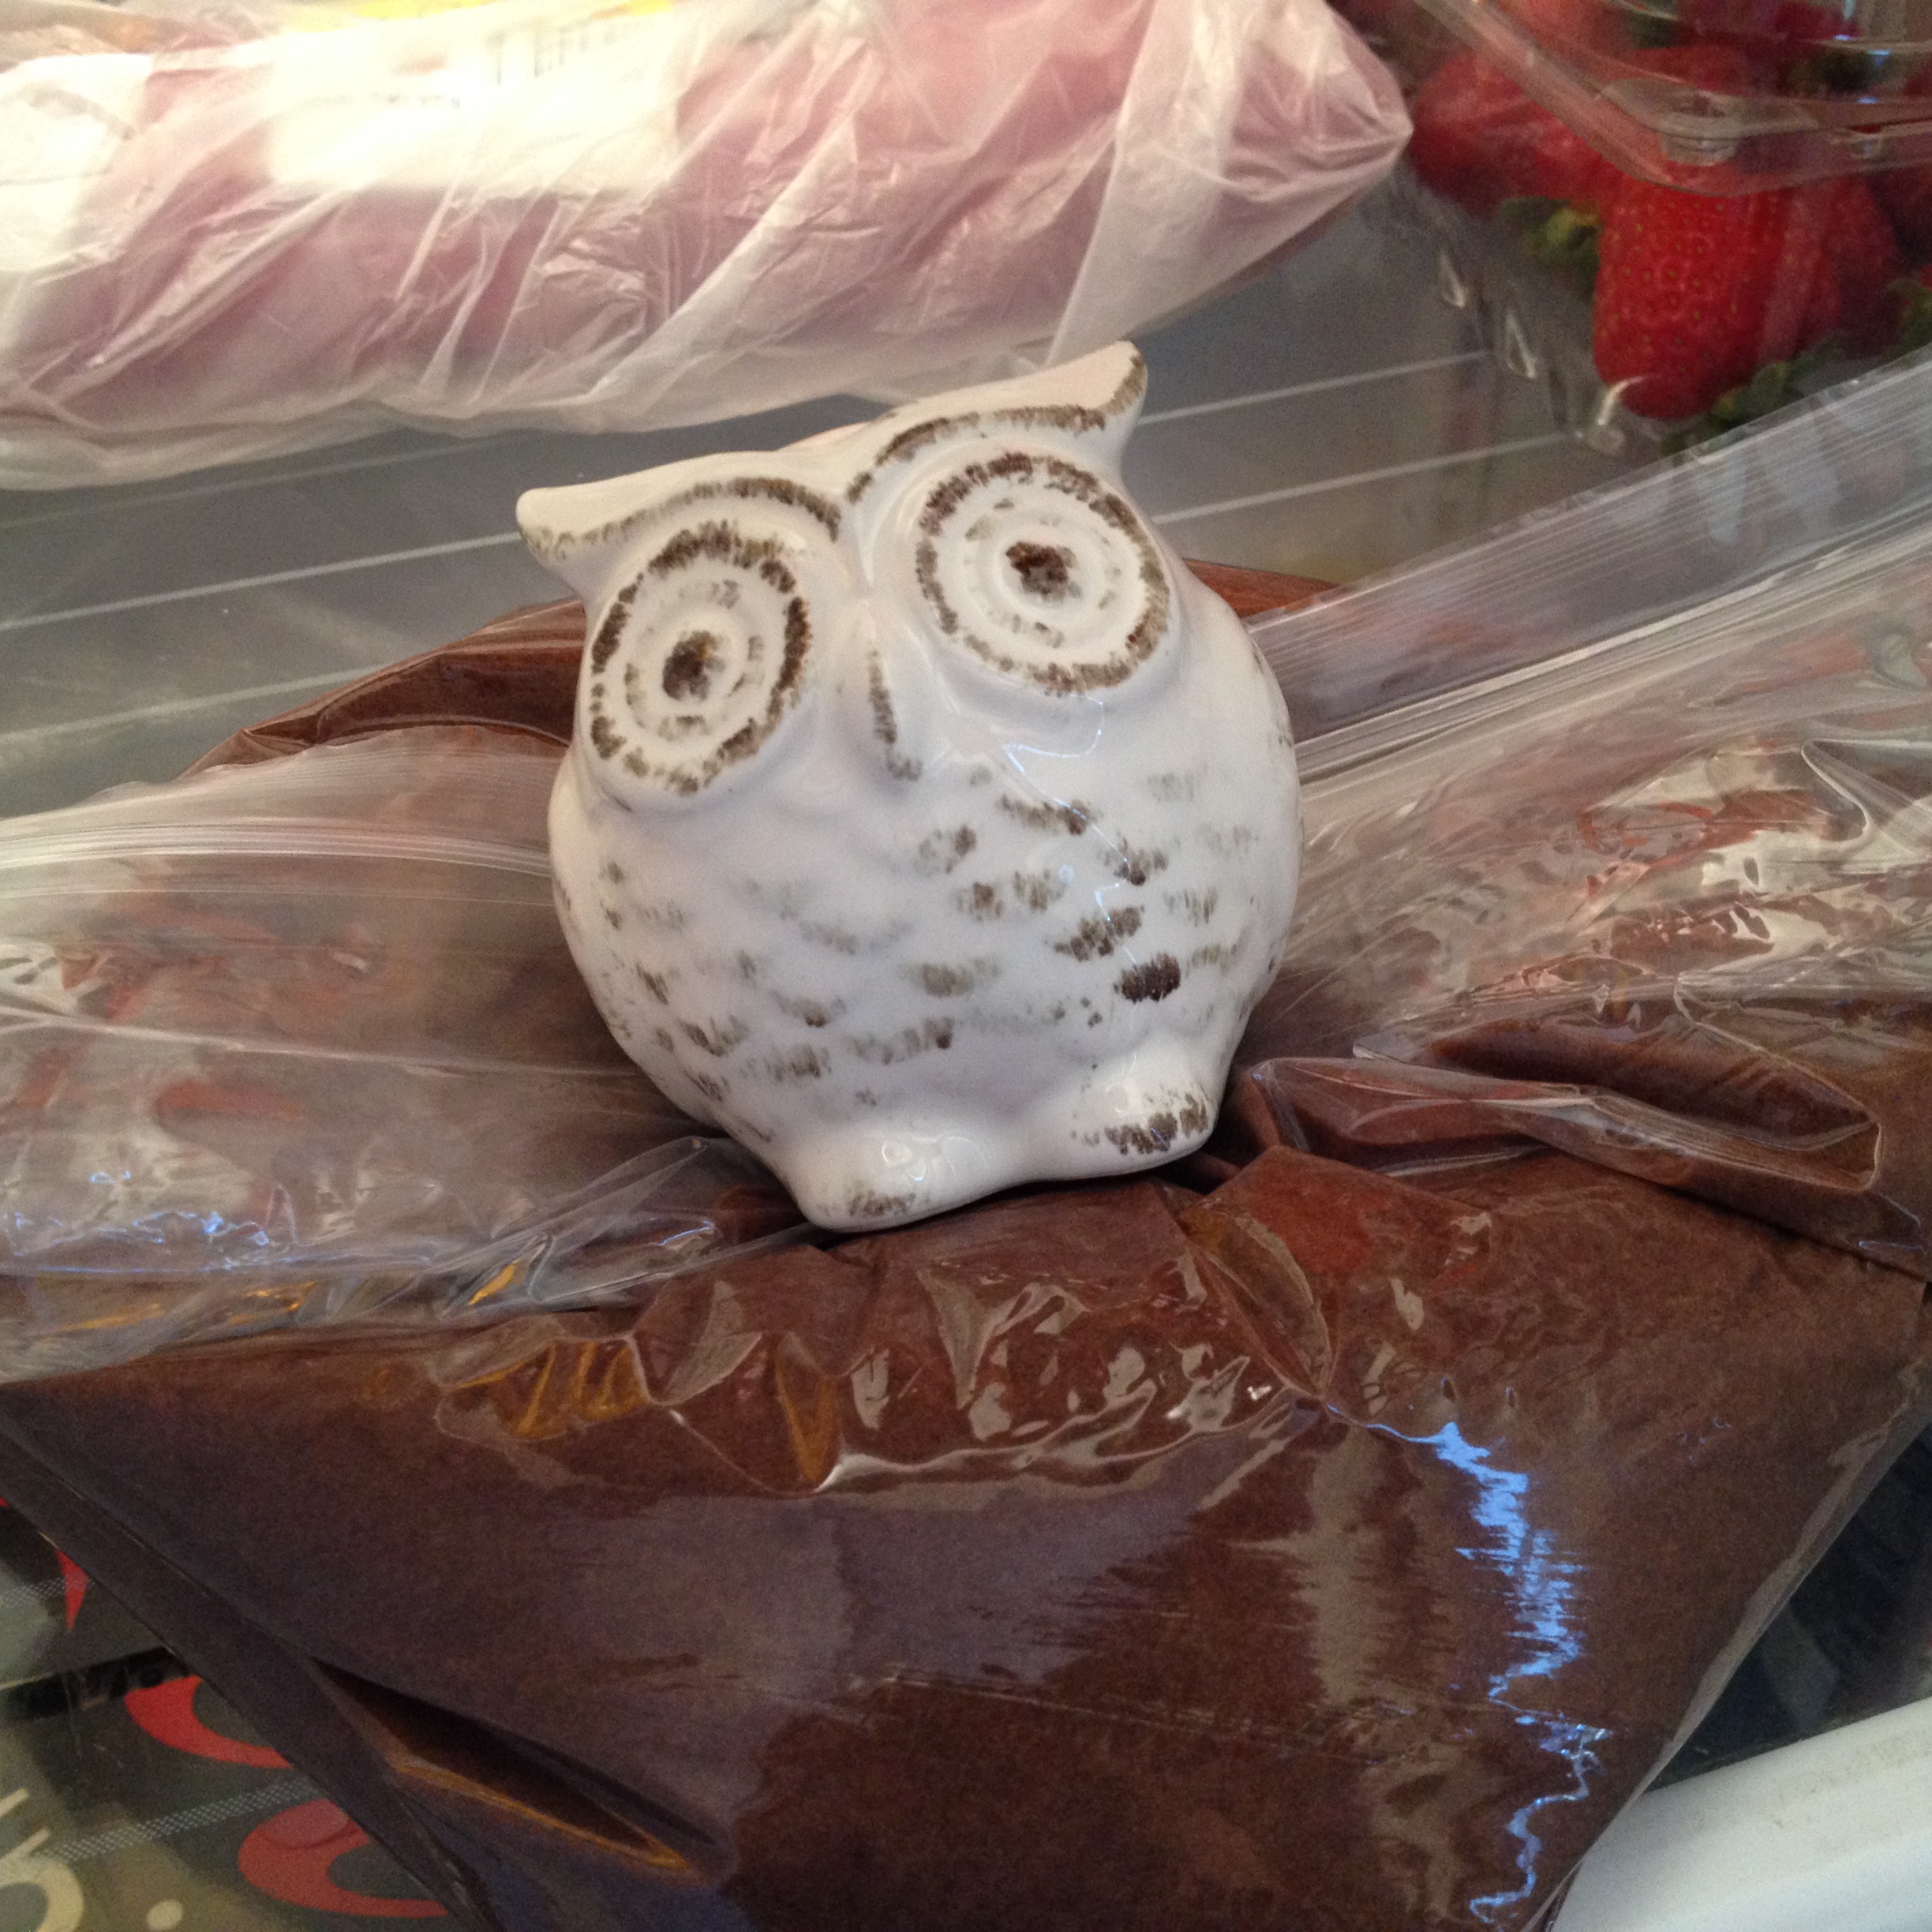
You’ll notice I have a bag of brown sugar there which was the original plan but I substituted some raw honey instead. I received the jar of honey from a very sweet patient at my work. It came from their ranch and was just right for this recipe.
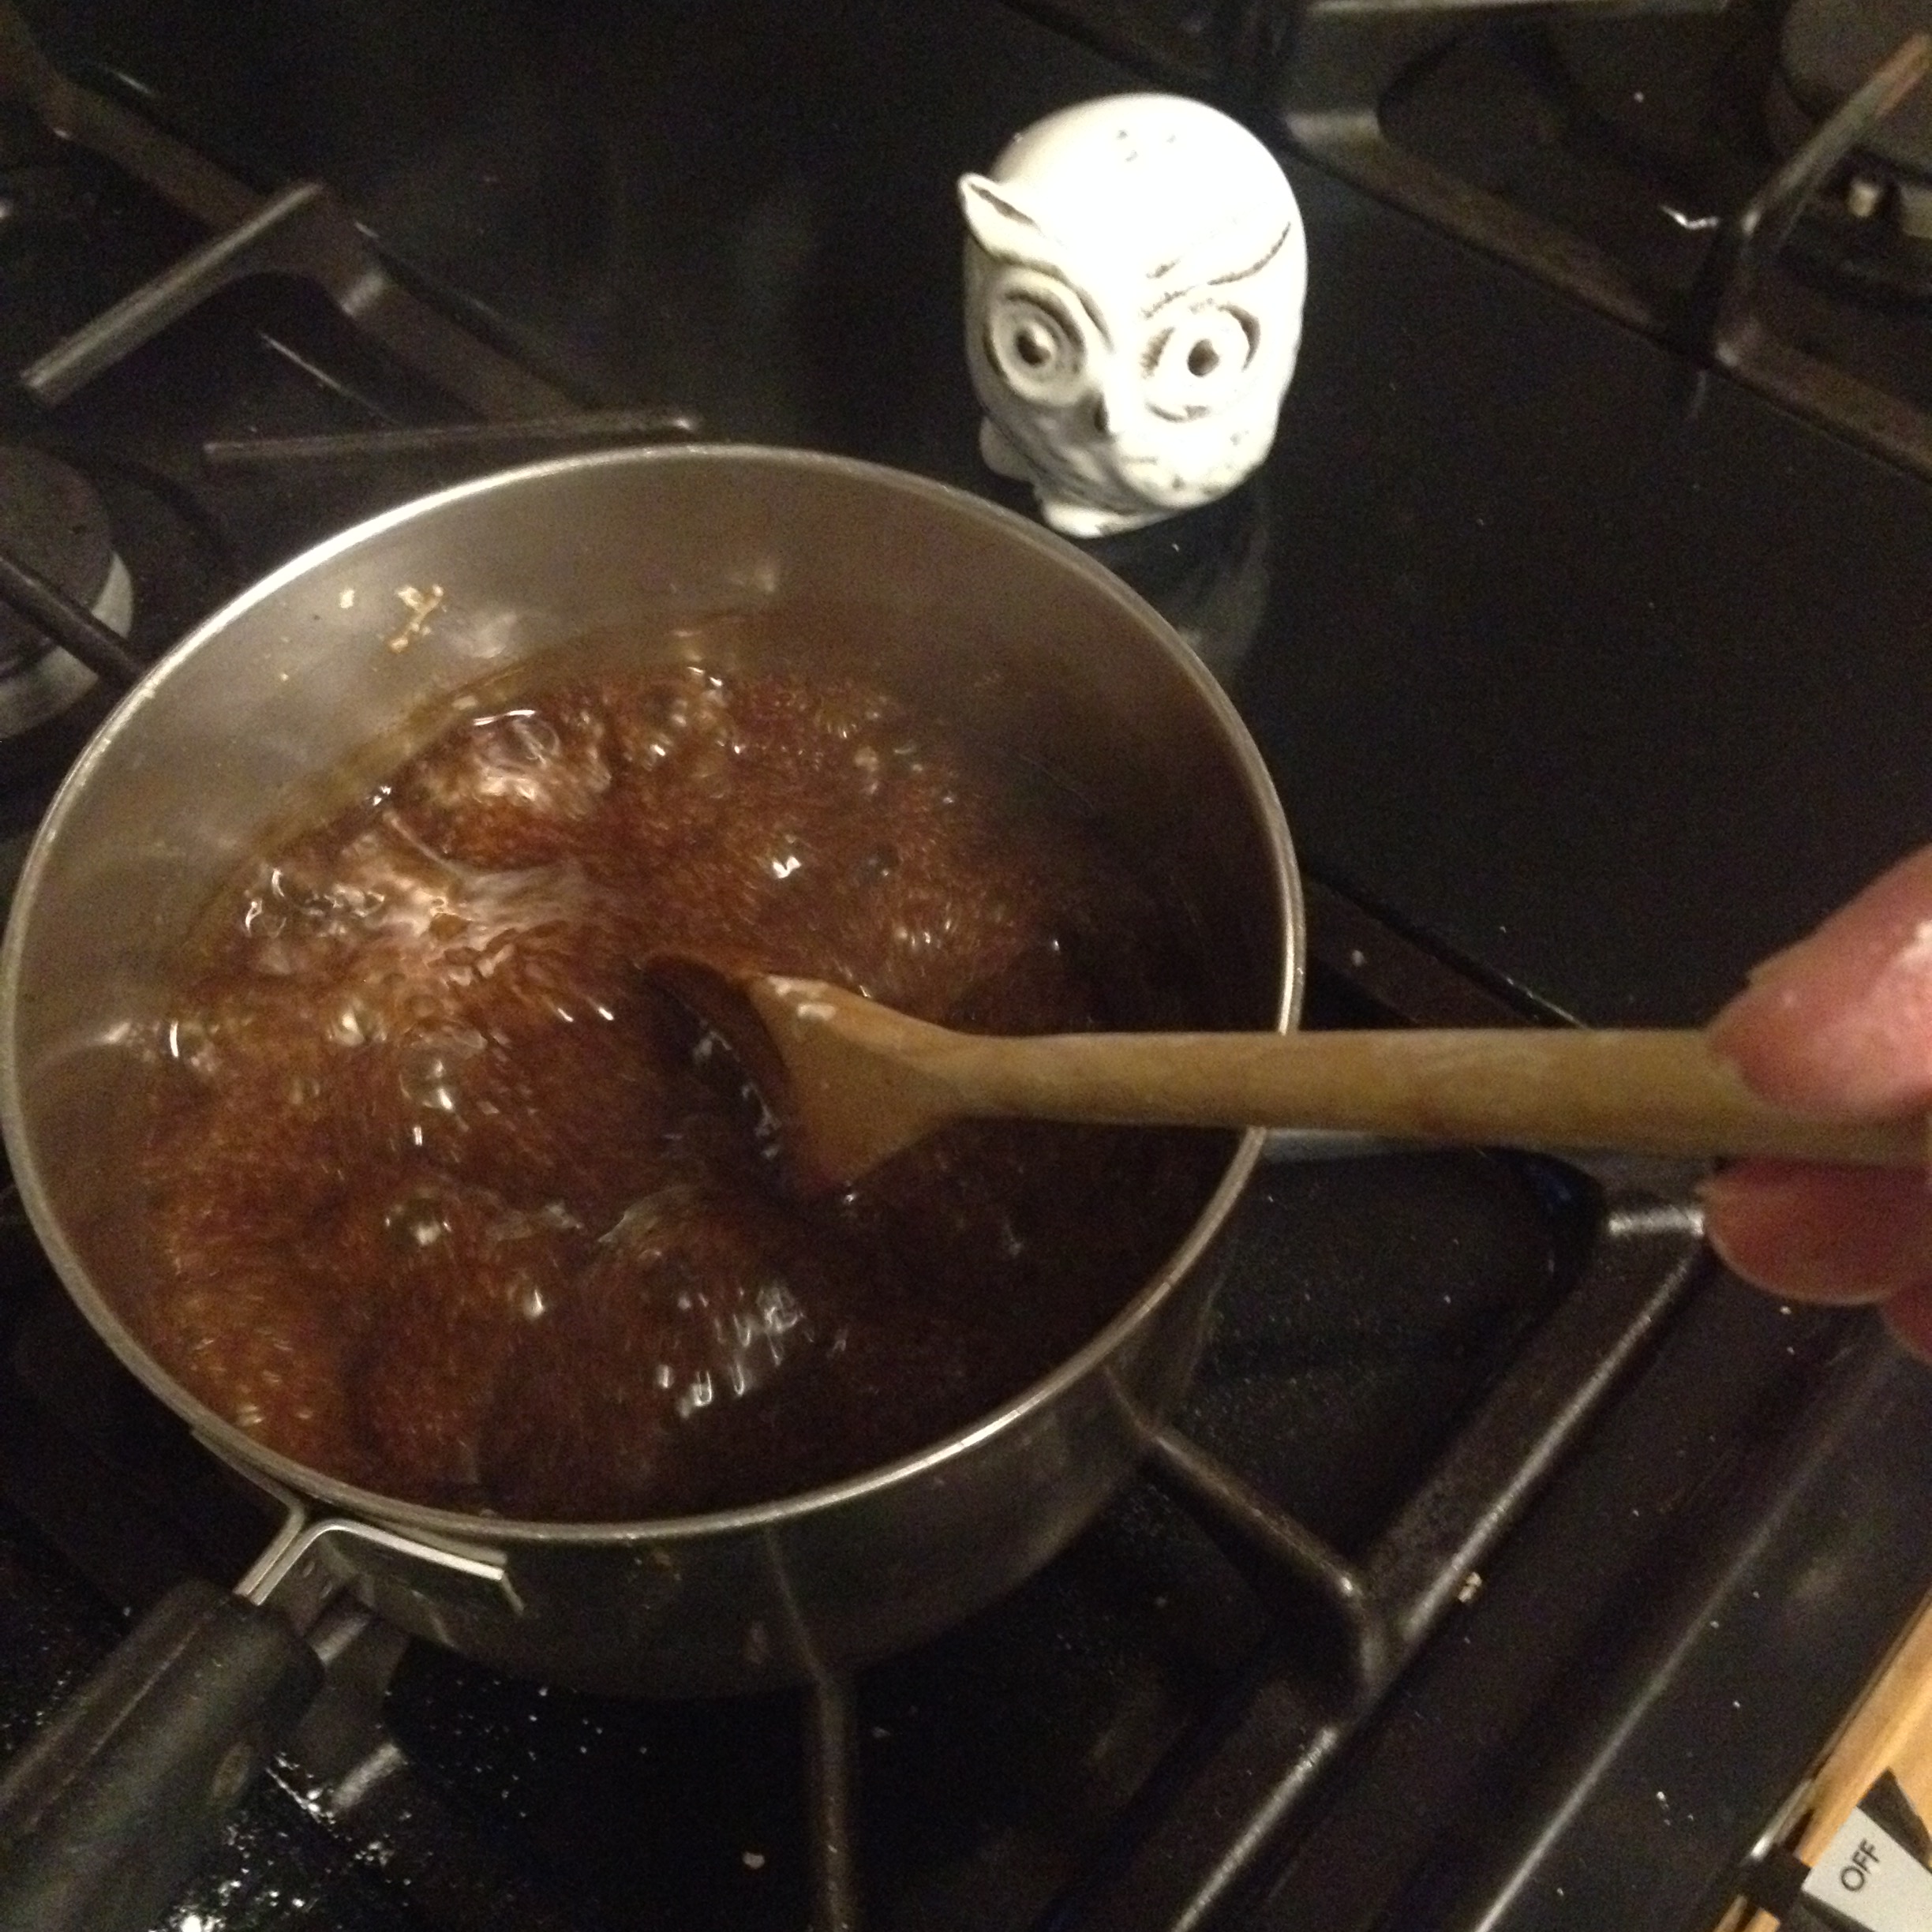
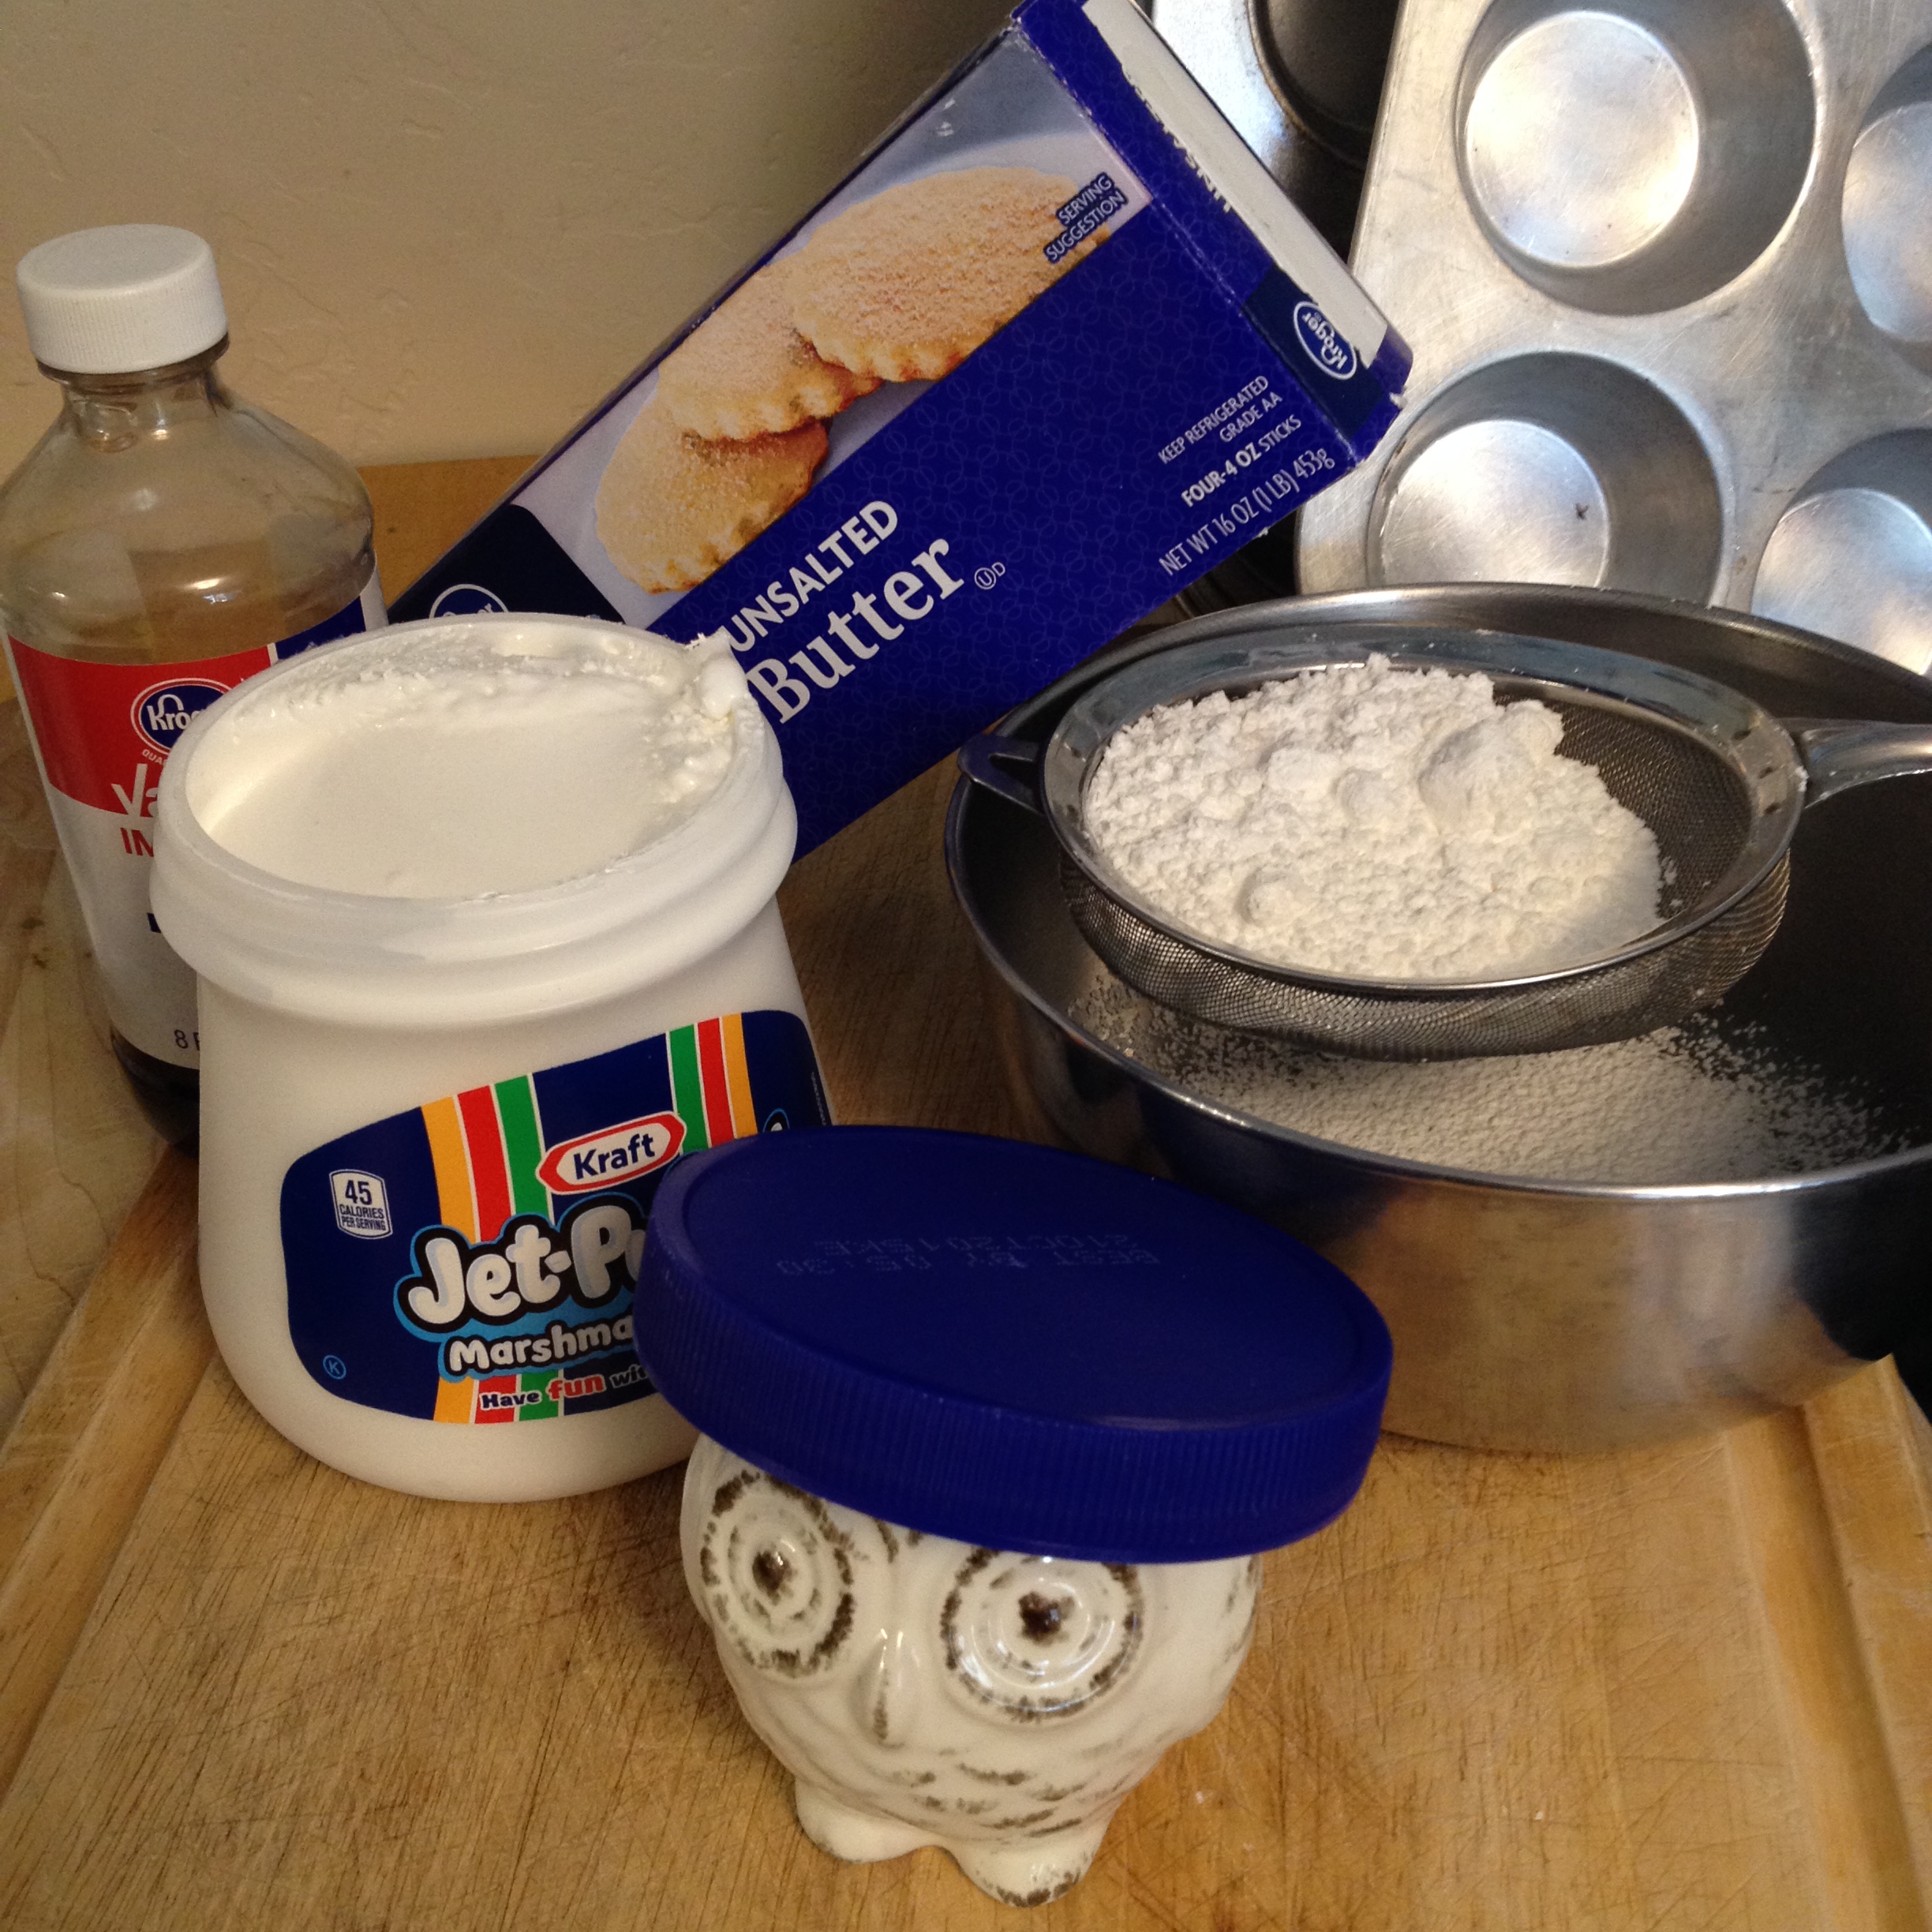
Don’t get too close to flame Bob! You little pyromaniac!
![IMG_0954[1]](https://galsinthegalley.com/wp-content/uploads/2015/06/img_09541.jpg)
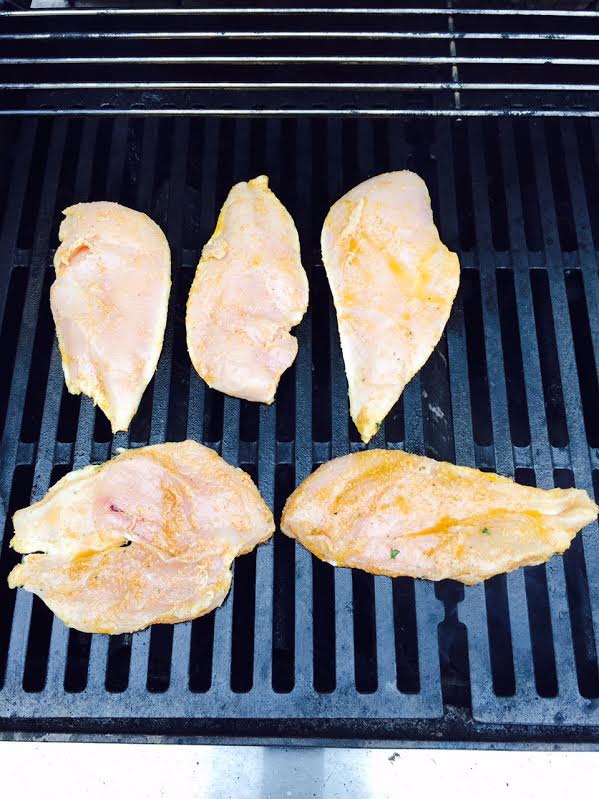
After you’ve suffered for another hour from the delightful smells wafting from your Crock Pot you can take the glazed tenderloin out and place in baking pan. I used one of my Pyrex dishes. The pork will be falling apart at this point which is good as we want a shredded and pulled apart consistency before broiling. You can use two forks to help along the shredding. Use the brush again to generously glaze the pulled apart pork. Place under the broiler. Use high heat because at this point you’re not gonna want to wait much longer to eat!
![IMG_0956[1]](https://galsinthegalley.com/wp-content/uploads/2015/06/img_09561.jpg)
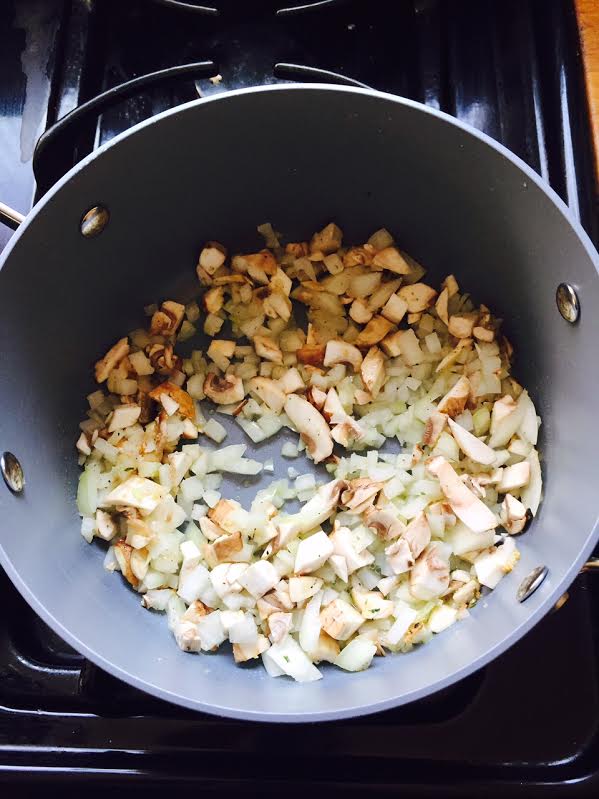
Throughout the broiling process brush more of the left over glaze every few minutes. Eventually the pork will caramelize under the broiler’s heat. The darkened, crispy edges are what make this meal such a treat in my opinion. I added some chopped mushrooms on top of the meat and added some glaze over them. The earthy flavor of mushrooms go well with most meat dishes.
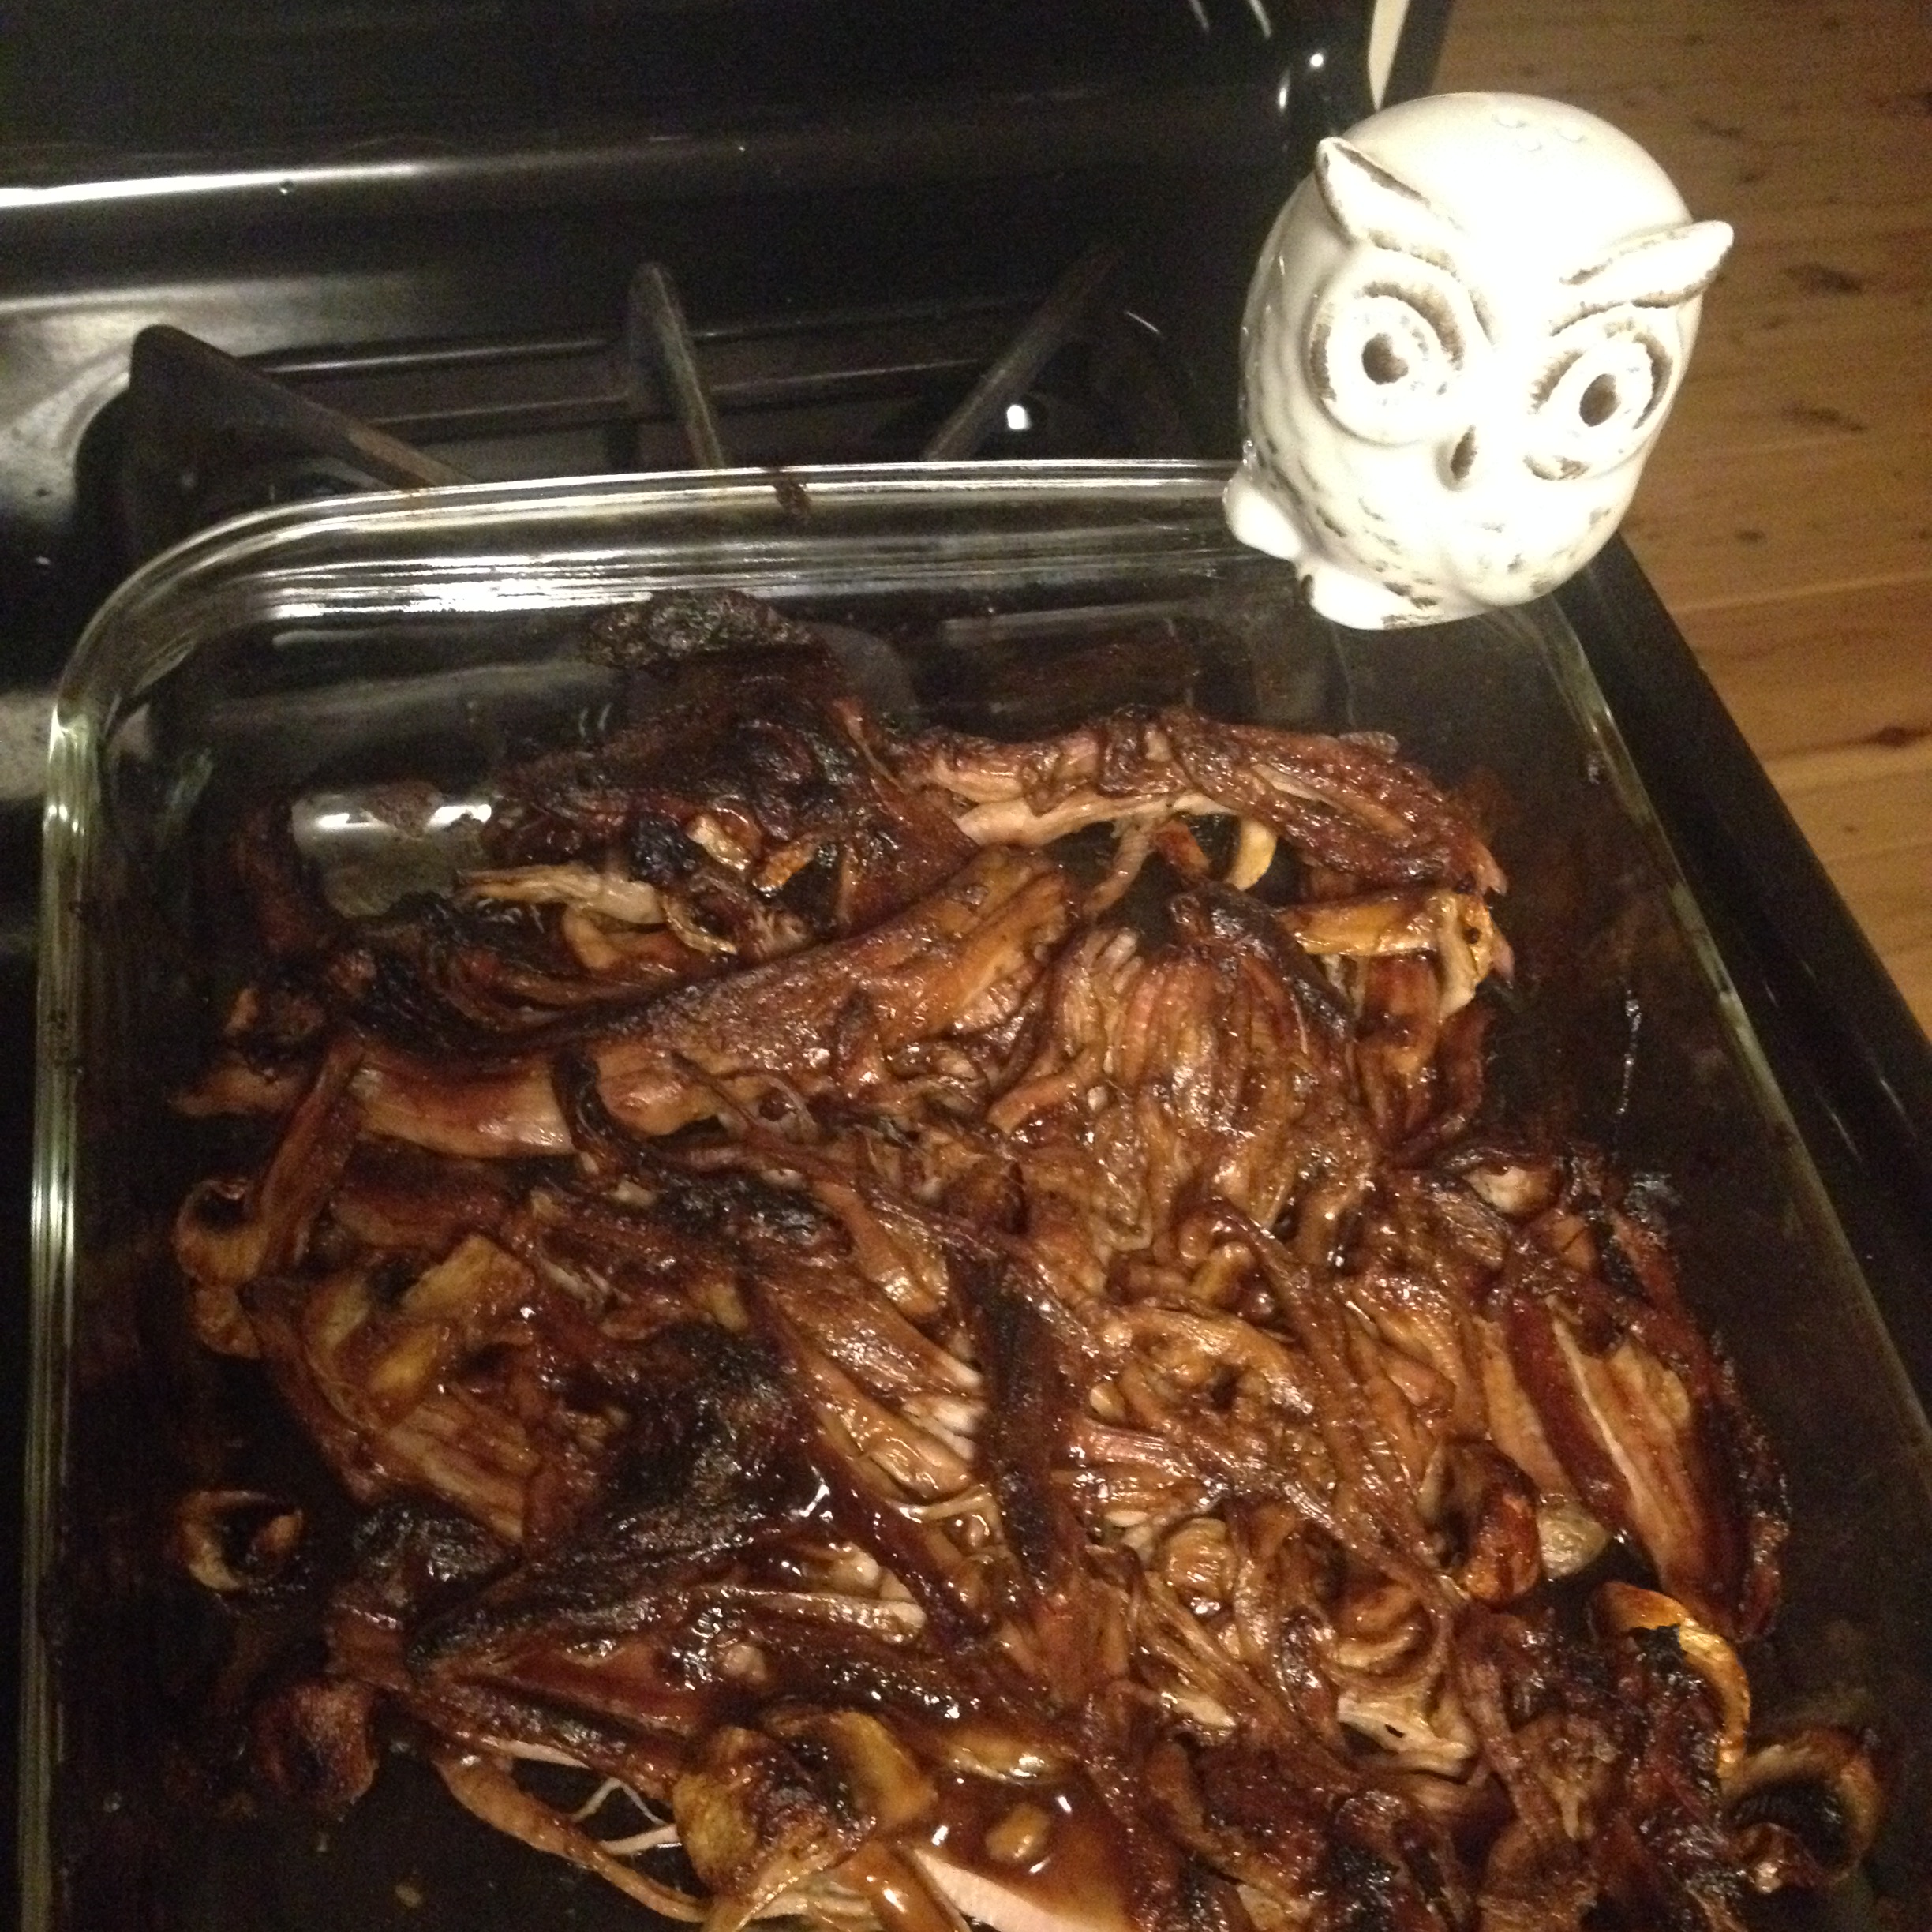
Bob is such a carnivore and wanted to do a ‘Canon Ball’ into the sizzling meat. Oh Bob!
![IMG_0957[1]](https://galsinthegalley.com/wp-content/uploads/2015/06/img_09571.jpg)
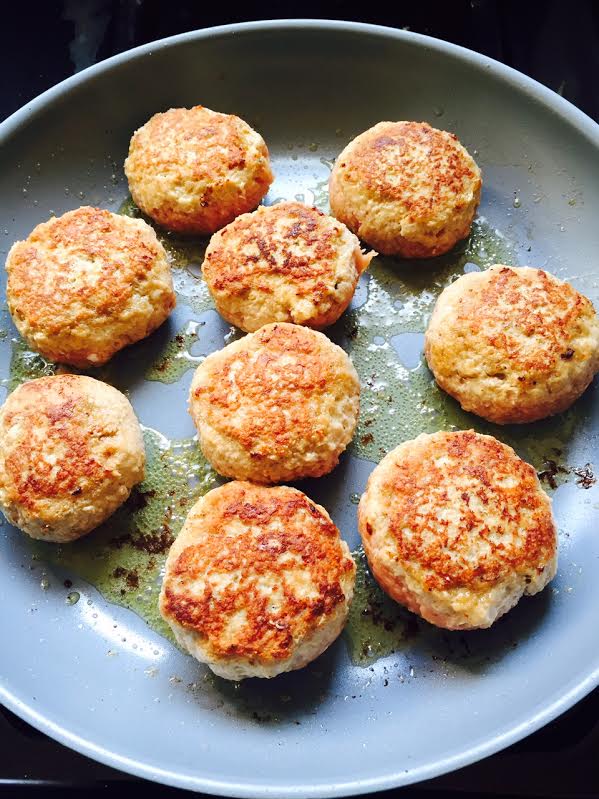
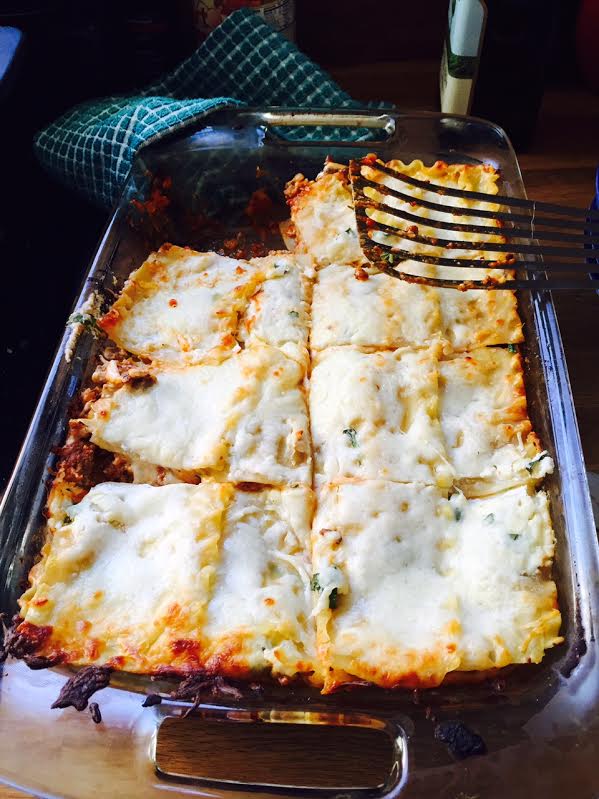
We had sides of salad and potato chips. A bit of healthy and a bit of not so healthy but all of it went perfectly with our heavenly sandwich.
![IMG_0958[1]](https://galsinthegalley.com/wp-content/uploads/2015/06/img_09581.jpg)
This was a minimal ingredient salad with romaine heart lettuce and sliced Persian cucumbers (they are my fave!). Lightly Salted Lays Potato chips are much better than regular Lays if you don’t like too much salt. Yum!
Hope you all enjoy this recipe. And to all you Fathers out there – have a happy and safe one!
Love and Honey,
Lani