Baked Frank’s Red Hot Drumsticks

Hello blog-land,

Oh man is it getting toasty in Southern California and like most natives I do enjoy not only the hot summer day but also the occasional hot & spicy dish – some of our favs are spicy crunchy sushi, the amazing kimchi based spicy cream that goes with buttery Hawaiian style ahi poke, and of course spicy Mexican food! But today, we are going to do a twist on a traditionally fried dish. We’re making Hot Wings…but baked…and technically drumsticks…..and they are so good! This appetizer (or main) is so easy and really a crowd pleaser. You could always dunk these bad boys in some oil and fry them up but I generally don’t fry during summer…I mean come on…it’s hot enough already. But the world is your Hot Wing oyster….so to speak…so feel free to do what you like.

The Goods

  • 6 drumsticks (bone in, skin on)
  • 4 tablespoons Olive Oil
  • Seasonings: 2 tsp Garlic Powder, 2 tsp Tumeric, 2 tsp Seasoned Salt (we used Goya Adobo but anything will do), and ground pepper
  • 1 tsp Lemon (juice and rind to make sure your lemon is well scrubbed and rinsed)
  • Frank’s Red Hot Sauce (or your fav hot sauce)
  • 2 tablespoons Butter

unnamed (77)

Note: I forgot the tumeric in the picture. Don’t be like me, don’t forget your tumeric.

Let’s get baking!

Pre heat oven to 400 degrees F.

Time for the marinade. Mix olive oil, garlic powder, tumeric, seasoned salt, a couple of twists of ground pepper, lemon and a touch of rind. Let the chicken sit (20 min to about 2 hours makes the best combo).

When the chicken is done marinating lay them on a baking sheet and bake for 30 min. Turn over and bake another 20-30 min until internal temp gets to 165 degrees. If you want to get a bit more color feel free to put them under the “High” broiler – but watch them! They can burn very quickly.

3

Hello Pollo. Feel free to drizzle with a tab of olive oil here to help it get brown and delicious.

Next melt 2 tablespoons of butter (I did this in a tiny glass bowl in the microwave for 20 seconds) and put into a larger bowl. Add in a couple of shakes of garlic powder and S&P as well as 20-30 shakes of Frank’s Red Hot Sauce (The bottle had the shaker top. You can’t really overdue the sauce so get at it).

unnamed (83)

Let the chicken go for a hot sauce swim.

unnamed (84)

Serve up with blue cheese and lemonade spiked with tequila and fresh lime.

unnamed (85)

Enjoy!

xoxo Shawna

Chicken and Broccoli Casserole

Hello Bloggies! 

As it heats up in the South West the dinners start getting later in desperate hopes that the kitchen you’re cooking in starts to cool off a bit. This dish is awesome because you can prepare it in advance and bake it later or make it and bake it right away. Either way it’s so delicious and quite inexpensive. That’s a win-win in my book! 

The Goods 

  • 3 cups water
  • 1 1/2 cups long grain rice
  • 1 bouillon cube (chicken)
  • 1/2 onion, diced
  • 2 large chicken breasts, diced 
  • Seasonings: S&P, garlic powder, paprika
  • 1 bag frozen broccoli 
  • 1 cup + some for topping Shredded cheddar 
  • 2 cans cream of chicken soup
  • Optional: fried onion bits for topping 

Sassy Casserole Time!

First put the water and bouillon cube in a sauce pot and bring to a boil. Add the rice, put a lid on it then let simmer for about 15 minutes until almost done. 


Heat up another sauce pan over med-hi heat with 2 tablespoons water and add in the broccoli. Heat to a boil and put a lid on so it steams. Stir it around a bit and cook until the broccoli are no longer frozen. About 10 min. 


Now in a pan over Med-Hi heat swirl in some olive oil and start sautéing the diced onion. Now add in S&P, 2 tsp paprika and 2 tsp garlic powder. When the onions are translucent add in the chicken and cook until 165 degree internal temp.


When cooked it should look awesome like this! Feel free to add more olive oil if it gets too dry during the cooking process.


Now let’s assemble the goods. In a large bowl combine the rice, broccoli, chicken/onion mixture, 2 cans of cream of chicken soup and 1 cup shredded cheddar. 

Spray a casserole dish of your choosing with cooking spray and load it up with your amazing casserole. 


Since everything is cooked you can taste it at this point. Just try not to eat it all. 🙂

  
Bake for 25 min until the casserole is bubbly and the top starts to brown. 

Add the fried onion topping and shredded cheese (we ran out of cheddar so switched to jack) and bake for 5 more min.


Holy. Bananas. This is a good dish. 

We served it with a side salad and some wine. Not a bad recipe for the middle of the week! Hope you enjoy it!

  
xoxo Shawna  


Dudes in the Galley Meatballs

Alright, let’s be honest. (First, let’s get some wine). This next recipe is technically my own BUT it was strongly influenced by a knight in shining armor moment my favorite dude in the galley husband arranged a month or so ago. I worked way too many hours last week and it looked like not only would I be getting home way after dark but the tasty dinner I had waiting to cook would stay cold and lonely in the fridge. Out of nowhere the hubby volunteers to cook what I had planned for din din so long as I provided a very thorough set of instructions. He’s very good with lists. I accepted this challenge and texted…yes texted…the recipe below albeit in “Shawna shorthand.” Not only did the meatballs come out AMAZING but it inspired me to take it back to basics…and…basically…try to make it better than he did. I know, I know. If you’re not first, you’re last.

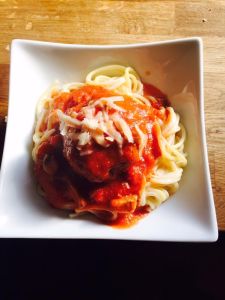
I present to you now homemade browned-in-a-pan-then-finished-in-homemade-tomato-sauce meatballs served over buttered creamy thin spaghetti. (Fun trick: once you assemble the dish the crazy good sauce falls over the noodles and the cream combines with the tomato and you end up with unintentional but oh so good pink sauce. Culinary magic trick. You’re welcome.)

The Goods

  • 1 lb ground lean turkey meat
  • 1 egg
  • 1 cup (or so) breadcrumbs (last time I made this I had literally no bread left…which is so weird in our house but it happened. So I took my fav crackers Melba crisps and slapped them into the food processor and bam….bread crumbs. Today, I used the pre-made kind but only because I was trying to kick out two blogs before we head back to CT this week for the hubster’s sister Carrie’s wedding! So excited! Sorry, I digress…)
  • Worcestershire sauce (that’s how you know you get REALLY into cooking when you can spell Worcestershire sauce and not need spell check to correct it for you.)
  • Grated Parmesan (get the block, grate it yourself…it’s SO much better)
  • 1 large can crushed tomatoes (wanna go crazy? Get San Marzan tomatoes. Chefs use them. It’s worth it.)
  • 1 smaller can of tomato sauce
  • Veggie Oil (for browning meatballs) & Olive Oil (for the tomato sauce)
  • Seasonings: Garlic Powder, S&P, dried chili flakes (like what you put on pizza), dried Oregano, fresh basil (dried is fine if you have it)
  • 1/2 large onion, diced
  • 1/2 carton of portabella or other mushrooms, rinsed, patted dried and diced
  • 1/2 package thin spaghetti
  • 3 tablespoons butter
  • 1/2 cup sour cream

Today’s music selection: 90’s hits on cable TV music channel. First up, my dream boyfriend from Junior High…Justin Timberlake. Perfect.

Let’s get saucy….

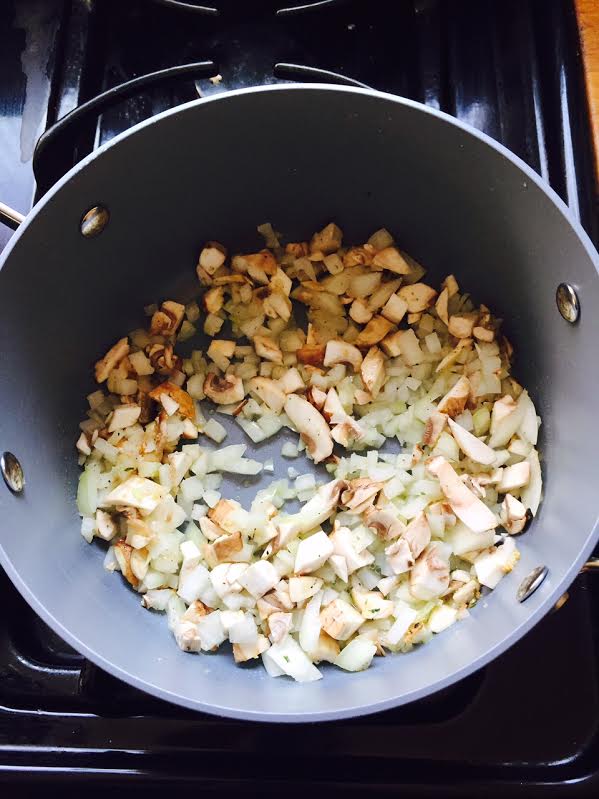
In a medium-large sauce pan heat pan up to med high and give it a couple of swirls of olive oil (Note: you’ll see in the pic below there is a can of diced tomatoes. I ended up not using it. Feel free to add some for texture but drain them first so you just have the tomatoes. The seasonings and such are measured to not include it so you may need to kick up the S&P and oregano if you do).

unnamed (31)

Add in onions, mushrooms, 1/2 tsp garlic powder, 1 tsp Oregano and 1/2 tsp pepper flakes

unnamed (33)

When onions are translucent add in the crushed tomatoes and tomato sauce

unnamed (34)

Let simmer over med or med-hi heat while you make the meatballs. Adjust seasoning if you’d like but once you add the partially cooked meatballs a LOT of flavor will transfer to the sauce so maybe hold off for a bit.

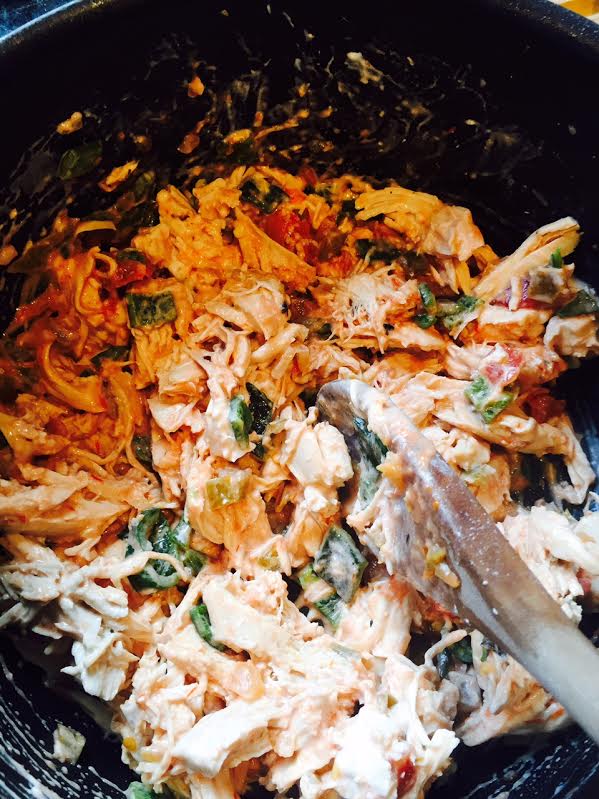
Mini balls of meaty deliciousness..

In a large mixing bowl add in the turkey meat, 1 egg, 4 dashes of Worcestershire sauce, 1/2 cup bread crumbs and S&P. Combine with your hands. I’m telling you, it’s really the only way to go. I ended up washing my hands in varying levels of intensity about 15 times during this recipe but you want to be safe! At this point you probably need some more breadcrumbs.

unnamed (32)

Add in 1/2 cup more breadcrumbs and 1/2 cup grated parm and mix one more time.

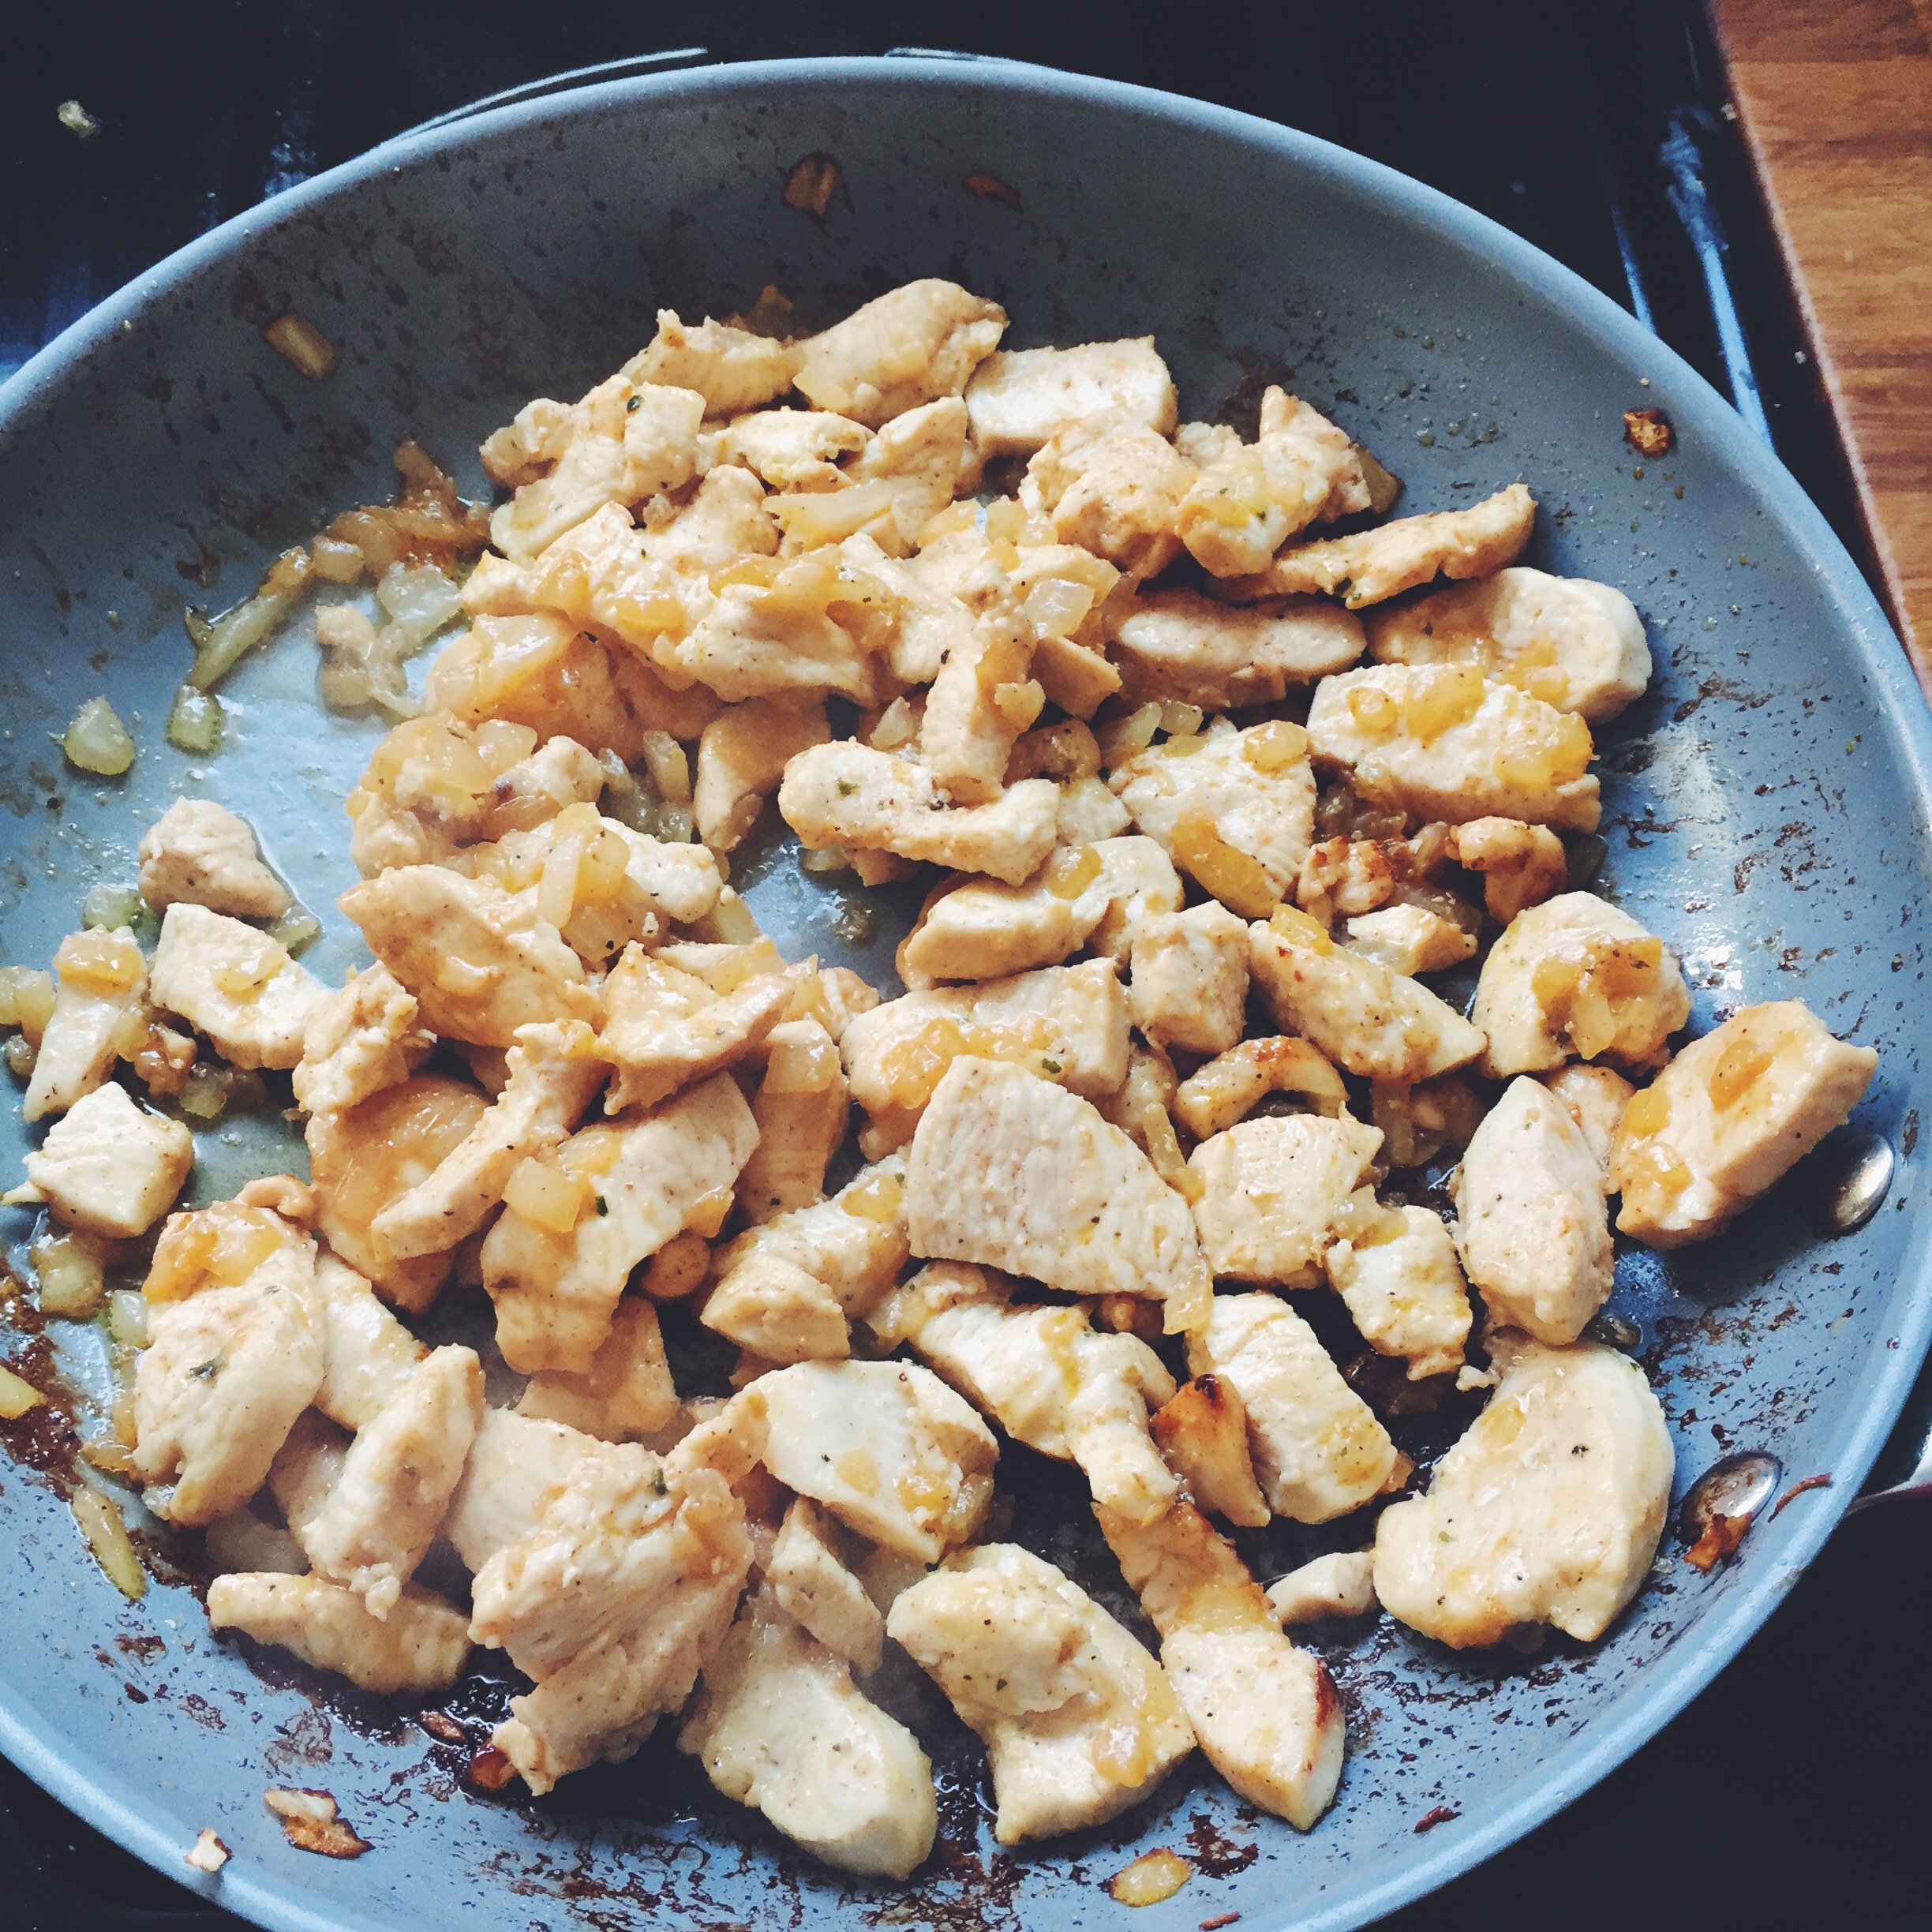
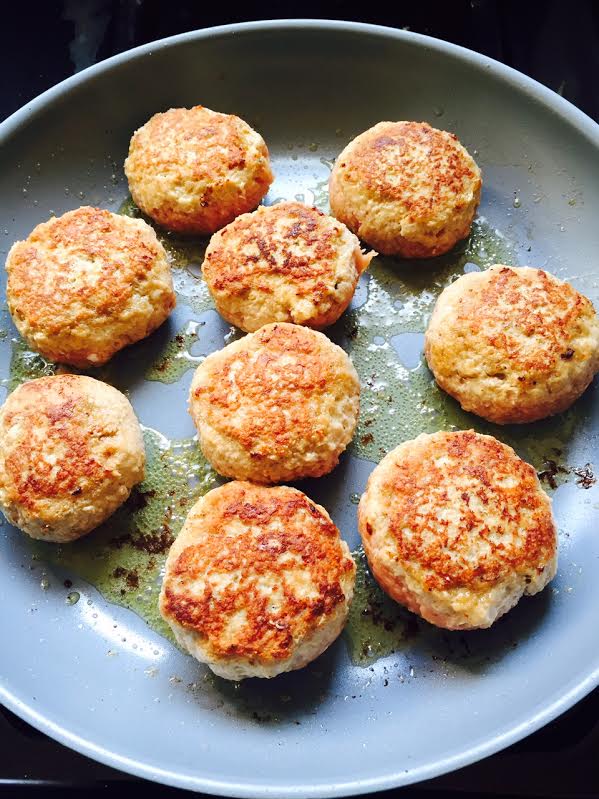
Form large meatballs (we got 10 total from 1 lb of meat) and heat up a large non stick skillet over med-hi heat. When heated swirl around some veggie oil.

unnamed (35)

Brown the meatballs on both sides. Look at those glorious brown bits of deliciousness. Man, that’s good.

unnamed (36)

Add partially cooked meatballs and some torn up basil into the sauce and kick up the heat a bit. Put on a lid and let cook until internal meat temp hits 165 (this should take about 12-15 min). If you have more time, set the temp to medium and let it simmer for 30 min. The sauce will be ridiculously good this way.

unnamed (38)

While the mighty meatballs are simmering away let’s make the pasta.

Boil pasta in heavily salted water. (1. I use Morton’s salt and 2. One of my favorite chefs, Anne Burrell, says the water should taste like the sea before the pasta hits it. Do as the pros do. Ocean the crap out of your water. It makes even store bought dry pasta taste great and not like cardboard.)

unnamed (39)

Cook about 8 min until al dente (nobody likes mushy pasta), drain and return to pan.

Add in 3 tablespoons salted butter and 1/2 cup (or 1 cup if it’s not creamy enough) sour cream. Mix religiously until well combined.

Serve meatball over pasta with sauce drizzled over both.

Man, the smells in this kitchen are crazy. Hubster just walked in and guessed right away what I was making. He then immediately got slapped with a kitchen glove when he tried to dip his finger into the bowl of meatballs pictured below BEFORE I took the picture. Unless his hand wants to be famous on a blog I suggest he not get in the way of his awesome wanna be pro chef wife and her food blog iPhone photo shoot. 🙂

unnamed (40)

Cheers to all the men and women in our lives that support us, love us, and inspire us to try to cook better than they can. 😉

Cheers!

Shawna

Stuffed Sweet Mini Peppers

We are friends right!?! (Picture me dramatically walking with a glass of Pinot in my hand to the West Wing of my estate and sitting down on a luxurious chaise on my veranda overlooking the Caribbean to start my syndicated cooking show. Ok…OK fine. The blog hasn’t skyrocketed to a Kardashian level of fame existence yet but I feel like we’re close. In the mean time I’ll grab a coke, head for the kitchen and keeping writing my post. Same thing). Back to the matter at hand…

Can we talk about bacon for a second? It’s one of my favorite ingredients. I like to showcase it as a show piece (think pork belly), let it be the salt element in soups, casseroles and stews and wrap it around some of our fav ocean givings – scallops and shrimp. Today, we are making the most delish cheese stuffing for those adorable mini sweet peppers you see at the market. These work great as an appetizer, veggie side dish or a lunch & cocktail party to share with friends. These peppers are not spicy at all so it’s safe for even our favorite younger diners.

The Goods

  • 1 bag of those colorful small mini peppers
  • 4 slices of bacon (thick words well)
  • 1 jar ricotta cheese
  • 1 cup shredded mozzarella or pepper jack or even shredded manchego if you’re feeling fancy!
  • 1/2 cup frozen peas (Hold up what?!?!? Yup, I said peas. They add such a great pop of sweetness against the salty cheese interior. Trust me on this.)
  • S&P
  • Garlic Powder

unnamed (17)

Pepper magic

Preheat your oven to 400 degrees F.

Cook your bacon until it’s pretty crispy. Place on a paper towel to absorb some of the fat and chop it up.

unnamed (18)

First you want to give your lil’ peppers a rinse. Using a small paring knife remove the top stem and carefully cut out the interior stems (this is mostly to remove the seeds but also to get maximum space to add your delicious filling.) Set those aside.

unnamed (20)

unnamed (19)

In a mixing bowl add the jar of ricotta, the bacon, mozzarella, and your peas. Hit it with S&P and about 1/2 tsp of garlic salt. Mix together with a fork (I find that works best but really any implement will do). Make sure to taste it but I’m sorry in advance if it’s amazing. EVERY time I make this I end up eating…a tad too much and run out of filling for the peppers. Don’t be that girl. Do as I say, not as I do…

unnamed (21)

Using a spoon shovel some filling into each pepper and place onto a baking sheet.

Bake those mini flavor bombs for about 20-25 min. You want the underside just to get brown and delicious and the flesh of the peppers to get soft and just start to wilt down. Yes, the filling may come oozing out and that’s totally ok! The little cheese that hits the pan may get some brown bits on them and OMG browned cheese is amazing. You’re welcome in advance for those tiny gifts from cheese heaven.

unnamed (23)

Remove and let cool for just a few min then plate up your gorgeous peppers. Big shout out to our equally gorgeous friend Maggie who bought us these plates from West Elm as a wedding present. Now they, and you, are famous.

unnamed (22)

Happy Cooking Friends!

xoxo Shawna

Sour Cream & Verde Chicken Enchiladas

Ok guys. Seriously. These have got to be one of my favorite meals I make at home, period. Let me remind you I live in San Diego…the gateway to Mexican food. I’ve had a whole lotta years to experiment and taste amazing Mexican food and this recipe is the prodigy child of all those years. One of my fav restaurants growing up had these KILLER sour cream and chicken enchiladas and these are a nod to that memory.

But these enchiladas are made with flour tortillas?!?! Gasp! You make it all from scratch on a week night, gasp?!?! Yup! But you know what, you can bet your sombrero not only will you love these you’ll be willing to come to the dark side of “making food that tastes good and doesn’t necessarily fit the norm.” Exciting right?!?! You’re welcome. Let’s get cooking….

The Goods

  • 3 Chicken Breasts
  • 2 Anaheim chili peppers (dark green, medium to large is fine)
  • 1 lb tomatillo peppers (round, looks like a green tomato with paper skin)
  • 1 small tub sour cream
  • Taco size tortillas (we used flour…I know, I know…OMG they didn’t use corn. Nope, we didn’t. And we loved it.)
  • Pepper jack cheese (We like a bit of a kick and the sauce we are making is not spicy at all. This cheese is a nice addition. If you want you can replace with regular jack cheese, shredded)
  • 1 cup jarred salsa (you can use homemade if you have it…I actually ran out of tomatoes and it was coming up on 6pm and my household had not eaten so needless to say I went with jarred. You get it, I know you do. That’s why we are friends.)

The Fiesta (Ironically, Enrique Iglesias just came up on our cable music channel…ha! It’s like the world knew I was blogging about enchiladas. Perfect.)

Preheat your good ol’ trusty oven to 350 degrees F. (Note: I’ve made these on the boat before and they were amazing. Make sure to pick a smaller lasagna dish to make them in beforehand so you don’t end up with a large pan and a tiny oven.)

Start by filling up a stock pot with water and set the heat to medium. Add your chicken breasts and poach until they hit 165 degrees F.

Next, using tongs you want to char your Anaheim peppers over an open flame (gas stove) or under the broiler. You want them super charred on all sides. When done add them to a small bowl and cover TIGHTLY with plastic wrap. Add something on top so it stays shut and don’t touch it for about 15 min.

unnamed (10)

After 15 min take them out and using a paper towel simply slide the charred skin off and you have this amazing dark green flesh left that is AMAZING to taste. Slice the peppers in half and remove the seeds. Chop it up and set it aside.

unnamed (11)

While that’s happening peel the tomatillos (the paper comes off super easily), rinse under water, cut into quarters and add to a smaller sauce pot.

unnamed (8)

Cover with water and boil until the dark green turns to pale green and they just get soft. (This only takes a few minutes. Just enough time to grab another margarita. Go ahead, we don’t judge here.)

Once complete place the tomatillos into a blender, add in about 1/2 c of the cooking water and lots of S&P. Give it a whirl until it looks like enchilada sauce. Pour out the remaining water in the pot and add the sauce back in. Hit it with some heat and let her reduce a bit and come together.

unnamed (9)

Once your chicken is done shred her up and return her to the pot.

unnamed (12)

Add in 1/2 c sour cream, the salsa, your chopped Anaheim peppers and mix it up. Taste. It should be amazing. Add S&P if needed. Now stop eating it or else you won’t have enough to make the enchiladas.

unnamed (13)

Spray the bottom of a lasagna pan with cooking spray. Grab a tortilla, add some of the delish chicken mixture, some shredded cheese, roll up tight, and add to the pan. Repeat until you fill up the pan. We made GIANT enchiladas (I had some help from the Dudes in the Galley tonight and well…they are men…and they like to eat…so big enchiladas is what happened.) We ended up fitting about 7 in the pan but you can probably get 8.

unnamed (14)

Now slather the whole thing with your amazing tomatillo sauce you made and top with some shredded cheese.

unnamed (15)

Bake for about 20 min at 350 degrees F and enjoy. Serve with beans and rice and your favorite Margarita. Ole!

xoxo Shawna

Summer Veggie Couscous Deliciousness

Oh man. You know, summer grilling/roasting/eating/general tomfoolery is my favorite. In southern california we are blessed with pretty epic weather for 99% of the year and even though May can be a bit blah the sun still peeks out and days like today warrant fire and vegetables. Our good friend Billy is turning 30 and he’s brining and grilling a 33 lb WHOLE piggy. So, the side dish I’m bringing for the hostess Kiley has got to be equally as fabulous. I’m thinking veggie couscous with a lemon vinaigrette. Let’s get cooking!

The Goods

  • 2 cups uncooked couscous
  • 2 cups water (or broth)
  • 1 red bell pepper
  • 3 small zucchini (or any summer squash)
  • 1 onion
  • 2 lemons
  • olive oil
  • dijon mustard
  • S&P and garlic powder
  • If you stick with water or veggie stock this dish is vegan/vegetarian

Annnnnnd go….

  1. Cook up the couscous. Generally you boil equal cups water (in this case 2 cups) and add in the same amount of couscous (again 2 cups), take it off the heat and let sit 4-5 minutes then fluff with a fork until your little heart is content.
  2. Chop up the veggies (bigger than a dice, smaller than a large chunk)
  3. Heat a pan (I used a nonstick pan) on med/hi heat and give her a couple o’ swirls of olive oil
  4. Add veggies and immediately hit it with salt, pepper and garlic powder. Always, ALWAYS, season each layer of food you add to the pan. Your guests, your future judges on Chopped and your future children will thank me. So for that, you’re welcome.
  5. Once they are sauteed just until soft (mine had some random brown bits so I went with that) add them and the couscous to a large bowl. Mix it up a bit. Now, dressing time.
  6. Juice two lemons and make sure to remove the seeds. Nobody wants to eat lemon seeds. If they did, you’d probably owe them some money to visit a dentist and we do not have time for that.
  7. In a vessel (glass measuring cup, small bowl, a dressing maker…) mix 2 tablespoons of the lemon juice, 1 tablespoon dijon mustard, S&P and garlic powder. Now, drizzle in 2 tablespoons of olive oil and whisk away. Whisk. Whisk. Whisk. Now taste.
  8. Don’t dunk your hand in there like a crazed dressing cave woman (or man). Use a spoon. Like the pros do. Resist the urge to double dip said spoon. Trust me, as you get into cooking you end up using lots of spoons and your dear husband (or wife) ends up cleaning a lot of spoons but you know what? The product is usually yummy.
  9. Feel free to double the dressing or add other goodies. It’s really the perfect base.
  10. Pour dressing over couscous and veggies and stir it up. Best served soon after but it’s always yummy for left overs.

Couscous

See. There you have it. The perfect delish veggie couscous salad. Now I have to go eat some pork. Cheers until next post.

xoxo Shawna

san diego food blog

Let’s Start Cookin’!

Welcome to Gals in the Galley, a food blog based in sunny San Diego, California. We’re three gals with a hankering for cooking, eating (obviously!), a good cocktail party, and stretching our sea legs.

Here we hope you can find inspiration and instruction for your next appetizer, crock pot masterpiece, boozy adult beverage, dessert, and everything in between. We always do our best to make things as healthy as possible, but you won’t find paleo chocolate chip cookies in our kitchens – sorry (not really)! Be sure to follow us on Instagram @galsinthegalley to keep up on what’s cookin’!

Now, who’s hungry?!

Love,

Lindsay, Shawna & Lani