Ello Bloggies!
This next recipe is really special to me. The first thing the hubby ever made me was baked ziti. We were on his boat and he started off the meal with wheat thins, cheddar and brie cheese and a homemade Mai-Tai. Let me tell you it was definitely a great way to start a relationship! Fast forward 5 1/2 years and although I’ve added some magic to the recipe it still remains one of our weeknight boat or land favorites. Make it for someone special on your first date and see if it still has the same charming effects. Then again, it may have been the mai-tais. But hey, it all worked together perfectly right?!?! Alright, enough with the match-making. Go grab a mai-tai and let’s make some baked ziti!
The Goods
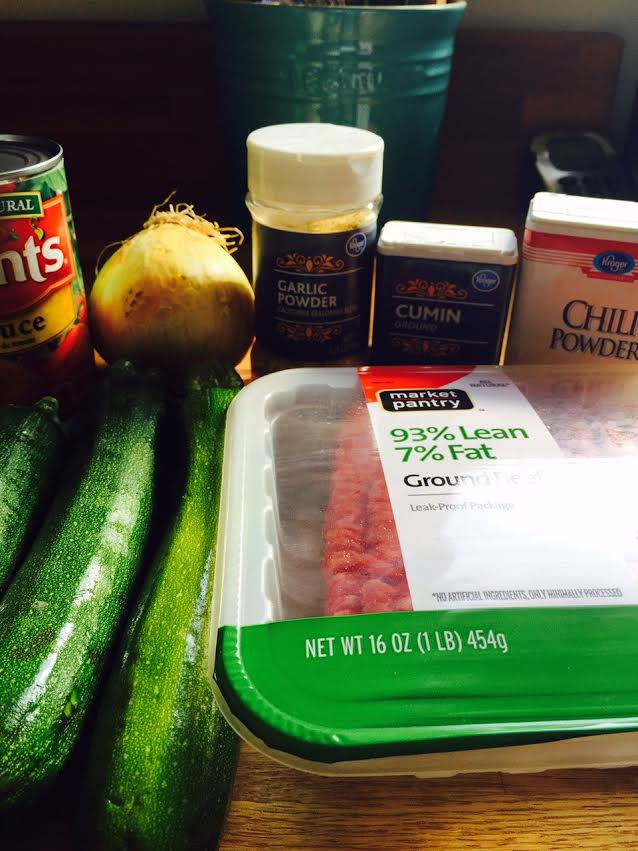
- 1 lb lean ground beef
- 1/2 large onion, diced
- 1 box rigatoni or ziti pasta
- 1 large jar Vodka pasta sauce (this is me not making my own sauce. Ironically, I did recently make sauce and freeze it but then we ate it. Because that’s what you do with food. You eat it. So store bought it is. Remind yourself, it’s a weeknight, and you worked <fill in the blank> hours today and just the fact that you are making dinner makes you awesome. Pats self on back.)
- 8 oz sour cream
- 1 cup shredded mozzarella cheese (a little more if you want to top it with some at the end)
- 1/2 c Italian breadcrumbs
- 1 c parmesan (1/2c for sauce, 1/2c for breadcrumb topping)
- 2 Tbls butter, melted
- Seasonings: Garlic Powder, dried Oregano, S&P
Ziiiiiiiiiiiti Time
Preheat your oven to 425 degrees F
In a pot, boil heavily salted water (it should taste like the ocean). Add your pasta and boil for about 10 min. When done drain and add back to the pot.

I know, I know. This is rigatoni. Which is not ziti. Which is totally fine because rigatoni works just as well for baked pasta dishes. I don’t know why we just always all it baked ziti but we are all special so go with it.
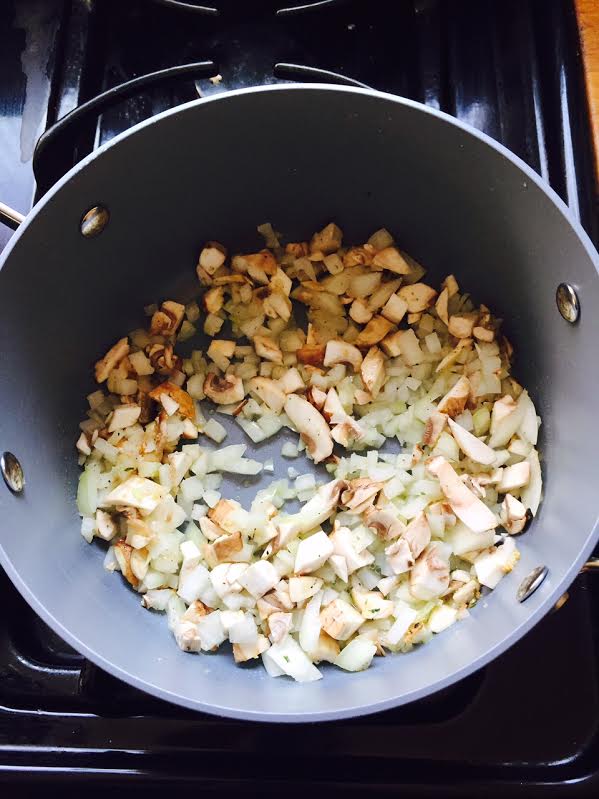
In a pan, swirl olive oil over Med/Hi heat and cook your onions. You only need a minute or two as they’ll continue to cook with the meat.

Add in your ground beef, 1/2 tsp garlic powder, 1/2 tsp oregano and S&P. Cook until the ground beef is no longer pink in the middle.

Add in your jar of tomato sauce and 1/2 c parmesan. Simmer for about 10 min until all the flavors come together. Note: I did not drain the meat before adding the sauce. The meat I had really didn’t have much fat. If yours has a lot, drain the meat, then add the tomato sauce. You may need to adjust seasonings again once you do that to ensure salt level is still legit.

Now, add the meat/tomato sauce mixture to the pasta and stir to combine.

Add in the sour cream and 1 cup mozzarella cheese and stir one more time.
Spray a baking dish with cooking spray and put your delicious looking pasta mixture into the baking dish.
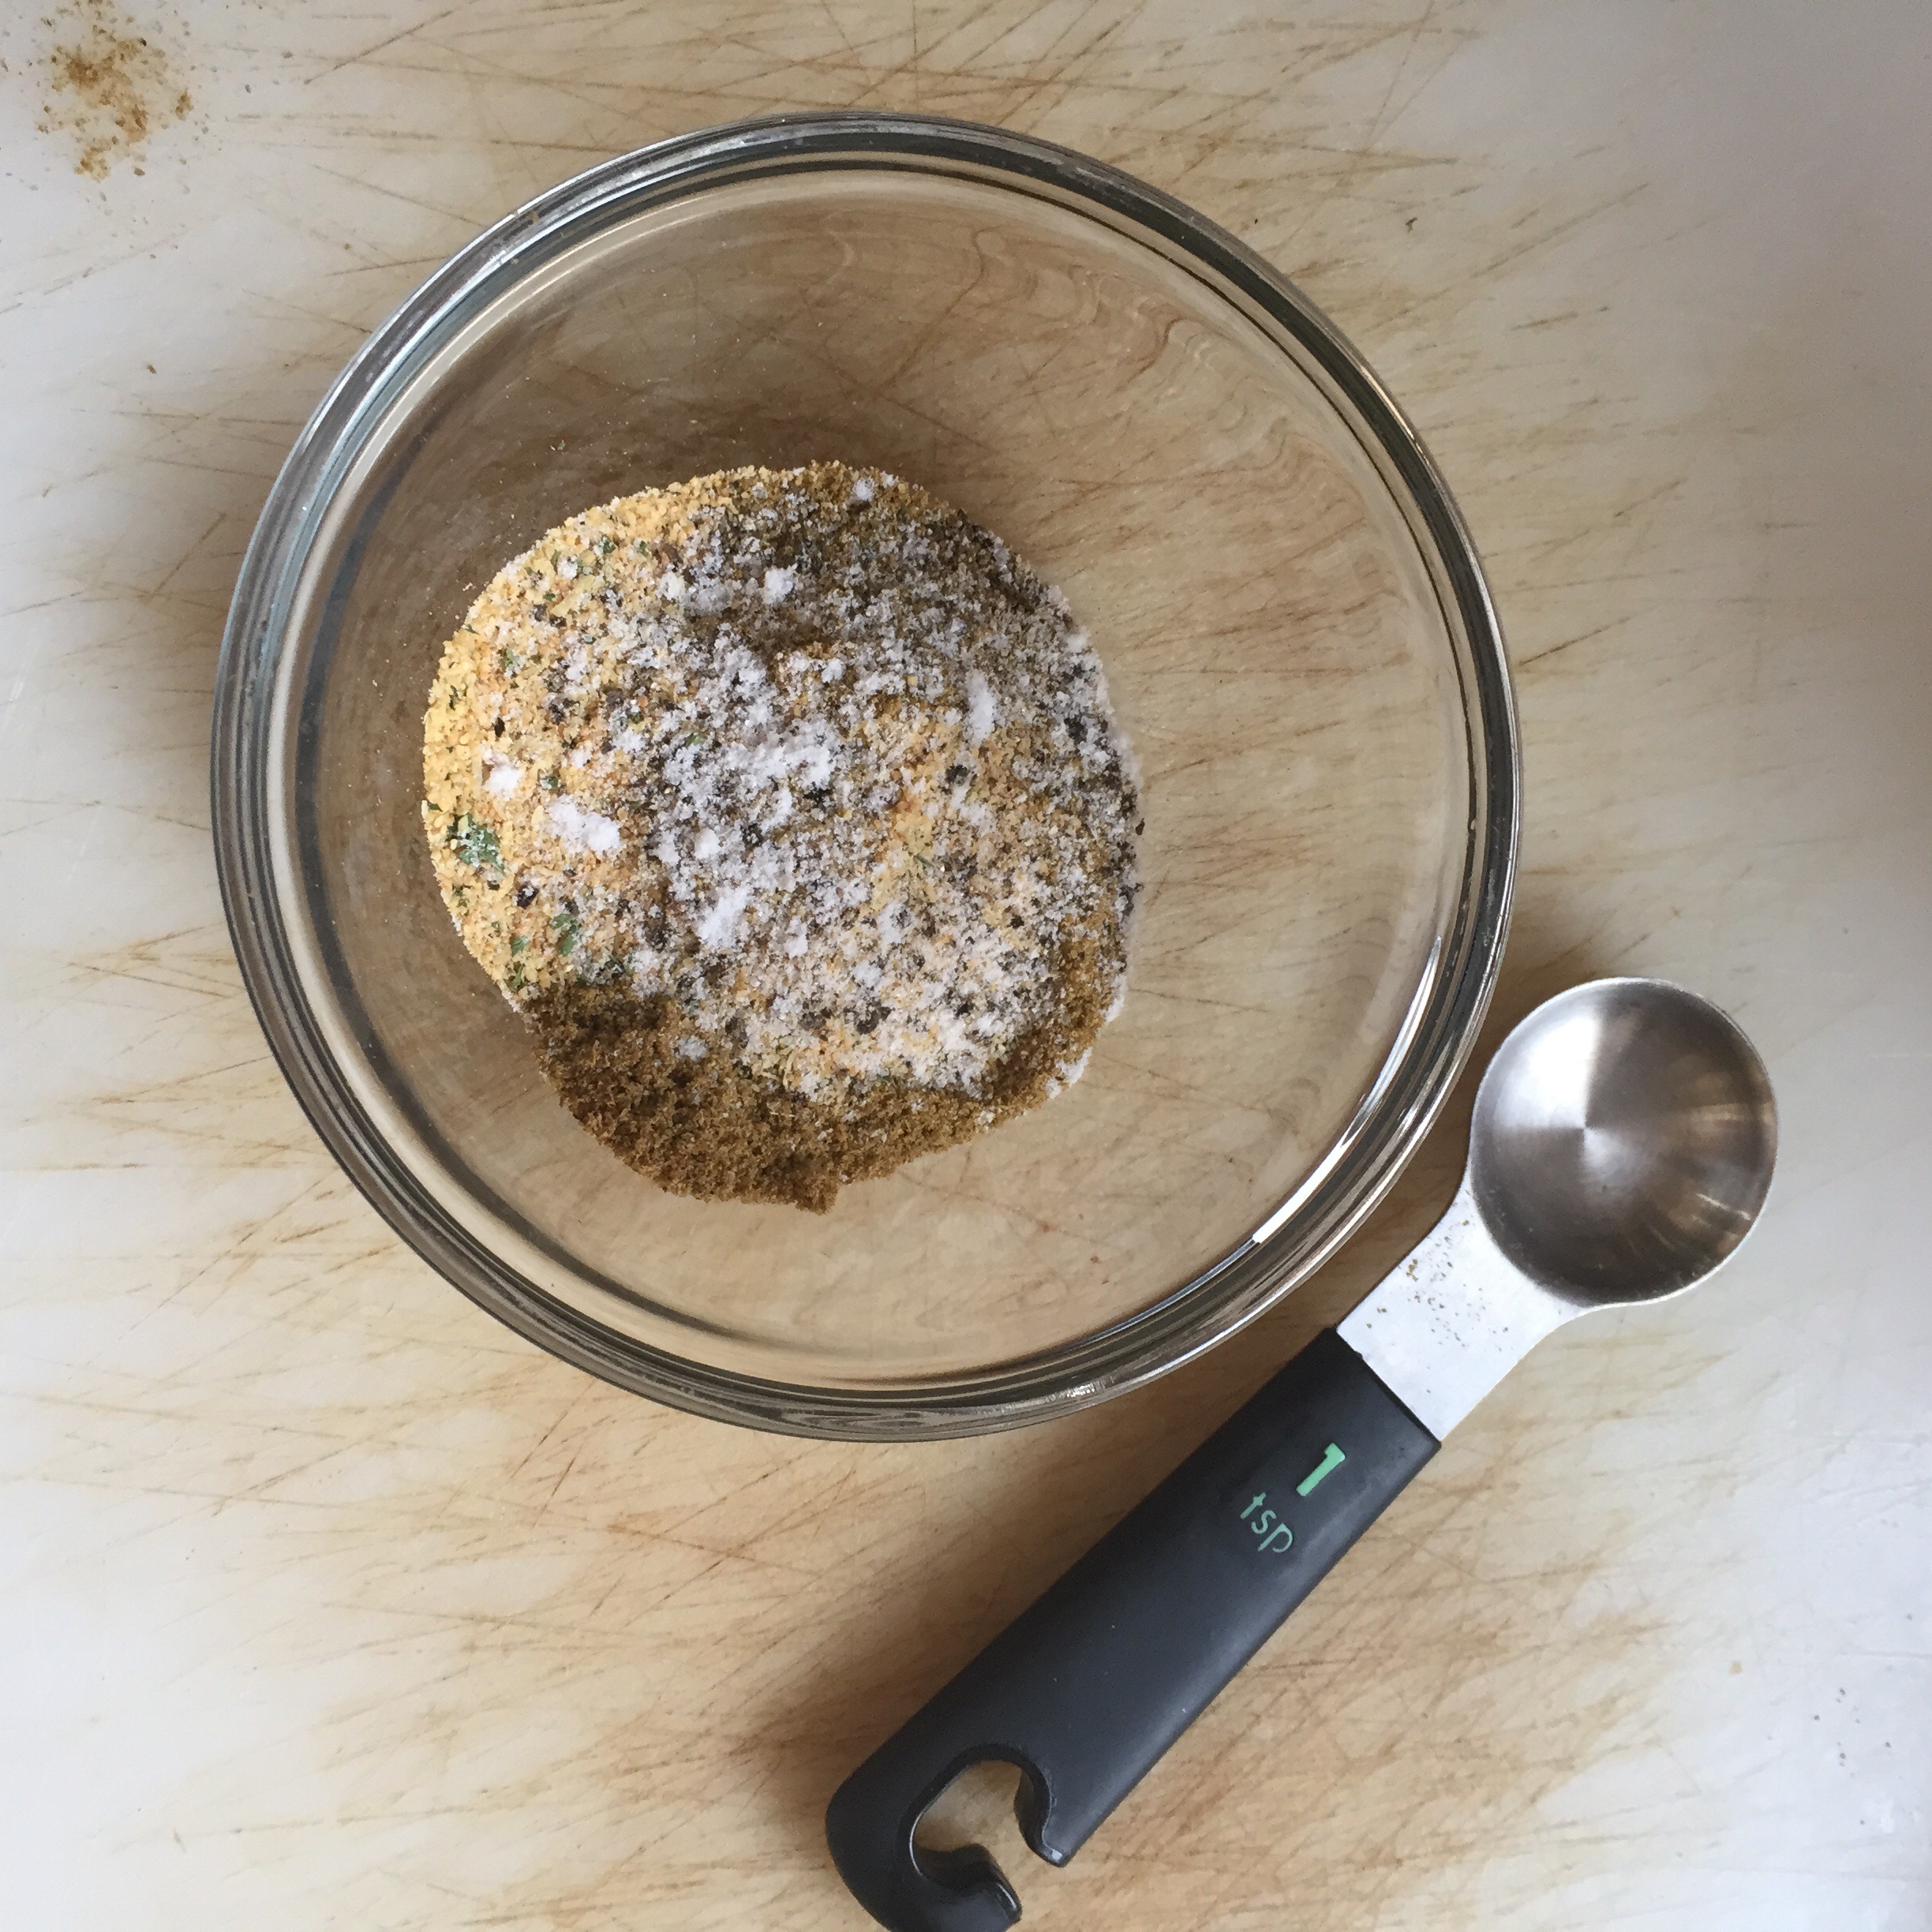
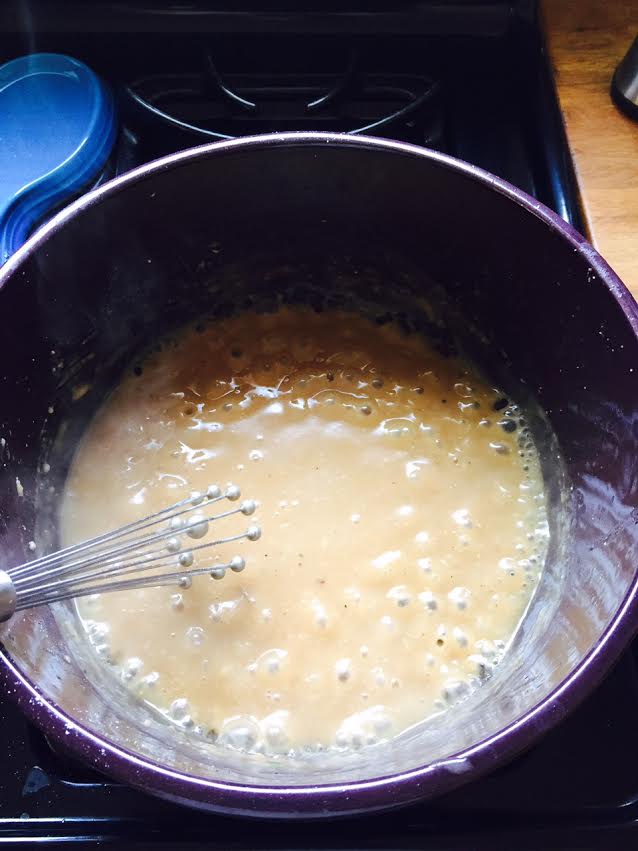
Next, let’s make the amazing topping. In a small bowl combine the melted butter, rest of the parmesan cheese and breadcrumbs. Mix with a fork for best results.

You may be tempted to try this to see how it tastes. Don’t do it. It’s like unicorns wrapped up in hugs topped with ice cream and sprinkles. It’s amazing. Don’t eat it or you may not have any left for the pasta.
Top your pasta dish with the breadcrumb topping and bake for 25 min or until bubbly and the topping just starts to get brown. Then eat it. Yum!

This is a super easy dish that is full of flavor. We make this sometimes with sausage pieces or turkey ground sausage or even cut leftover meatballs! Just make it, eat it and then go nap. Because, who doesn’t love a good nap.
xoxo Shawna